Thursday, July 28, 2011
Summer Corn Chowder
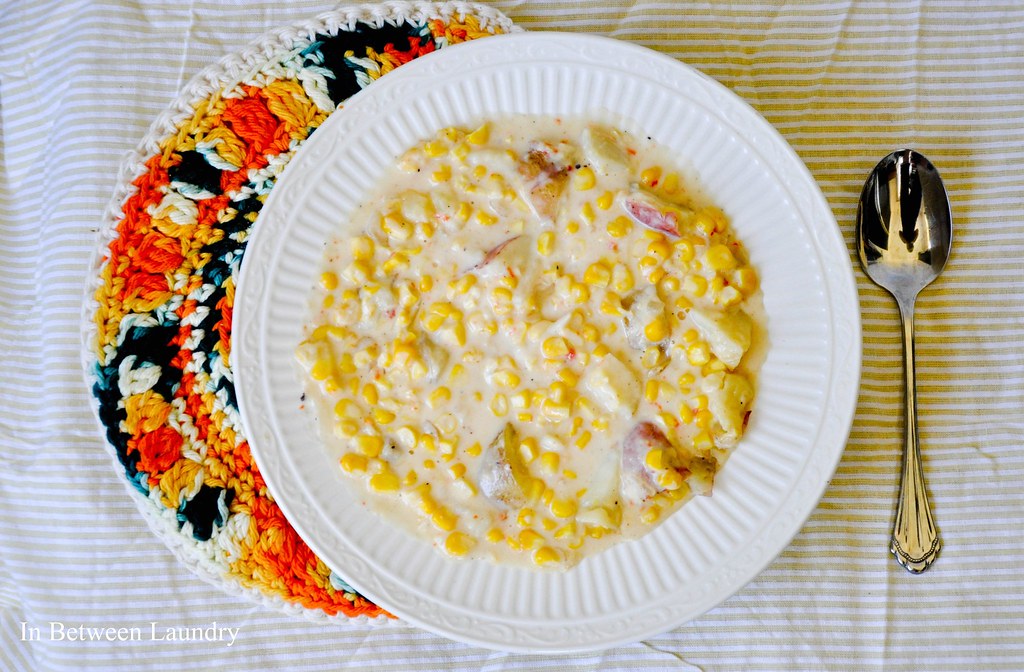
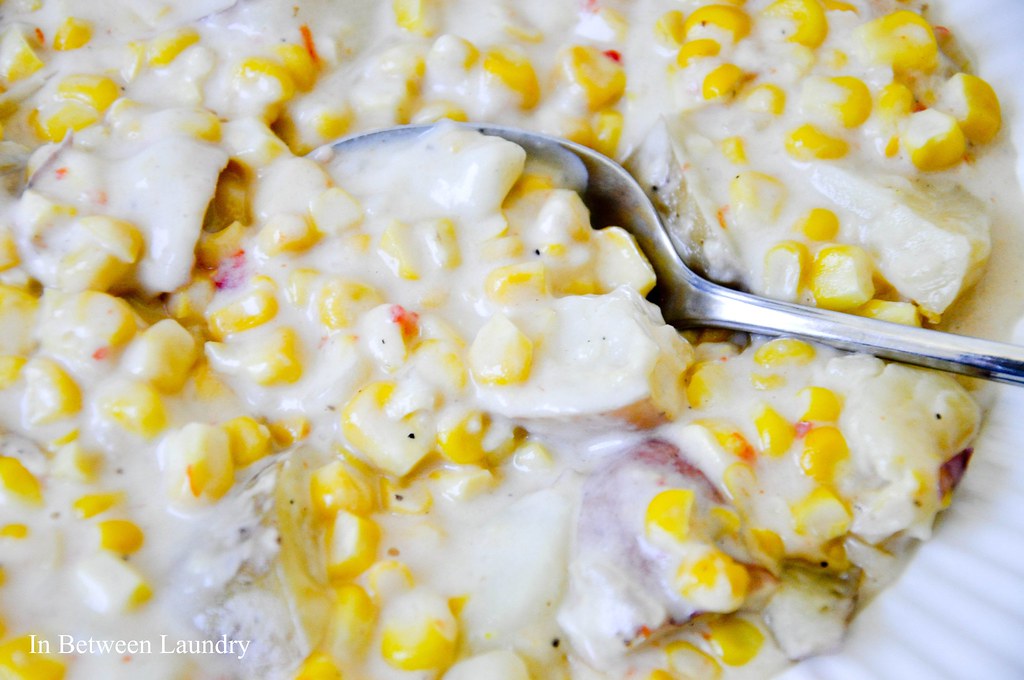
What food defines summer days better than fresh corn on the cob? If you can bear to cut the corn off and use it for a recipe, then I highly recommend this chowder I found at Amy Bites, here.
I made a few adjustments (doubled the recipe, replaced the bell peppers with pimientos because I had a jar in the pantry that needed using, and added about a cup of cream).
I also strongly suggest trying it garnished with sliced smoked sausage, browned until crisp. The saltiness/smokiness adds another dimension not to be missed.
Also, it only gets better in the fridge and my kids gobbled it up. Win!
Shared with: Tatertots and Jello
Wednesday, July 27, 2011
Thursday's Theme {Sweets}
As if I even need a reason for wanting to make a cake, but I'll come up with one anyway. We are having company this weekend. A great friend from college that we haven't seen in years is visiting for a few days!
Can I show you the cake that I'm already obsessing about? Oh. You're gorgeous.
Please don't tell my bathroom scale; we have this handshake arrangement.
I don't step on her very often and when I do, I tell her it's just the steam from the shower that's affecting the number.
I also leave out the cake part.
Here are a few other yummies I've been ogling. Hey, ogling is completely calorie-free.
Monster Cake from Ohdeedoh
How very cute is this? And so doable.
Lemon Pull-Apart Bread from The Whimsical Cupcake
Wowie. Can't wait to try it.
Wouldn't this be great for summer?
Yep. I'm in.
Mmm. Coconut cream pie is a favorite. I love this take on a classic.
one cake, but tons of variations.
Oh my mercy. Jeremy has asked for this for his birthday.
The boy has a sweeter tooth than me, if you can believe that.
Just beautiful. Wait until you see the inside.
The chocolate quasi-melts the frozen fruit, creating a fabulous texture (and taste).
30 Day Mom Challenge
These are great ideas for mothering that I could definitely use for keeping everything in perspective. I'm printing it out for my fridge.
The one that really gets me: #8 "Calculate how many more weekends are left until your child graduates high school." Oh, man.
(I always get very sentimental after the boys are sound asleep at night... another day gone. How easy it is to forget the little irritations at the close of day. How hard it is to not get side-tracked on other obligations during the busy hours when they're awake.)
Go to iMom to print out your own copy.
Tuesday, July 26, 2011
Free Printable: 25 Manners Kids Should Know
These were originally published by Parents magazine. I liked them and decided to make them into a sign. Go ahead and copy and print it for yourself to use at home, too.
We could all stand to brush up on our manners.
Shared with: Finding Fabulous
Sunday, July 24, 2011
Corn Dog Muffins
My family loves hot dogs. In fact, when I turned 25 my mom asked if she could make me a special birthday dinner and I told her that all I wanted were hot dogs and skillet potatoes. I think she asked me if I was sure I wasn't turning six, but I'm easy like that.
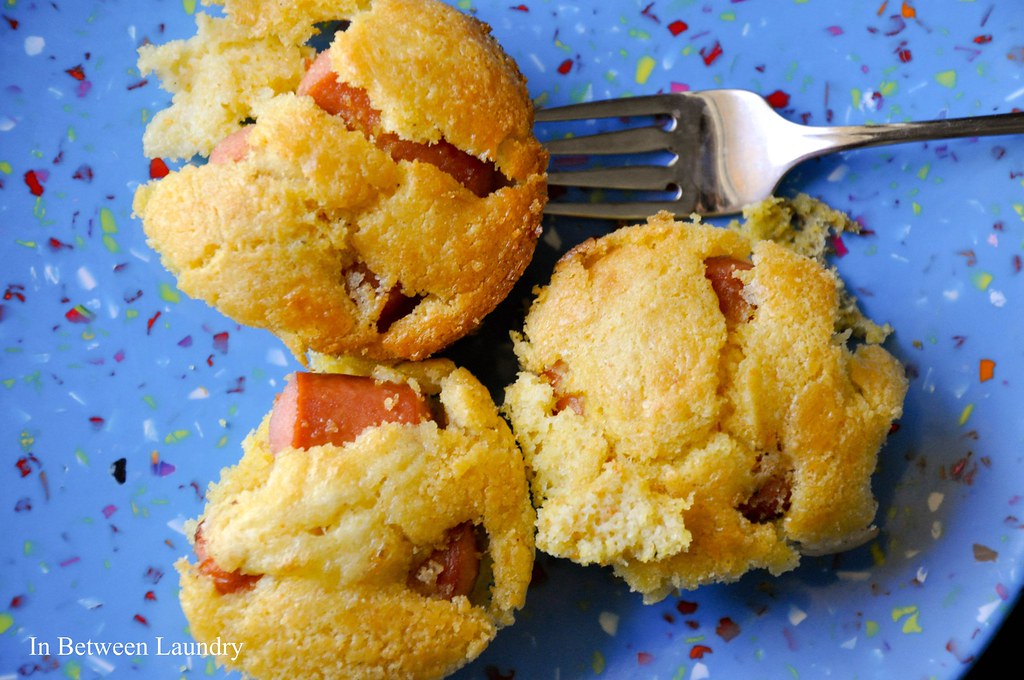
These corn dog muffins are not fancy. But they're tasty and simple and great for a weekend lunch or quick dinner.
I used The Pioneer Woman's cornbread recipe, found here. Instead of shortening I always substitute butter. It tastes better (to me).
Preheat the oven to 450, evenly divvy up the batter into a greased muffin tin. Then cut up a package of hot dogs into thirds and lightly push them into the batter. I also think this would taste really yummy with sliced ham in place of the hot dogs.
Bake for about 20 minutes. That's it. Add a side of mustard and lunch is served!
Shared with: Today's Creative Blog, Tatertots and Jello
Free Printables: Alphabet Wall Cards
Aren't these precious? I'm printing them out now for my baby's room. I love the clothespins, too.
Go to The Handmade Home to get yours.
Saturday, July 23, 2011
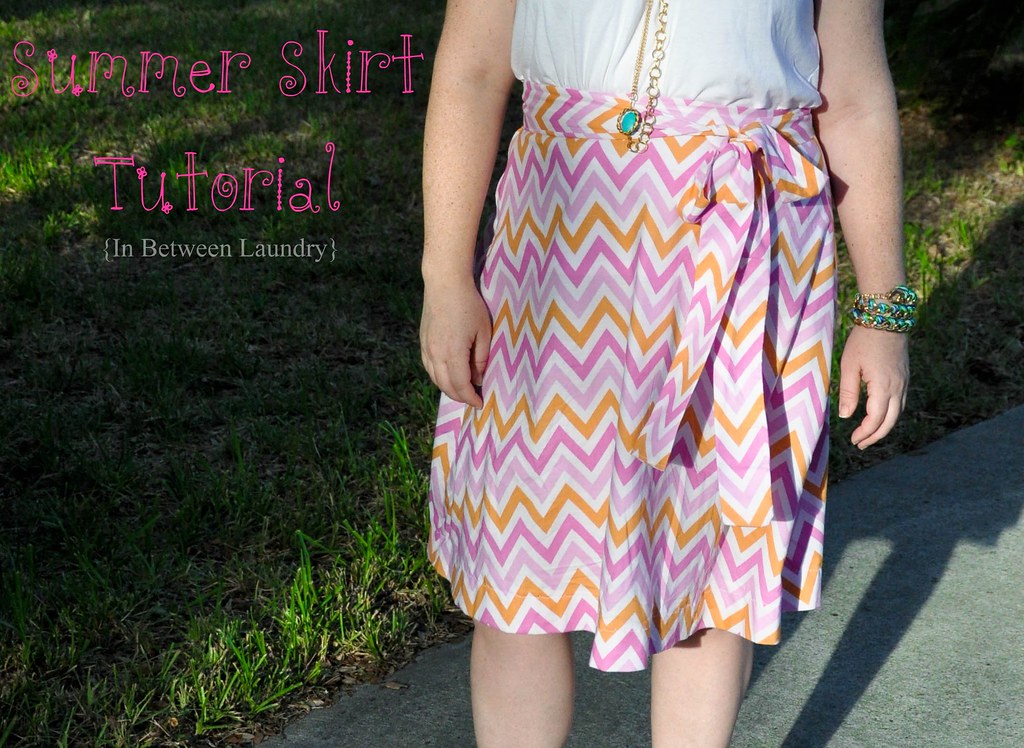
Summer Skirt Tutorial (sewing without a pattern)
Mimi and Paw Paw took our four-year old to see the Winnie the Pooh movie on Thursday, then to lunch and a little playtime at their house.
It was wonderful for all of us!
I was able to put the baby in bed for a long nap and check a project off my list.
Understand that I am a completely self-taught, short-cut-taking novice when it comes to my sewing machine. But even I was able to finish this puppy in under two hours (with plenty of interruptions and overlock stitching all the edges).
This skirt would probably take a more advanced seamstress less than an hour. You know, it would probably even take me less than an hour the next time around.
I love it! I even wore it to see Harry Potter with my mom and mother-in-law (who saw two movies that day) the same night.
Okay, so here's how I did it.
Materials:
2 yards of fabric
a skirt that fit me perfectly (more on that later)
thread to match fabric
fabric scissors
straight pins
pencil for marking fabric
zipper
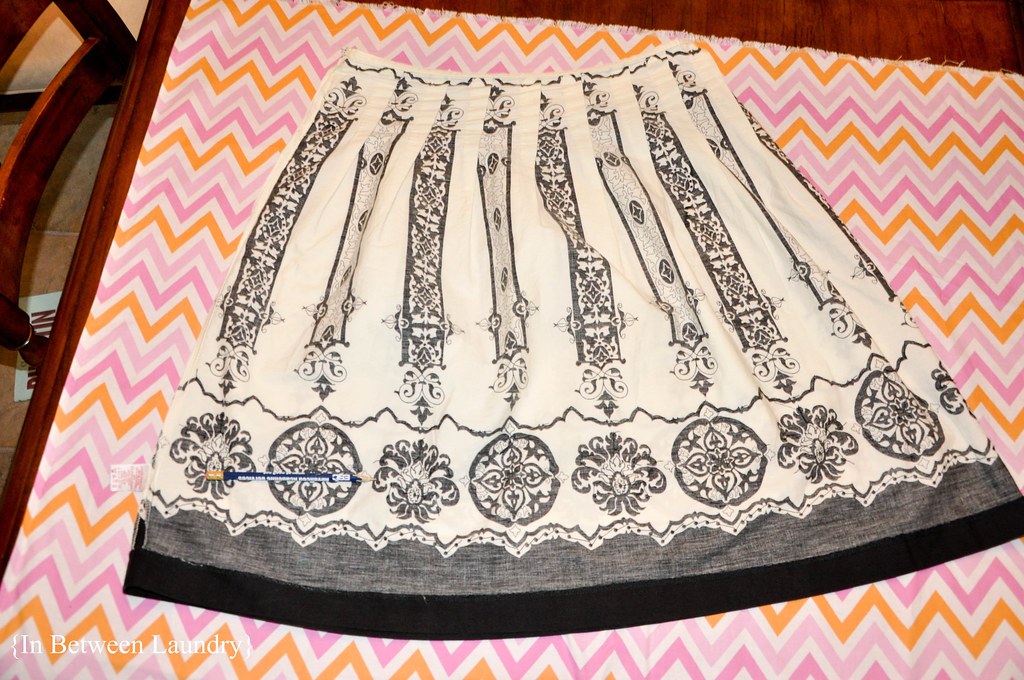
1. Wash and dry your fabric, then iron it out. Lay it flat, right side up. Place a skirt (inside out) on top. If you don't have a skirt to use, measure your waist and divide that number in half), then take the measurement from waist to knee, or however long you want it to be. Using the picture above as a guide, sketch a skirt shape that is slightly bowed at both the waist and hem with an A-line shape. It might help to do this on newspaper first, to give yourself a pattern.
2. Pin the skirt (or paper pattern) in place. Before cutting the fabric, measure and mark an extra 1" allowance for the waist, 2" for the hem and 1/2" for the sides.
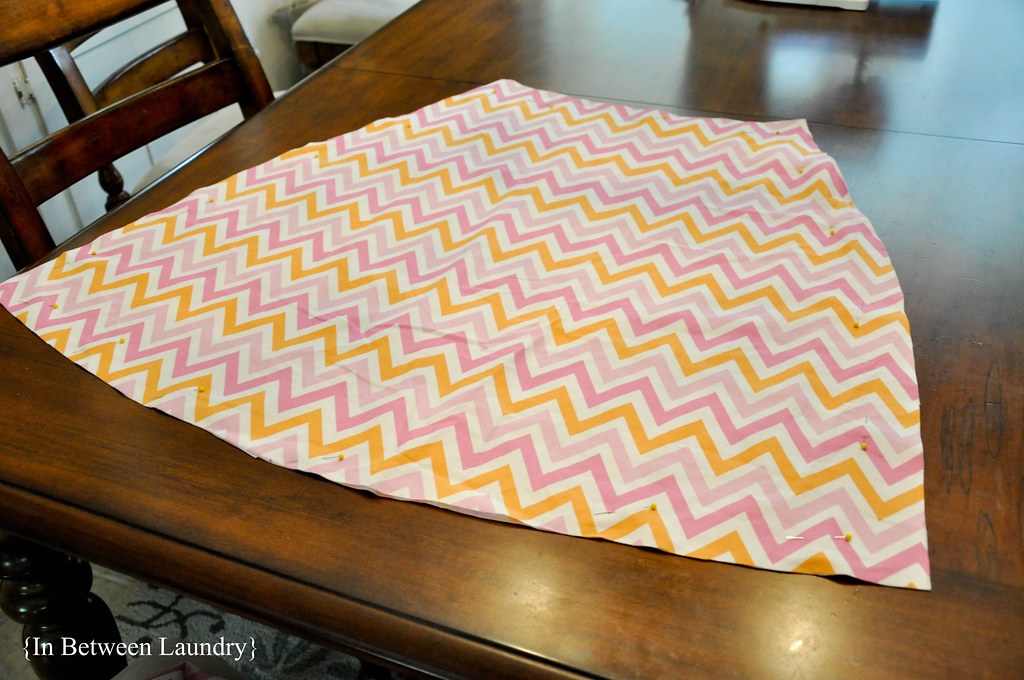
3. Fold the fabric so you can cut both pieces at once and cut it out. You can cut them out separately if you prefer. That would probably be best for patterns and stripes so everything will line up from back to front (I didn't and mine somehow worked out. Shortcut-taker right here.)
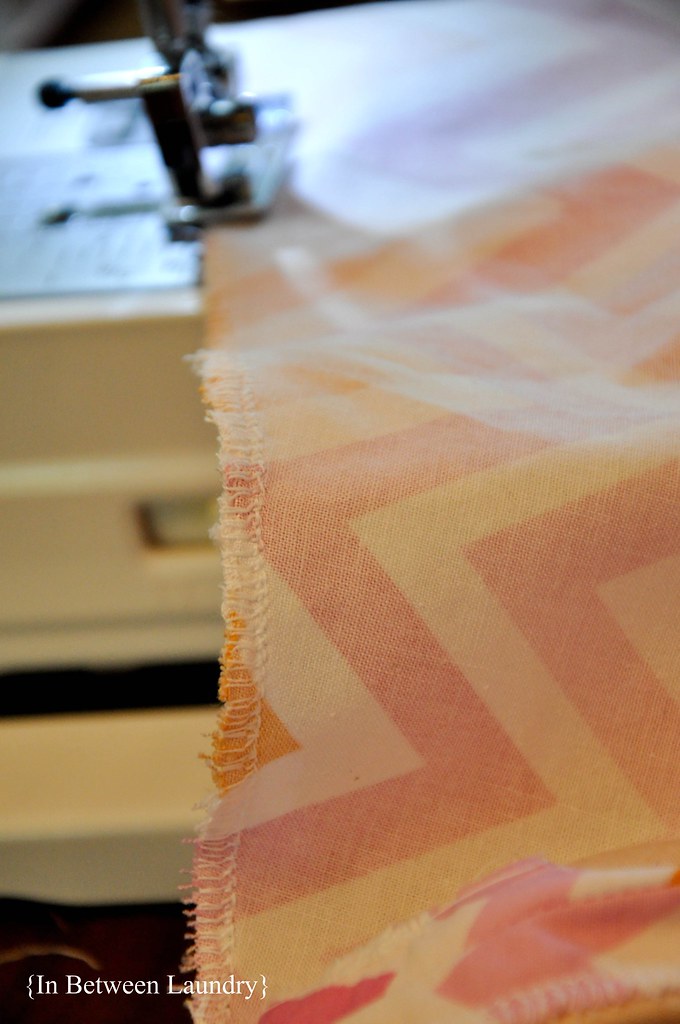
4. Now would be the best time to use an overlock stitch for those raw edges to prevent fraying.
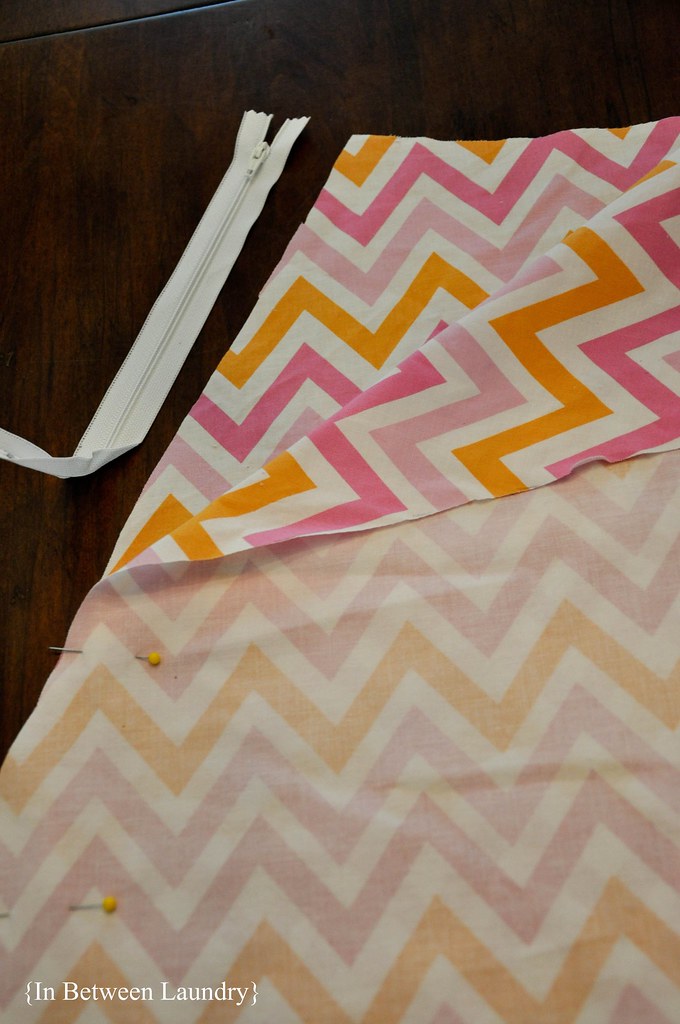
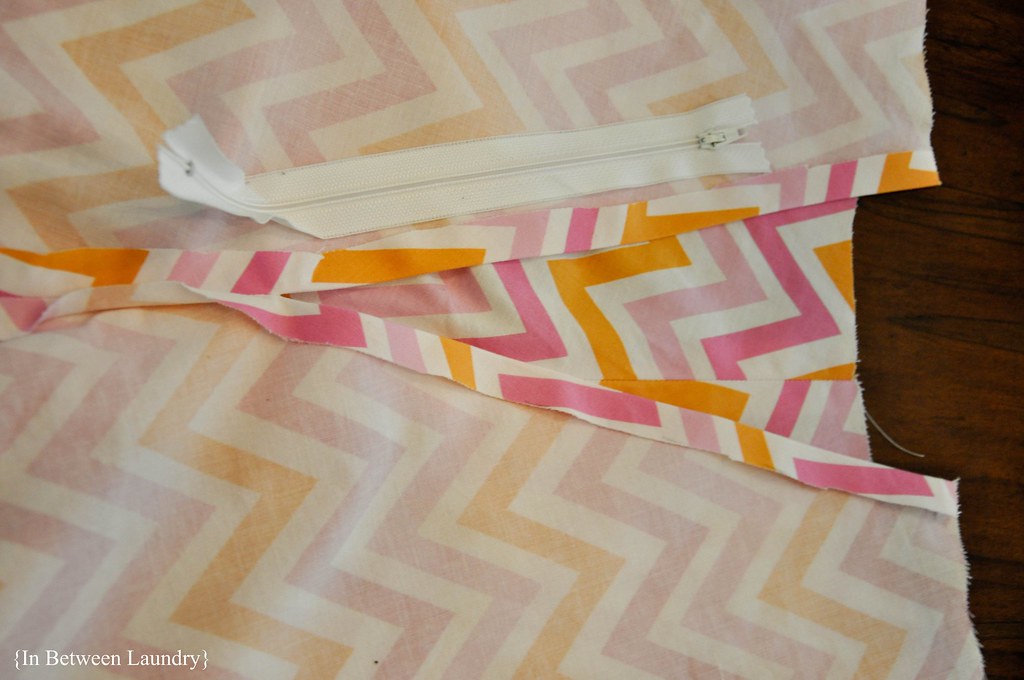
5. Right sides together, place both pieces on top of each other and pin in place. Leave an opening for the zipper.
5. Stitch up the sides with 1/2" seams (except where the zipper will need to go).
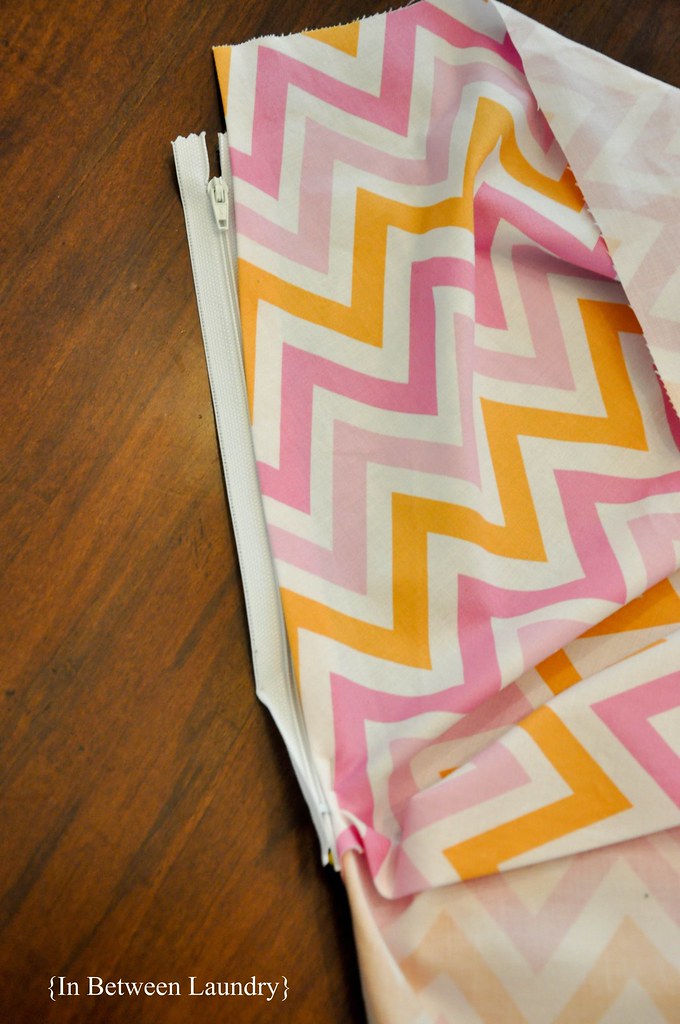
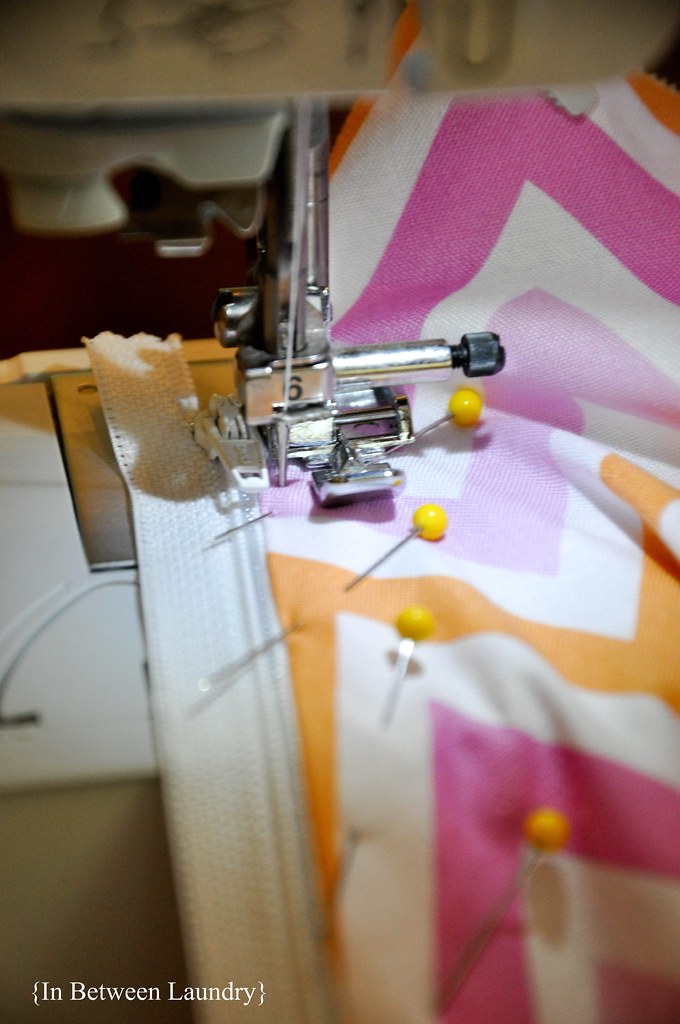
6. Pin the zipper in place and use your zipper foot to sew it in.
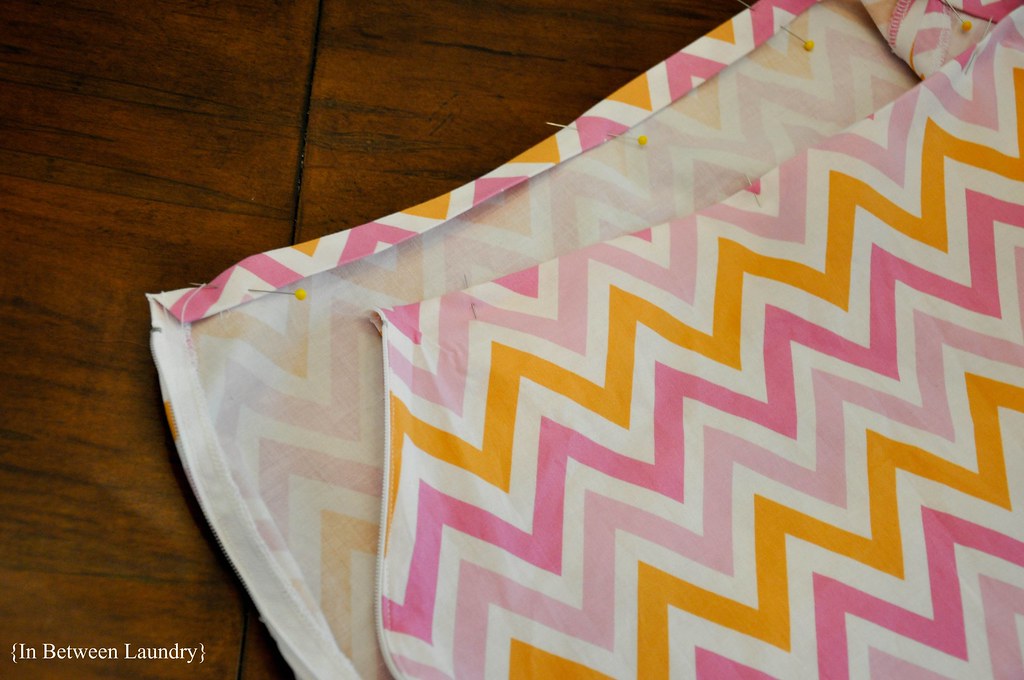
7. Iron the waist down by 1/2". Fold it once more, iron and pin it in place.
8. Stitch the waist in place.
9. Iron the bottom hem up by 2". Pin it in place.
10. Use a blind stitch to sew it in place, close to the open edge. You're done!
If you want to create a tie like I did, cut another piece of fabric that is 4-1/2" x 8-1/2 feet (you can make it however long and wide you like). I pieced mine together using what I had left over from the skirt. Iron it in half, width-wise, right sides together and stitch it along the long open edge and one short end. Turn it inside out, press it flat, fold the open edges under on the short end and stitch them down.
Shared with: I Heart Naptime, Under the Table and Dreaming, Sew Chatty, Today's Creative Blog, Finding Fabulous, Tatertots and Jello
Wednesday, July 20, 2011
Thursday's Theme {Pallet Projects}
I hope you are all having a wonderful week.
Over here at Casa De Laundry, we have somewhere between 11 and 32 unfinished projects going on at any one time.
In fact, if you were to drop in unexpectedly (we'd put you to work) you'd surely see bits of fabric lying on the armchair I want to recover, a half-painted fireplace, four new stacks of fabric that need to be cut and stitched into something summery, empty frames that should be hung in the boys' rooms, and I won't even start on the DIY bathroom projects.
Do you feel like that sometimes?
Like you're just lucky to get a load of clothes washed and
keep the house un-gross and
read a couple of books to the kids and
fix something to eat for supper before it's time to go to bed and get started again tomorrow?
In honor of all those projects we all have, here are a couple of cool ones I found for using pallets.
I may just have to make some time in my day to tackle one of these (especially that play house).