Sunday, October 30, 2011

A Halloween Weekend

What a fun Halloween weekend we have had so far and it's not over yet. Having kids makes holidays like Halloween so much more awesome.

DSC_0181.jpg

Yesterday, Jeremy and I took the boys to pass out little pumpkin magnets at the nursing home. Earlier in the week, I cut out a stack of pumpkins from orange paper and my oldest boy used a black marker to decorate them with jack-o-lantern faces. Then I laminated them and stuck a magnet to the back. It was a meaningful way to add a lesson on serving others to the regular candy-filled festivities, and I'm now on the hunt for more ways to add projects like that to our routine. My only regret is that I didn't get a single picture of him making the pumpkins or delivering them. Hate that.

DSC_0187.jpg


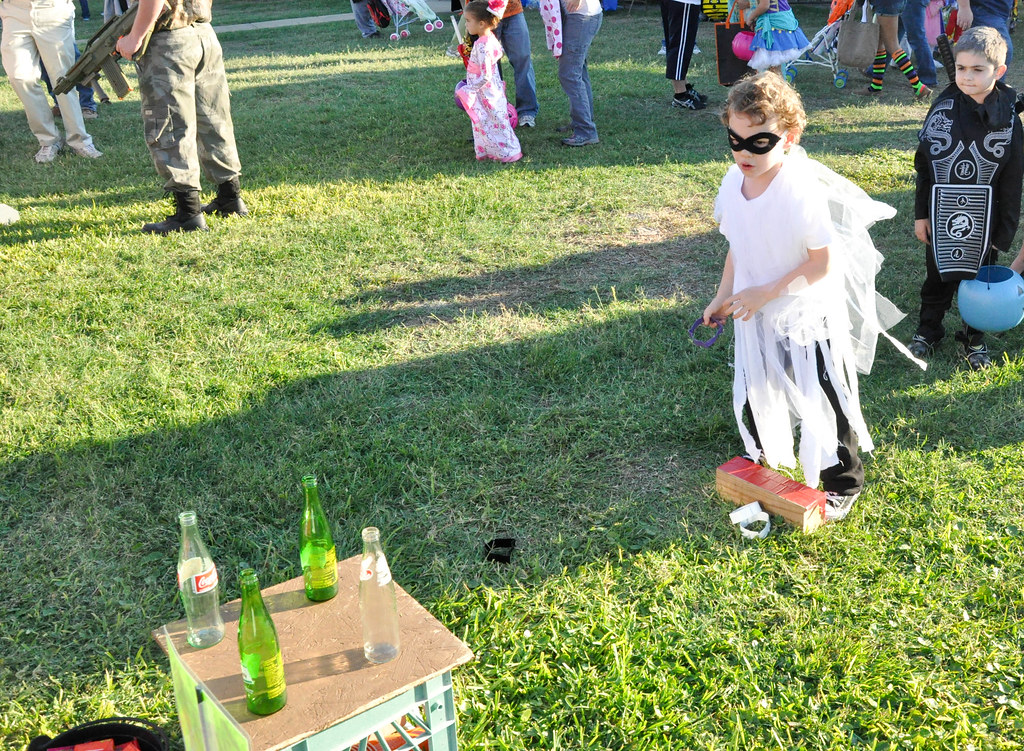
After getting to visit with my sister and brother-in-law, my mom watched the baby while Jeremy and I took the big boy to our local Halloween festival. We played Plunko, ring toss, and a few other carnival games before heading home to fix a spooky supper for the grandparents. I loved every minute of yesterday! 


Somewhere in the middle of all of that my sister painted my nails with the cutest candy corns. I'm not usually very adventuresome with nails, but how fun is this? She did a great job.

And now that we're home from church and a delicious gumbo lunch at my mom and dad's, we're hopping in the car to visit my other sister and her family. We'll be spending the next few days with the cousins, trick-or-treating, and catching up. 

Sometimes I worry that these are the best days of our lives and they're slipping by so quickly.

So I'm holding on to every minute.


erin

Friday, October 28, 2011

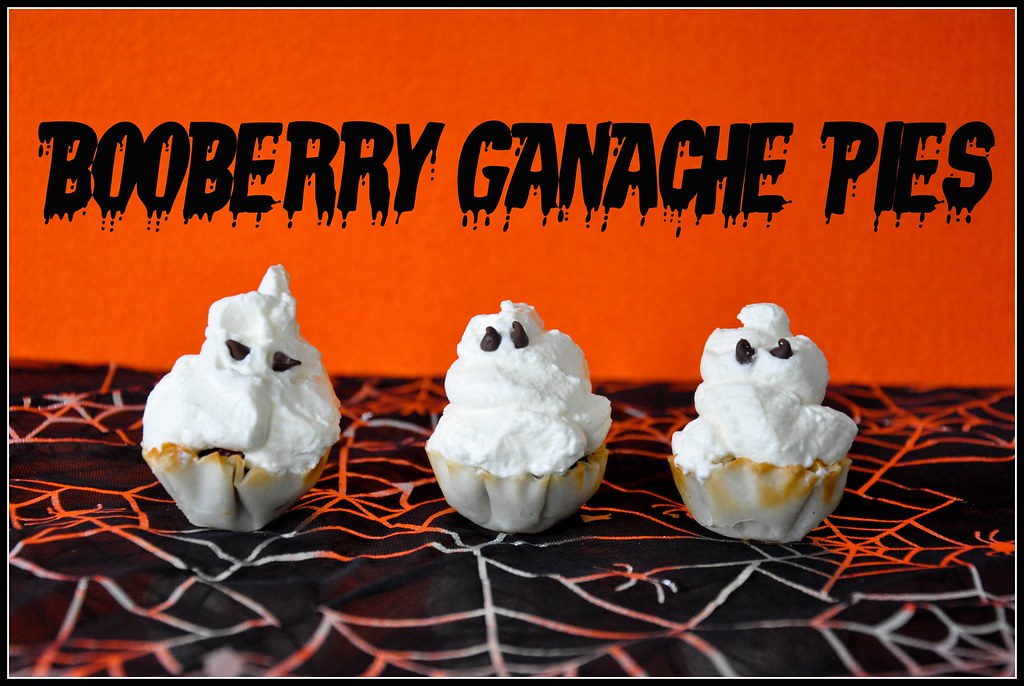
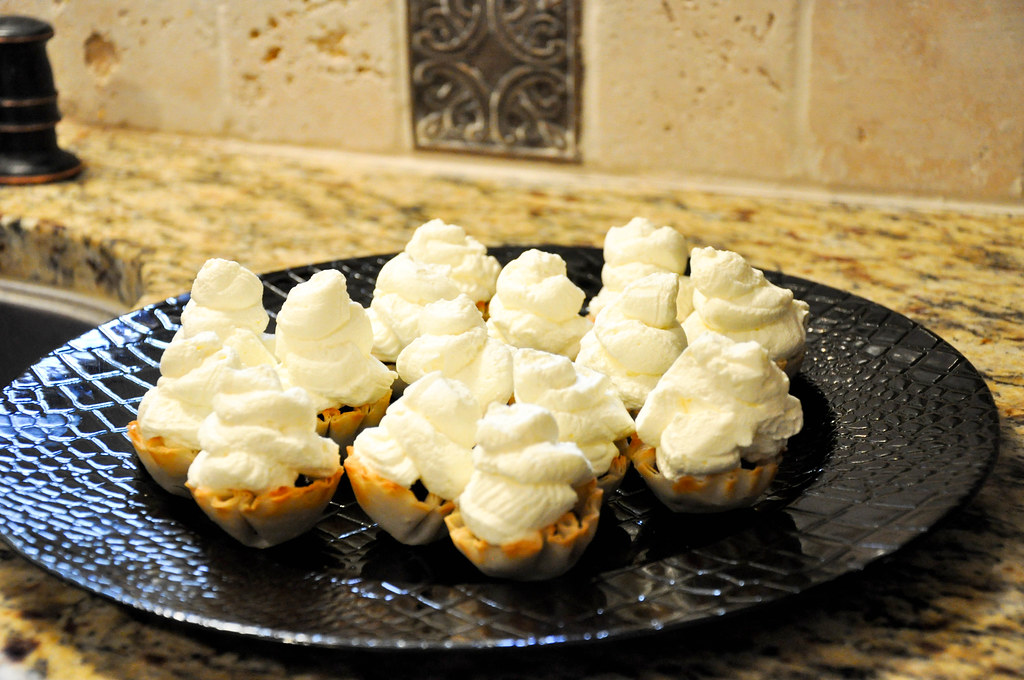
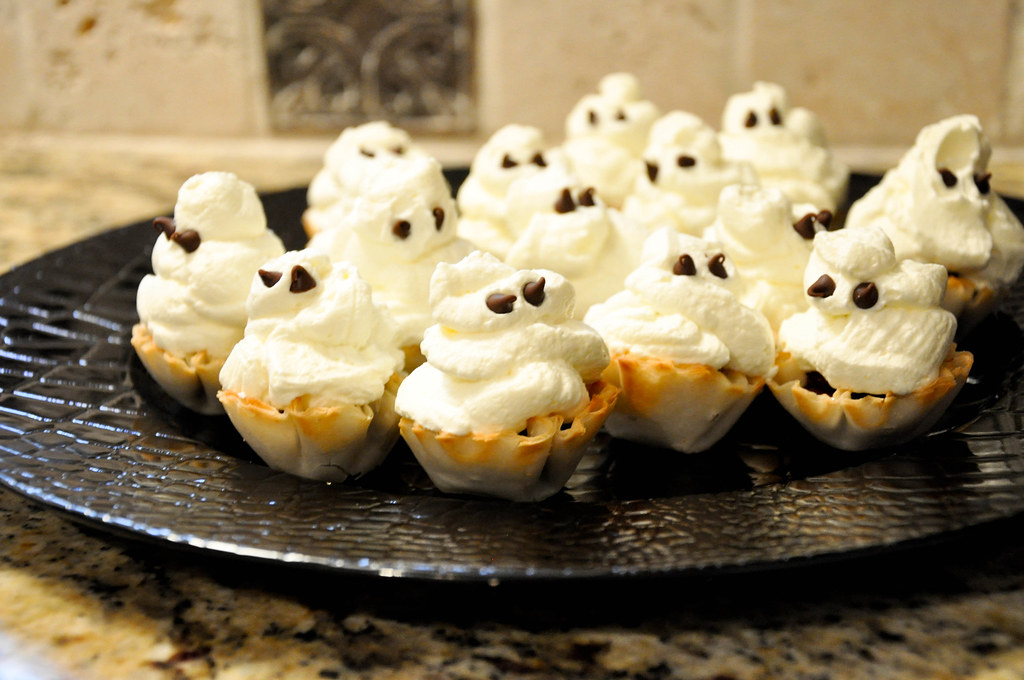
Boo-berry Ganache Pies

Halloween dessert mini pies ghosts

Do you ever find yourself going with a theme, but unintentionally? Like, at Christmas, ending up with a collection of snowmen when you thought you only had one or two?

No? Just me? Huh.

This year, my eye was drawn to ghosties. I can't explain this eye of mine.

The boys are dressing up as ghosts for Halloween, I made a Boo pillow, I went with a mostly black and white mantel and now these little babies...

DSC_0075.jpg

I like to think that there isn't much in this world a little ganache can't mend. World leaders, listen up. If you would all sit down to a round table with a big bowl of ganache and a spoon for everyone... well, we can only imagine.

In the meantime, let's make some super-easy Halloween treats!

DSC_0039.jpg

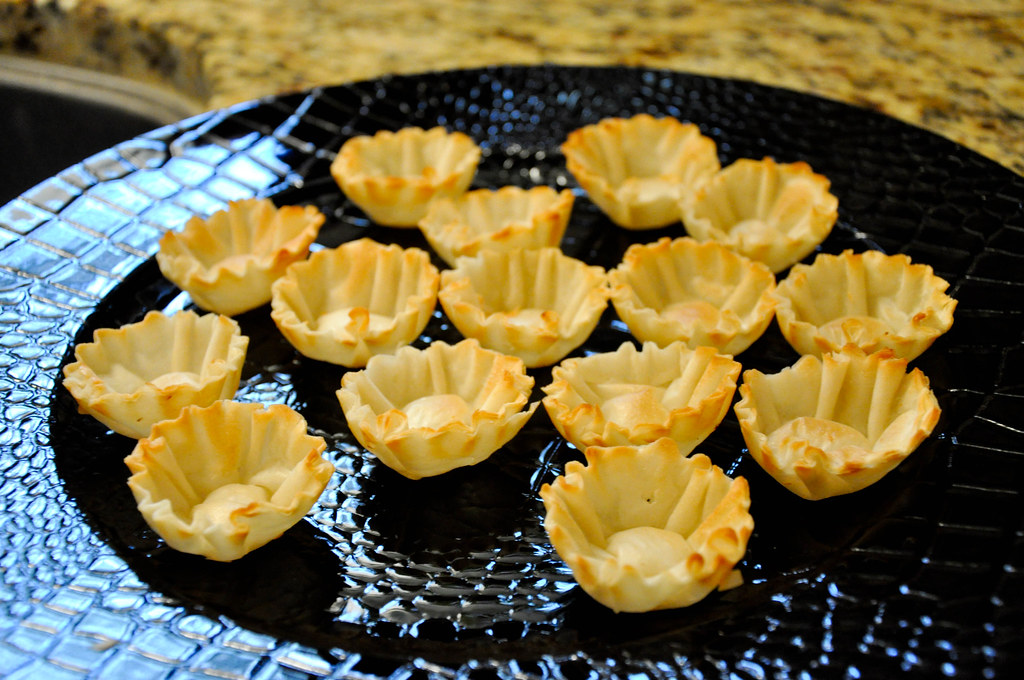
You'll need a package of phyllo shells, about 1/2 cup semi-sweet chocolate chips, 1/2 cup whipping cream (for ganache) + 1 cup for the ghosts, fresh raspberries, 3 tablespoons powdered sugar, and mini chocolate chips for the ghosts' eyes.

DSC_0053.jpg

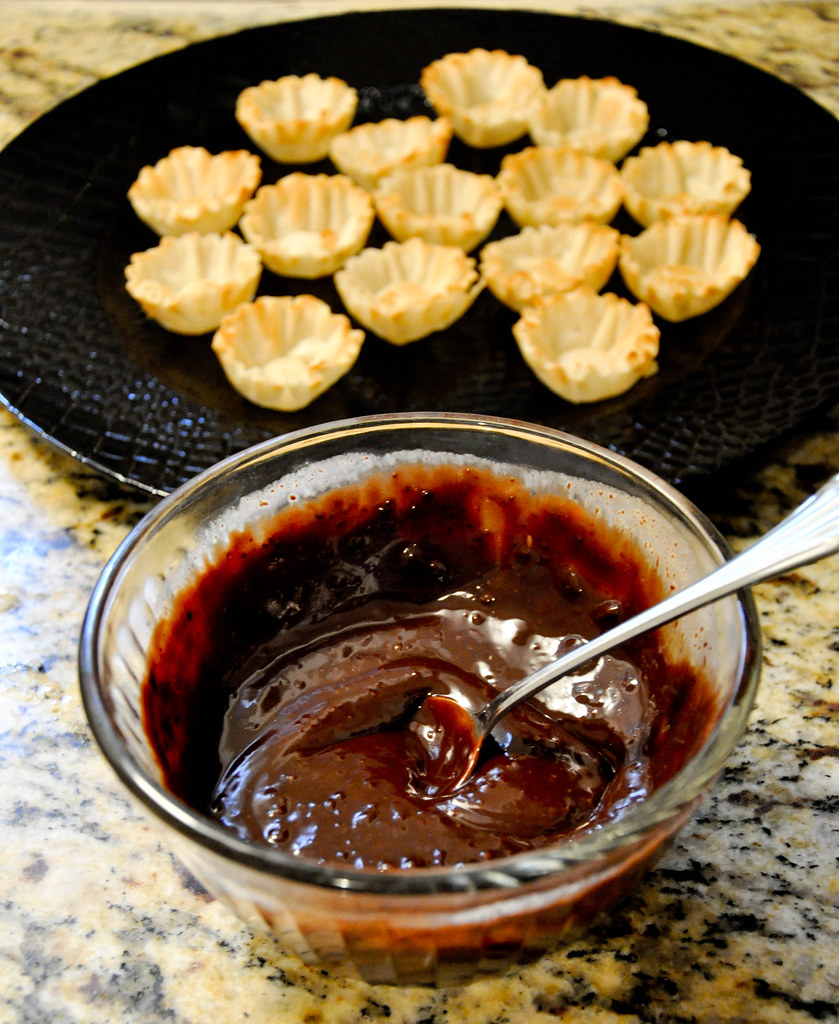
For the ganache, combine the chocolate chips and 1/2 cup of cream in a microwave safe bowl and heat for about a minute. Stir until glossy and smooth. Let it cool for about 15 minutes.

DSC_0063.jpg

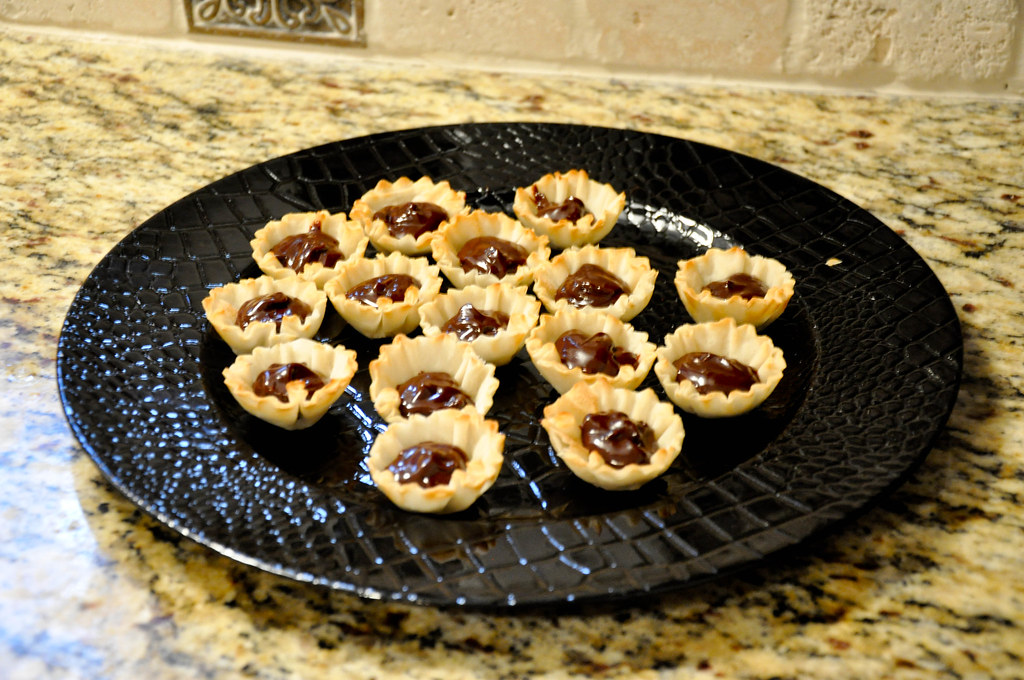
Fill each shell about halfway with the ganache.

DSC_0064.jpg

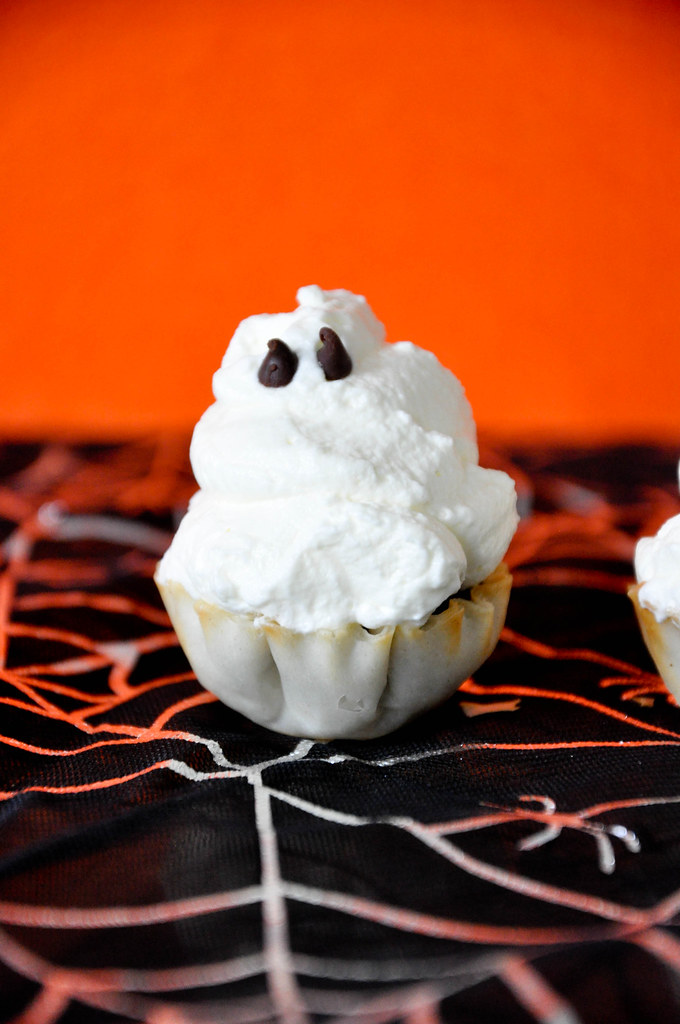
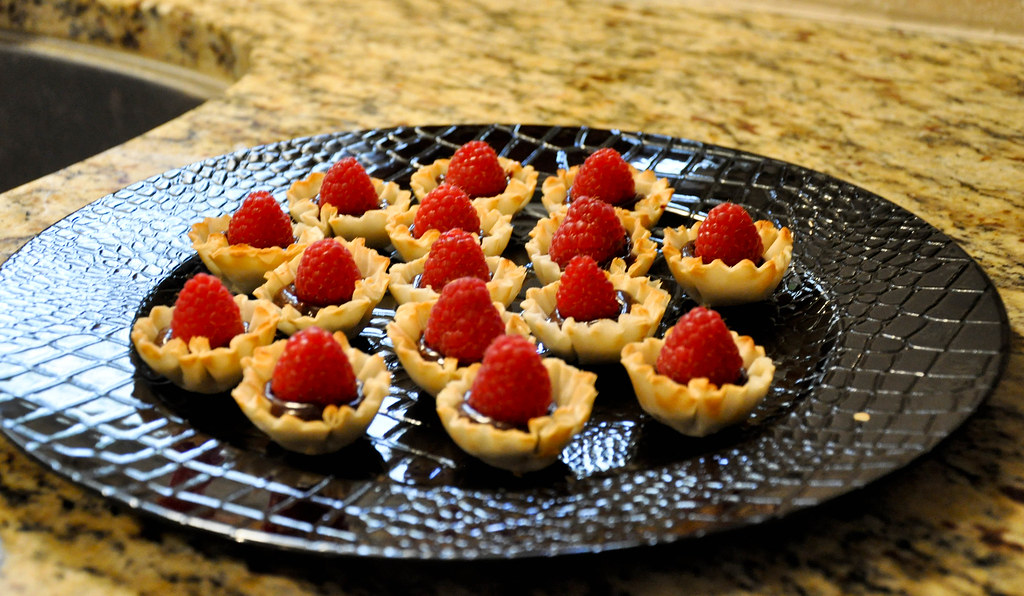
Place a beautiful raspberry on top of each. You could stop here, sprinkle with a little powdered sugar and have a gorgeous (and fancy-looking) dessert.

But here in Erin's kitchen, we get our whipping cream on.

Pour the remaining cream and powdered sugar into a mixer and beat with the whisk attachment until stiff. 

DSC_0065.jpg

Add the mini chocolate chips to finish up. So presh. Who wouldn't love these?! 

DSC_0069.jpg

Marital disclaimer: Jeremy gets full cred for the great name. I'm not that witty.

erin

Shared with: Tatertots and Jello

Wednesday, October 26, 2011

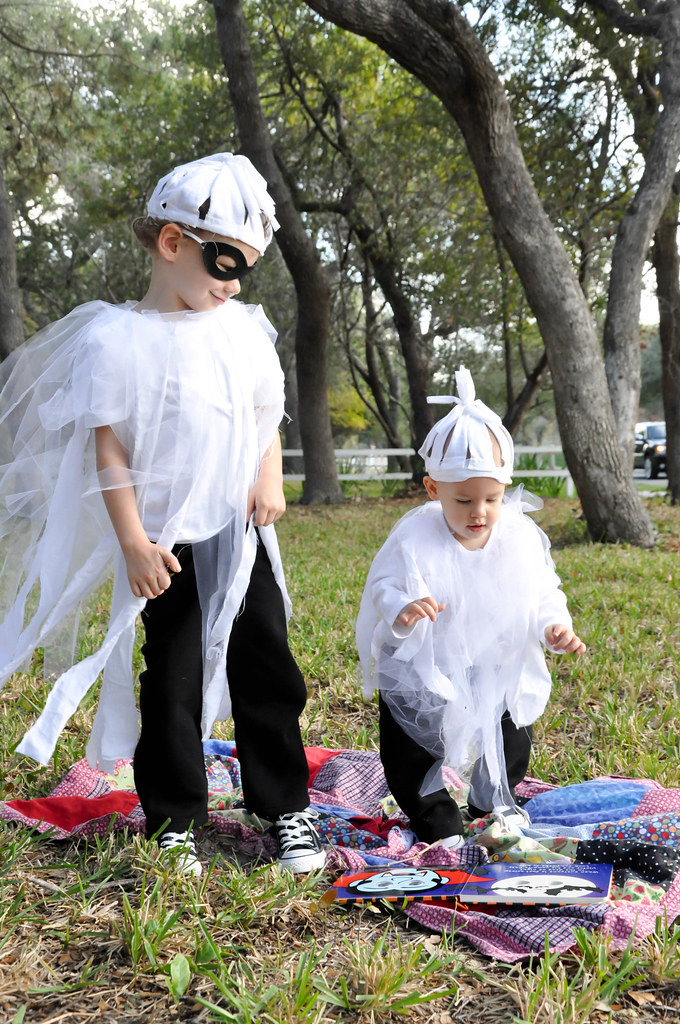
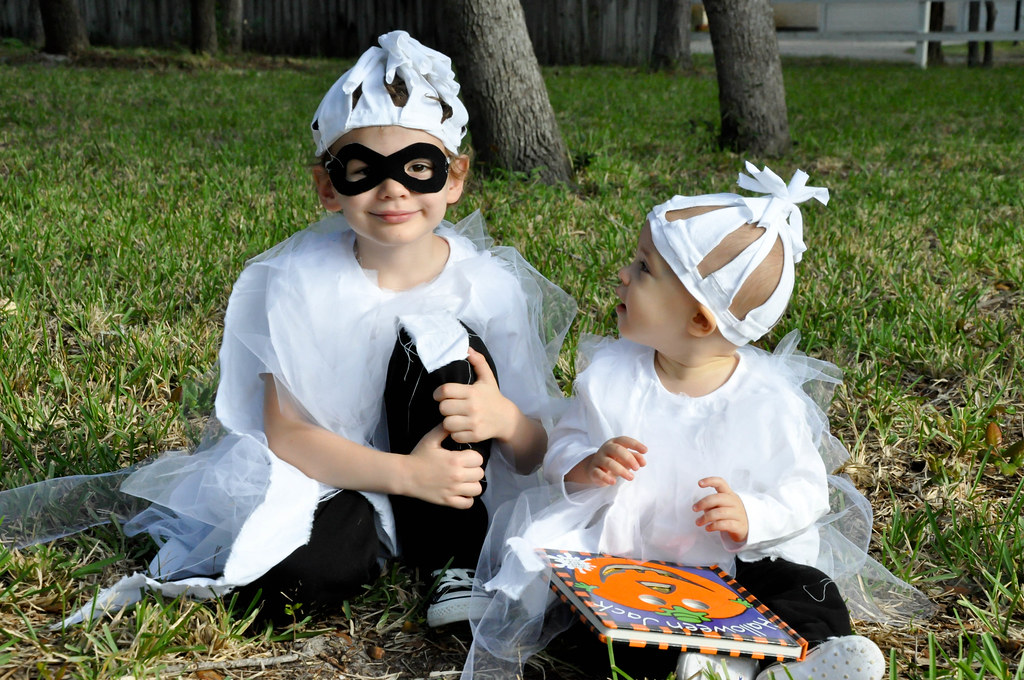
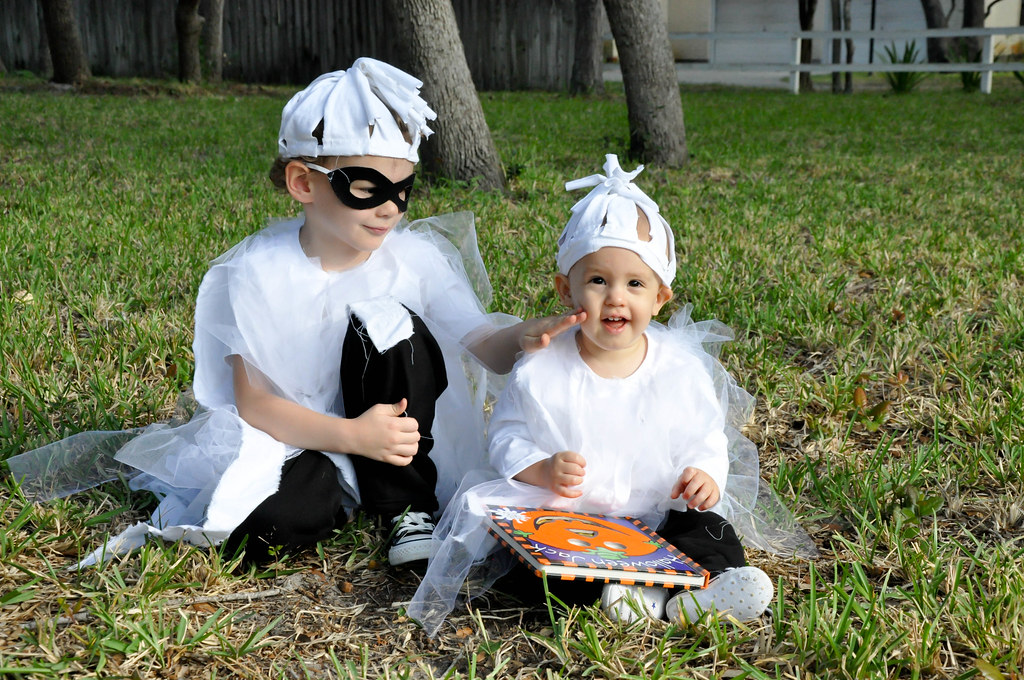
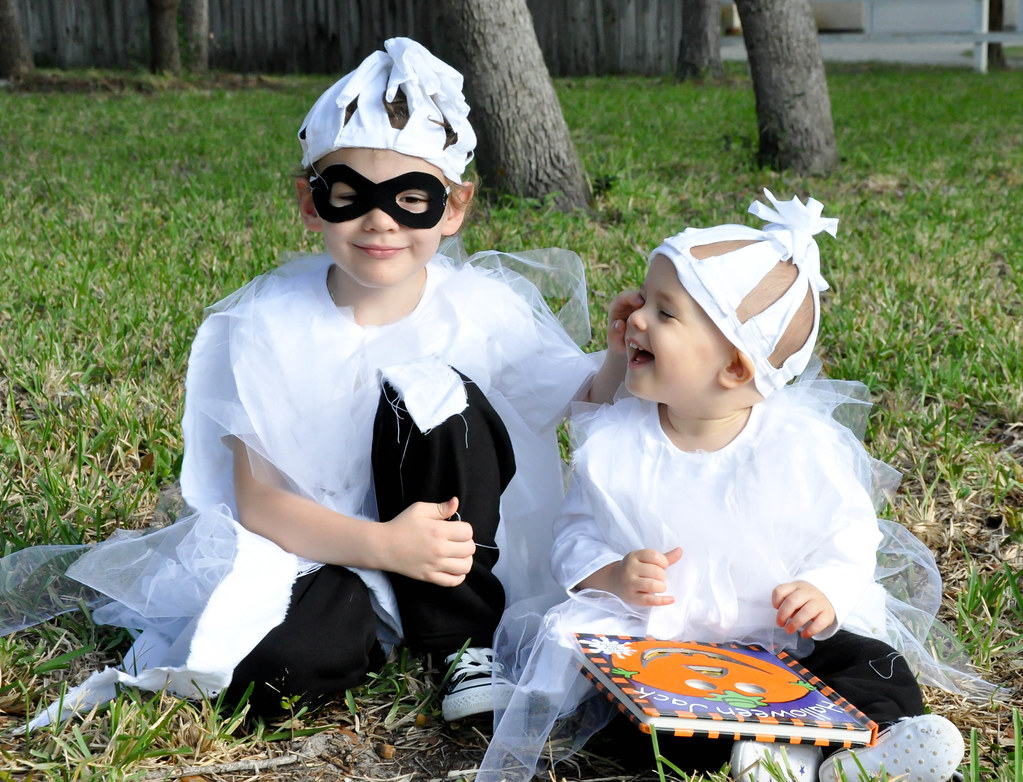
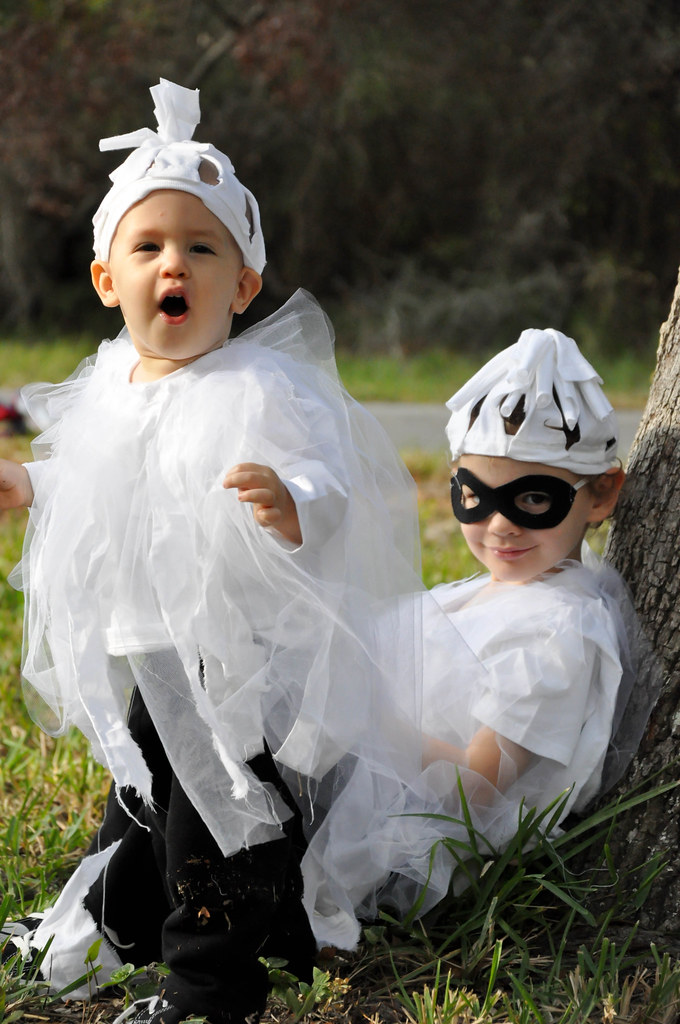
Little Ghosties--No Sew Costumes

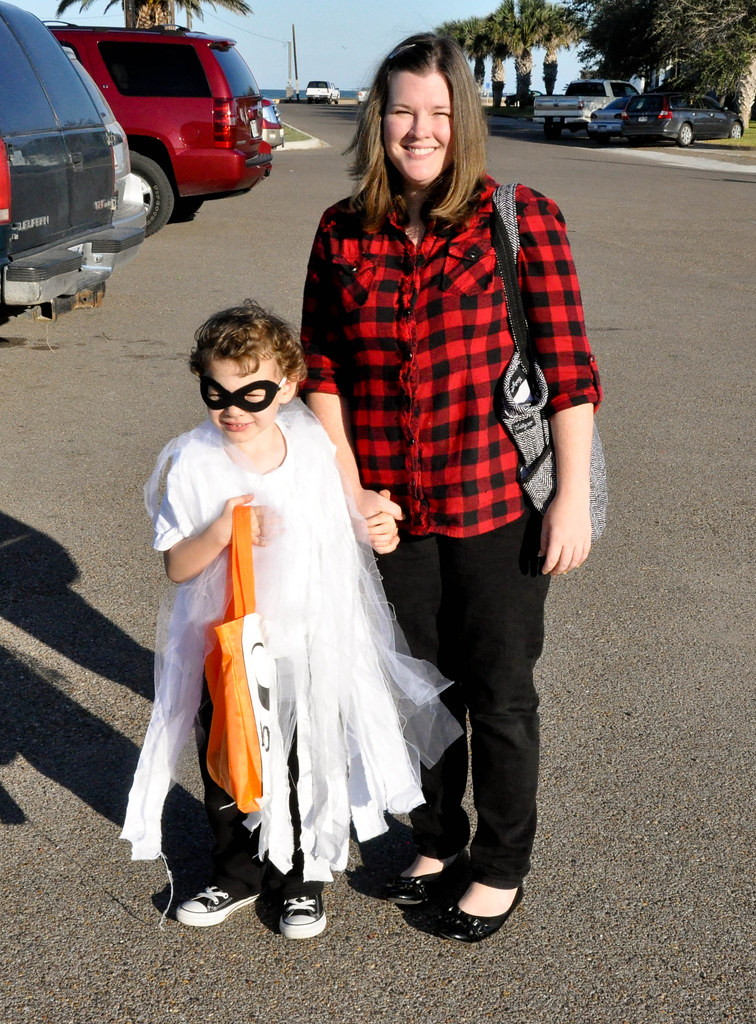
Our preschooler wanted to be a "Scary Ghost" this year for Halloween-- which, by the way, is the first year he's had any opinions on the matter. And where did he get the "scary" part anyway? 

DSC_0156.jpg

My mom said to just put an old sheet over his head and cut holes, Charlie Brown style. I'm not really big on over-the-head costumes because of the whole suffocation thing. I'm an overprotective mother like that.

DSC_0153.jpg

Besides, I wanted the boys to match this year and there is no way my baby was going to stay under a sheet for more than a second or two. I'd like to see us even try to make him. 

DSC_0158.jpg

Furthermore, I don't have an old white sheet. We'd have to buy a new one just to cut holes in it. 
And the whole suffocation thing.

DSC_0151.jpg

Since my official Halloween costume motto is "semi-homemade is good enough for us" I headed to Wal-Mart and grabbed two white tee shirts per boy (I'll explain) and black sweat pants, then picked up tulle and lightweight cotton fabric from Hobby Lobby.

DSC_0162.jpg

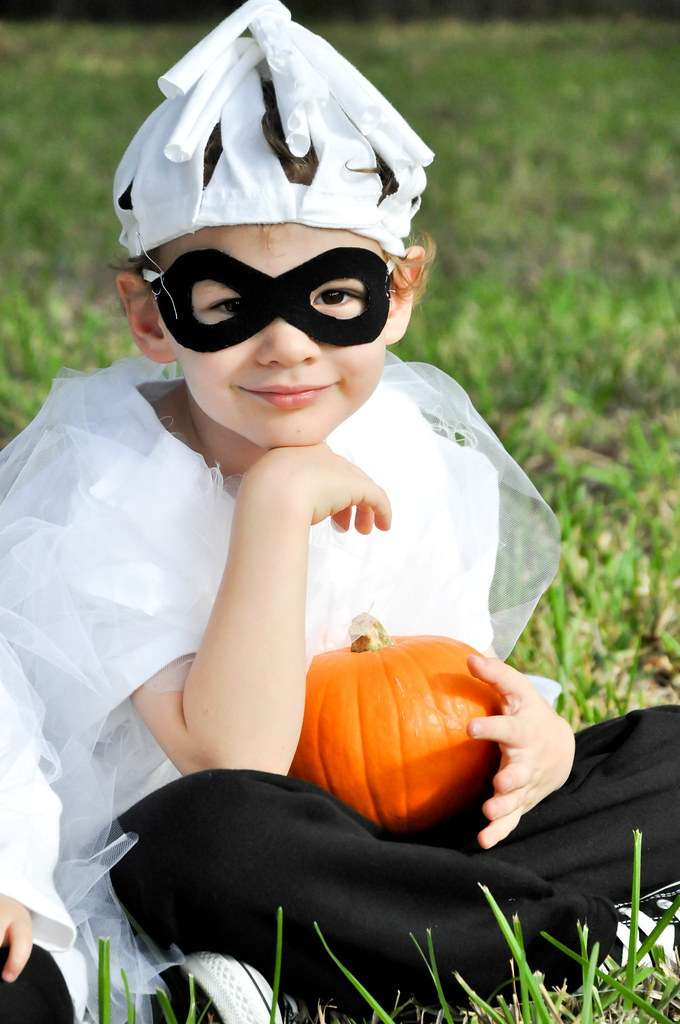
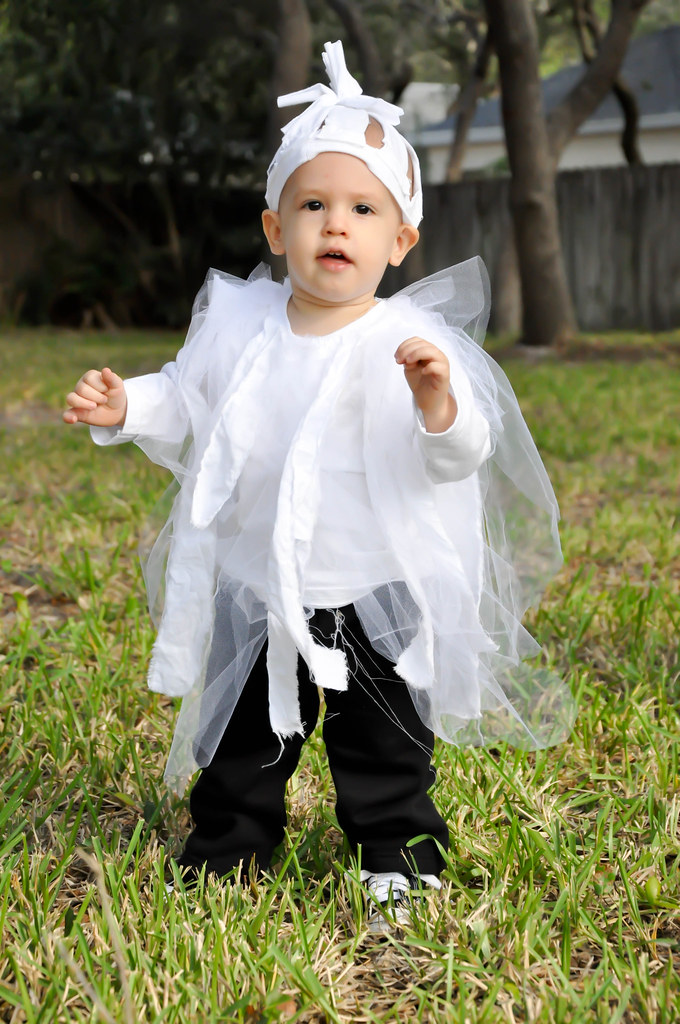
For each costume, I ripped strips of the fabric and hot glued them around the collar of one of the shirts. Then I cut thicker strips of the tulle and bunched it at the end before gluing over the fabric. I wanted them to seem gauzy, scrappy and whimsical (not scary--don't tell the four year old).

DSC_0104.jpg

For the hats, I used the extra tee shirt (in each boy's size), and cut the neck/collar out. This was the perfect base for each hat. I left about half an inch of tee shirt around the edge when I cut it out.

DSC_0107.jpg

Then I cut the remaining tee shirt into strips and glued them around the band, on the non-stretchy 1/2" of fabric. That way the hat could still stretch.

DSC_0109.jpg

I placed the rim on each boy's head and gathered the strips at the top and knotted.

DSC_0115.jpg

A friend of mine said they looked a little bit like ghost robbers, but in a cute way. Ha!

DSC_0123.jpg

I love the hats! I'm thinking about remembering this technique for winter caps--but using lots of overlapping strips so there are no holes.

DSC_0124.jpg

For the mask, I used black felt and measured a sideways "8" shape. I put in over my boy's eyes to properly measure where the holes would need to be cut. Then I added a strap of elastic to the back.

DSC_0125.jpg

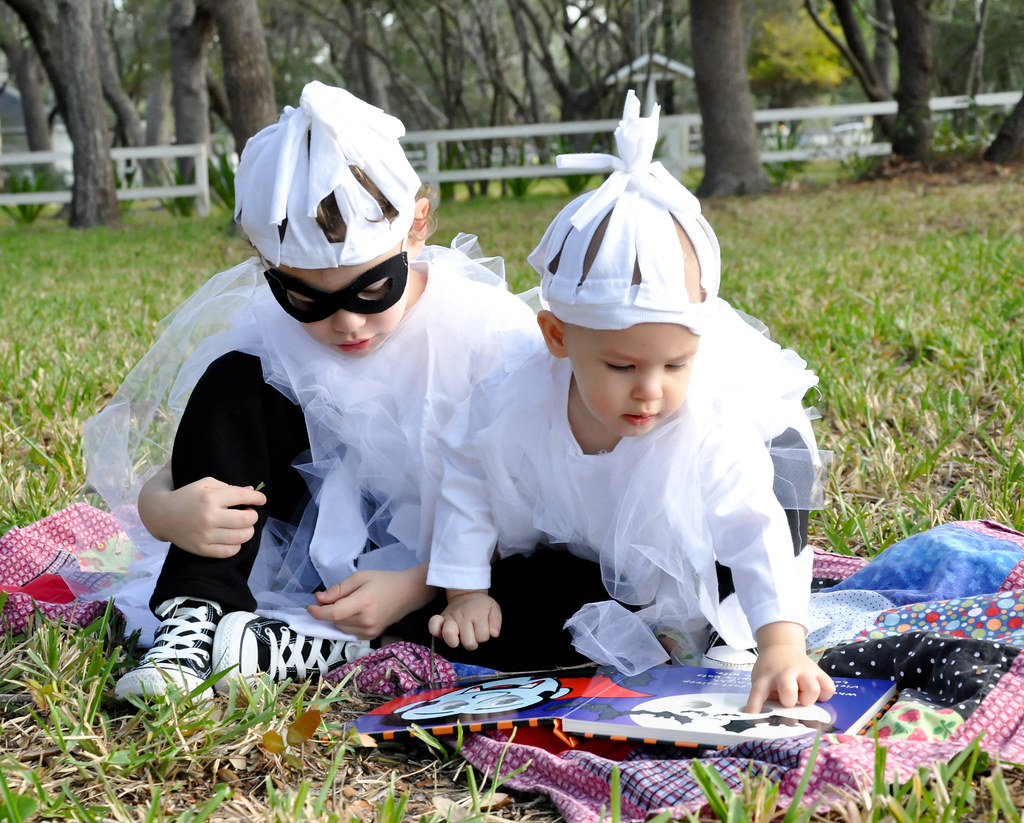
These little guys enjoyed running in the front yard and looking at a favorite spooky story book.

DSC_0137.jpg

Trick-or-treating is going to be a lot of fun this year, too!

erin

Shared with: Tatertots and Jello

Monday, October 24, 2011

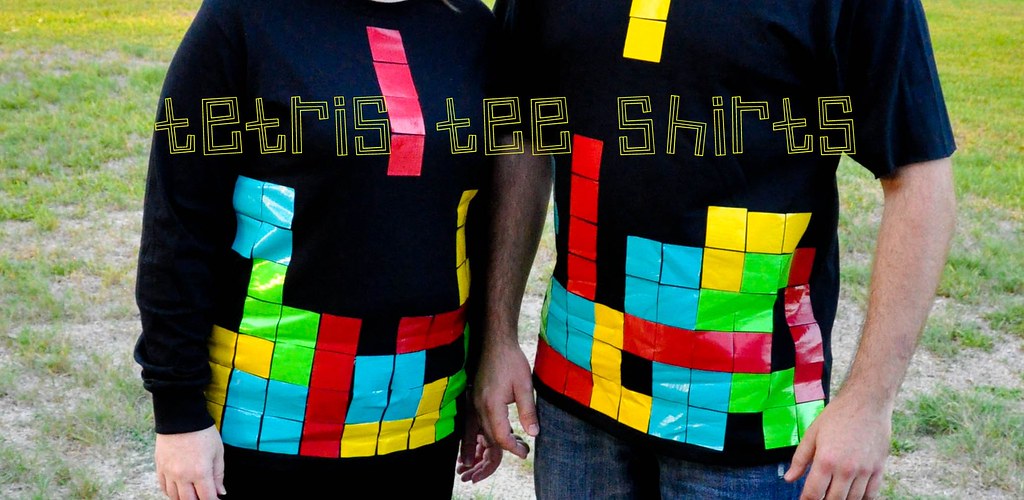
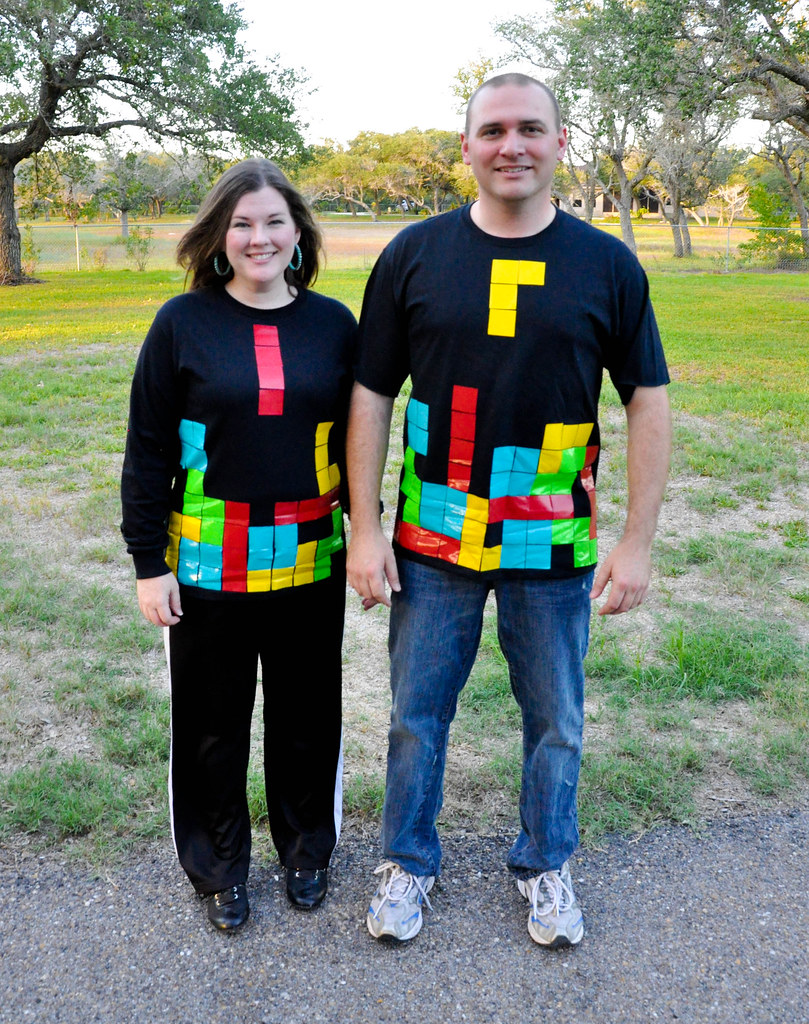
Tetris Halloween Costume from Duck Tape

I am the t-shirt transformation queen when Halloween rolls around every year. I've made Davy Crockett, some funny shirts for Jeremy and I to wear to pass out candy last year, and I even made my oldest an Elvis costume out of a black t-shirt and black pants when he was two. Maybe I'll dig up those photos and share them sometime.

Give me a glue gun and a Wal-Mart shirt and I can whip something up.

tetris costume t-shirt


My philosophy is, why start from scratch?

This was no exception and, if you follow on facebook, you probably recognize this picture below. I had a little contest going to see if anyone could guess what game we had picked for the theme party.

DSC_0038.jpg


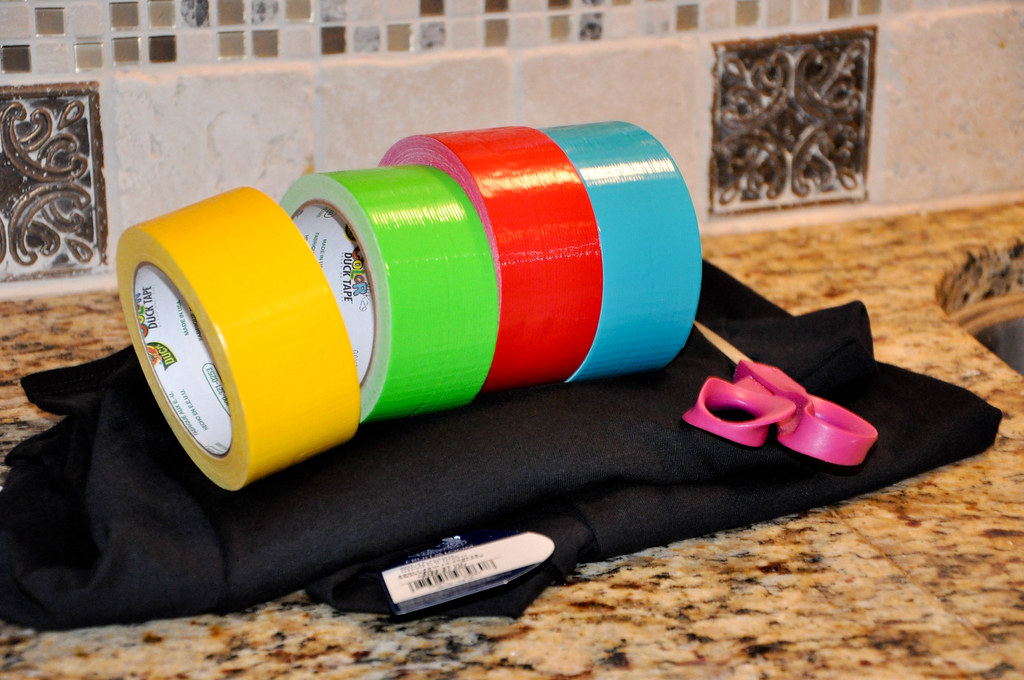
Some of you guessed Angry Birds, Candy Land, and Sorry! All of those would have been fun themes, but nothing beats how simple cutting squares of Duck tape was for Tetris.

I even sort of felt like I was playing Tetris as I lined everything up. Ha! 

These shirts took 10 minutes and if you want to make your own, I recommend using a square template to make sure every shape goes on straight.

DSC_0079.jpg

My boys' costumes are completed, too, and as soon as I can get their pictures made, I'll share them with you. 

I guarantee you'll see a couple more tee shirt transformations!

erin

Shared with: Sugar Bee Crafts, A Bowl Full of Lemons, Tatertots and Jello

Thursday, October 20, 2011

Guest Bathroom Makeover

I made a Facebook pinky-swear to post about the bathroom re-do today and I never break a pinky swear.

Our newest adventure is the guest bathroom. Here are the before pictures so you, too, can marvel at how its 1984 glory days had been living on for decades.

strange chainy light fixtures (I won't tell you exactly where I held them when a few girlfriends were over, but it involved pretend anatomy and got me a good laugh--just like 7th grade),

 faux mint green marbled countertops, 


peeling wallpaper (complete with a sad, sad trim) and bad laminate flooring,


awkward (and cheap) cabinet and an awfully small potty with a soft, cushy seat that spoke to whomever sat on it, "pffshhhhhhh," as it flattened underneath the weight. 

Aside from cosmetic issues that I so lovingly addressed above, the space had quite a few functional issues. 

1. The size and shape. It is a square bathroom with enough floor space but not a lot of surface, storage or wall space.

2. No windows = no natural light. The bathroom was very dark with only a vanity fixture for lighting. This also made choosing a paint color tricky.

3. Awkward, small toilet that felt like it was in the middle of the room, very exposed.

4. No vent

5. Small bathtub/shower

6. Narrow mirrors that left the room feeling like even more of a cave

7. Shallow sink with low faucet
DSC_0016.jpg

Our Solutions:

1. Floors. The old vinyl was ripped up and replaced with a grayish 18" ceramic tile and gray grout, then new baseboards were added. I want to point out that this was really old laminate flooring and solid glue held it in place. We pulled up as much as we could, but the bits and parts that wouldn't budge were tiled right over. It saved a lot of time--and elbow grease-- and was recommended by the professionals we spoke with.

2. Lighting. My images aren't stellar, but the fixture is here if you're interested. I'll also note that I got it for a half-price deal for only $26.10 and free shipping. Win! It adds so much more light, but the room really did need a centered overhead light too. Because we also wanted to install a vent, we went with a combo light/vent and it's functional--not the coolest (just a standard flushmount). 
DSC_0011.jpg

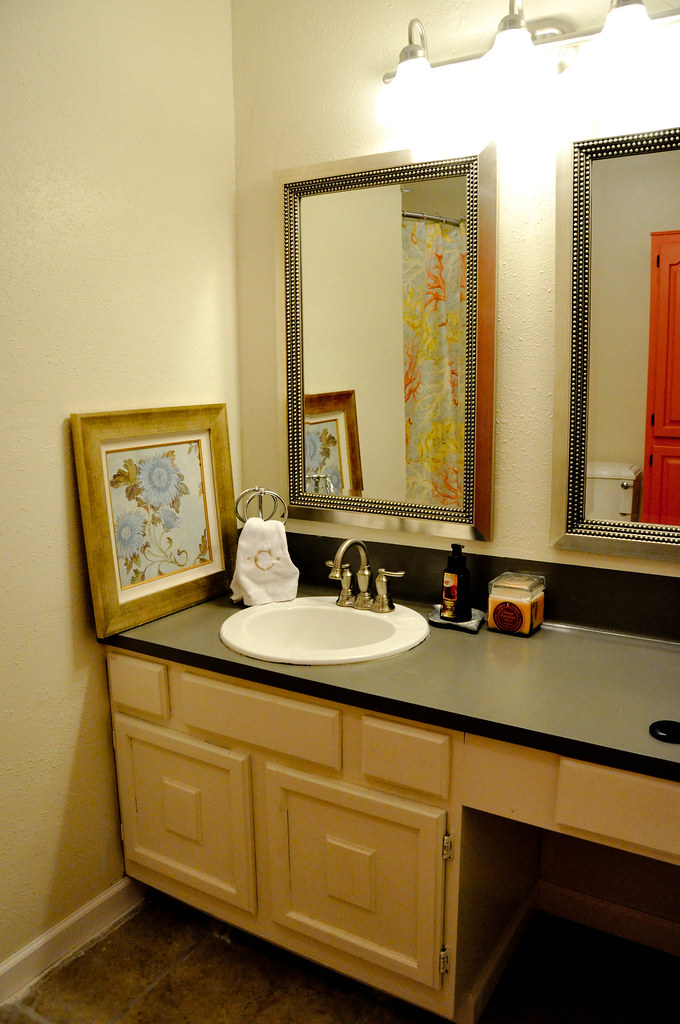
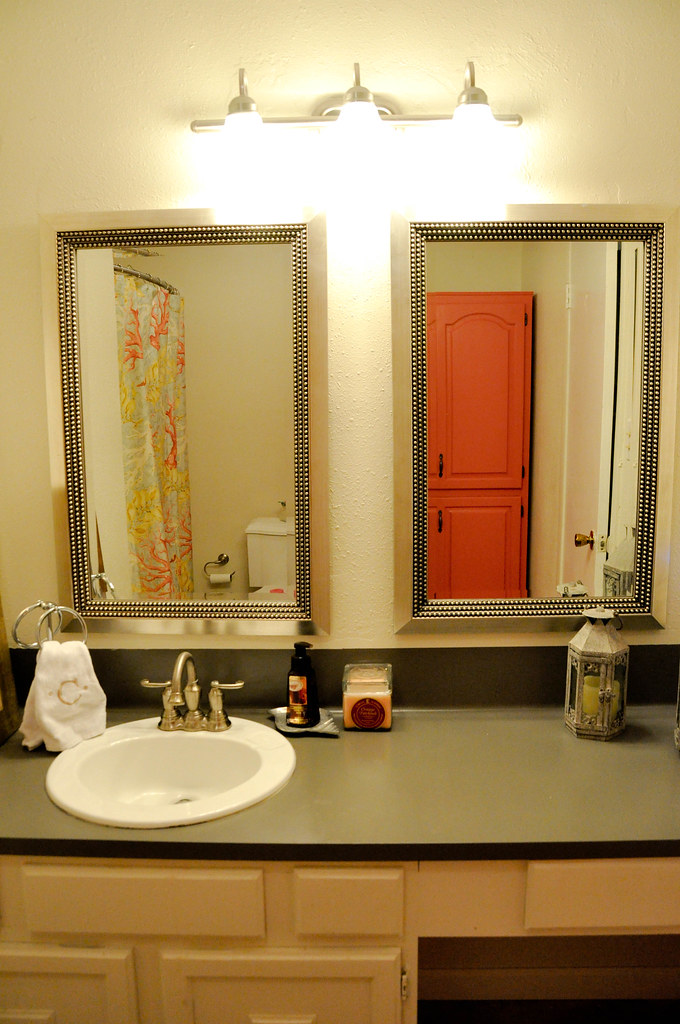
3. Countertop.  Though we did install granite in the kitchen, that was not in the budget for the bathrooms and I really deliberated on this decision. Should we install a different, more attractive, laminate? What about tiling it? Or, should we do nothing and save up for a solid surface? In the end, we saved our cash and painted it with a paint made specifically for laminate countertops, made by Rustoleum. It took two coats-- was VERY strong smelling-- but worked great! The paint was only about $20 and made one of the grandest impacts in the room. I recommend it.

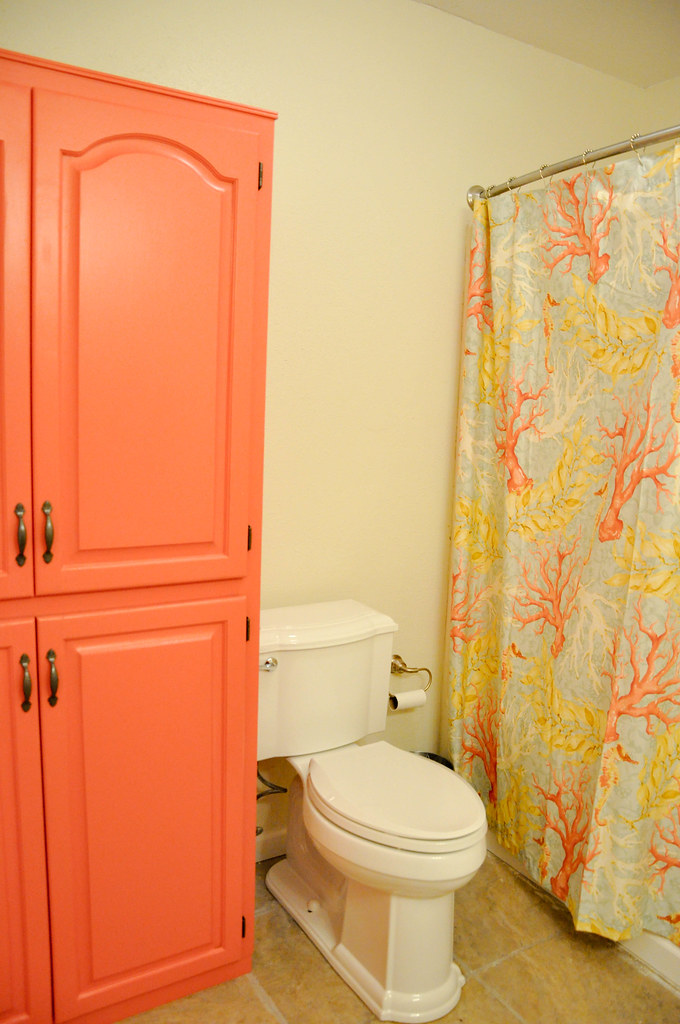
4. Cabinets. The vanity cabinet stayed and got a coat of glossy white. The too-narrow corner cabinet (with warping doors and a mildew smell) was pulled out and replaced by a Craigslist find that I sanded and painted with Valspar Firecracker. More on that later.

DSC_0010.jpg

5. Walls. Oh, the wretched wallpaper. I know it's very chic right now, but I will NEVER install wallpaper in a house. Jeremy proved his undying love a million times over by removing most of it and then retexturing the walls where drywall was ripped. And he never even said a bad word. The man is the Ghandi of home renovating. 

The paint color I chose is called Bistro White (also Valspar). I wanted to go very neutral to balance the bright curtain and bold cabinet. Also, the room is windowless and needed to maintain a bright, airy element.

6. Potty. Replaced. Good solid seat. The end.

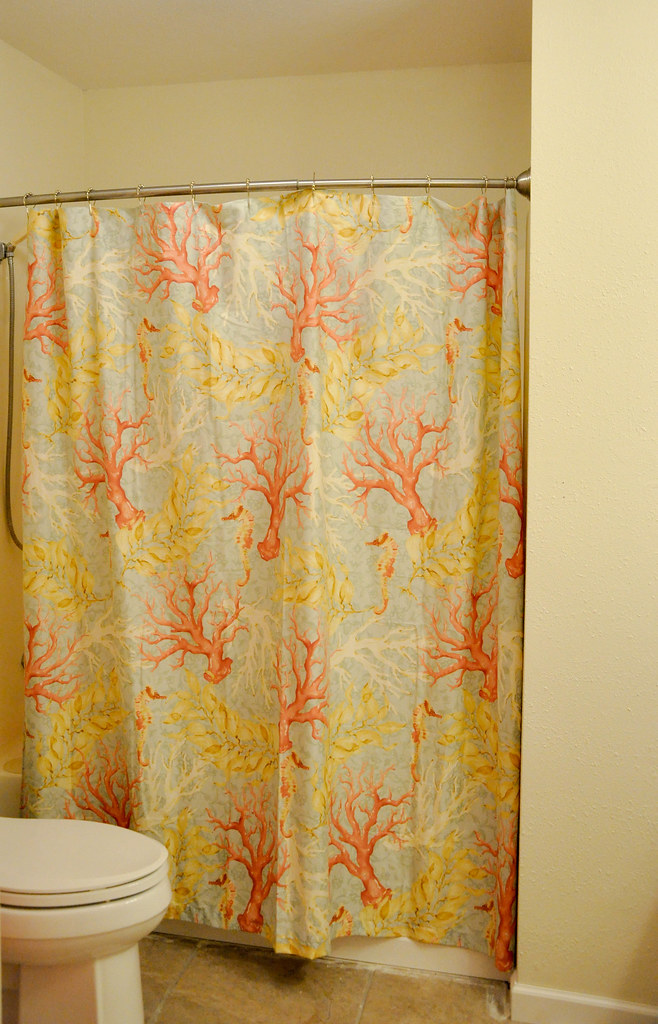
7. Details. We went with two pewter mirrors, a prettier faucet, a new toilet paper holder and a curtain rod that bows out to give a bigger feel to the smallish tub. I also splurged on the Pottery Barn curtain that adds color and punch, but still blends in with the softer blues and overall palette of our home.

DSC_0018.jpg

As is always the case with me, I haven't decided on a few accessories for the walls. 

It's so much better now. Best of all, we really did pay very little for the dramatic difference between before and after.

erin

Shared with: Miss Mustard Seed, Sugar Bee Crafts, A Bowl Full of Lemons, Tatertots and Jello

Wednesday, October 19, 2011

A Year of DIYing

It's been a while since I'd written about our DIY projects and fixing up this old house we bought a year ago. Wow. It really is hard to believe twelve months have vaporized behind us-- a little longer, in fact.

But we've been doing a lot. Time slips by like that when you're excited about living your life. When I went back to dig up pictures of the house, I scrolled through the months of images saved on my computer and was stunned at how far we've come-- as a family first, and also on the work we've done on our home.

the boys at this time last year (right before moving)

    • My boys turned 4 and 1 in this house.
    • We hosted Christmas Eve for the first time here.
    • We added a new dog to our family.
    the boys about a month ago
      • We met some new neighbors who have become friends.
      • We learned how to lay tile, rewire lights, install faucets and molding, how to retexture ceilings and walls, and how to get help when we needed it.
      • We developed a clearer style-- that's still evolving.
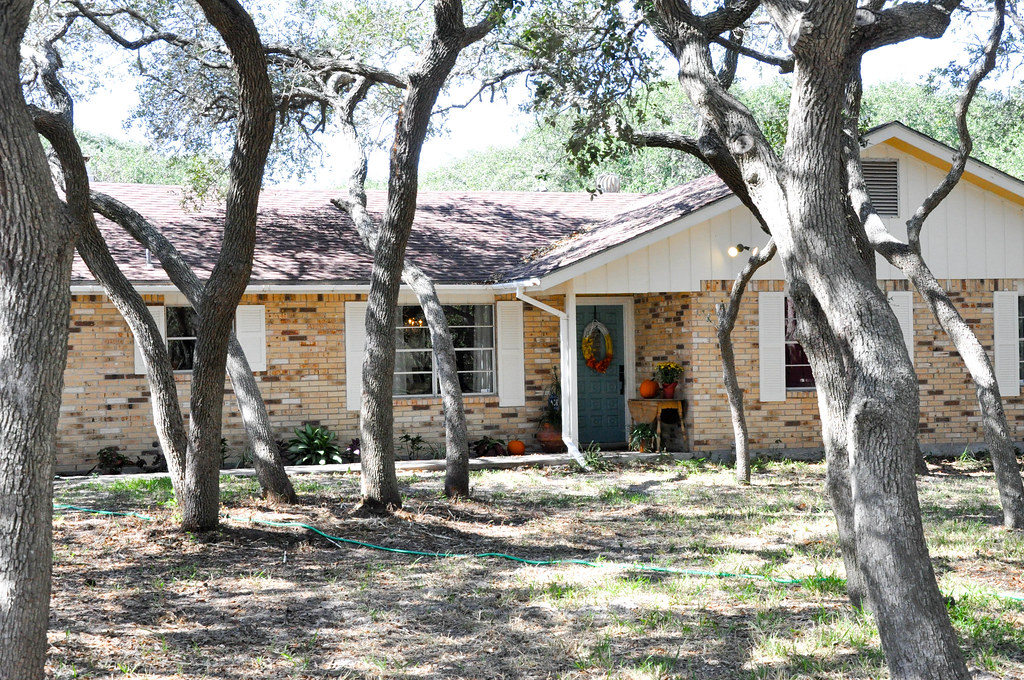
      October of last year-- greener grass, but LOTS of overgrown landscaping that hid the house from the street
      • Jeremy and I celebrated our 9th anniversary and started saving up for a trip to Italy for our 10th.
      • We bought a new car.
      • My baby took his first steps and said "Mama" right here in our living room.
      • My four-year-old learned to ride a bike on this driveway and read his first book at the dining room table.
      DSC_0020.jpg
      This year, Texas saw a terrible drought that took most of our grass with it. We did a lot of other yard work, though, removing about twenty giant palm trees that hid our house and harbored roaches.

      DSC_0022.jpg
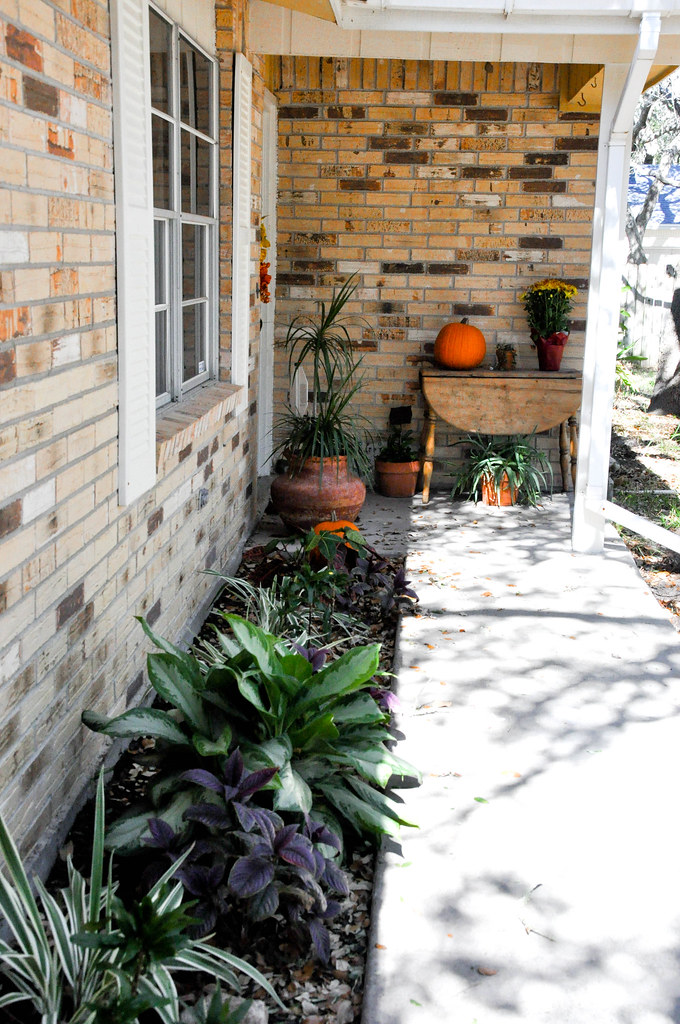
      The new front bed we put in this summer.

      Jeremy and I enjoy the work we've devoted to making our formerly ugly house into a cozy, inviting home for our family. It's time we spend together and it's an investment into our future memories. The pride of accomplishment, of learning to mend an uncomfortable space into a family place, has been invaluable. I wouldn't trade it.

      People always ask us, "Would you buy the house again, knowing all the work ahead of you?" Our answer is "Yes!" We have become better for it.

      And we saved a fortune!