Tuesday, November 9, 2010

Tutorial: Thanksgiving Activity For Around the Table

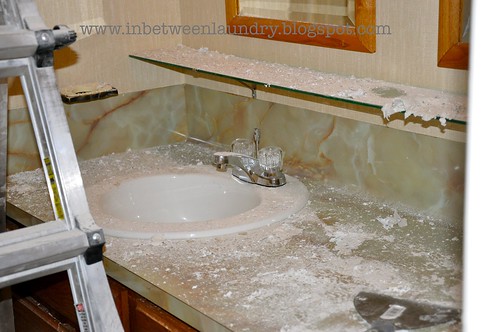
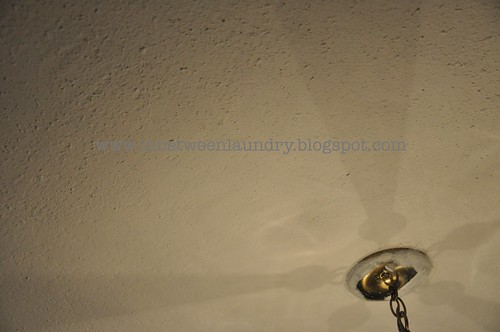
I'm hosting Thanksgiving this year and I truly believe that our crazy kitchen renovation will most definitely be finished,

all remodeling complete,

and perfect for my guests,

with no dust.

Fingers crossed.

Saying a prayer.

Please.

Anyway, I wanted to set up a little activity for my family that wasn't too sappy, but still emphasized the THANKFULNESS we all feel for our many blessings.
thanksgiving_activity_printable_tutorial_6


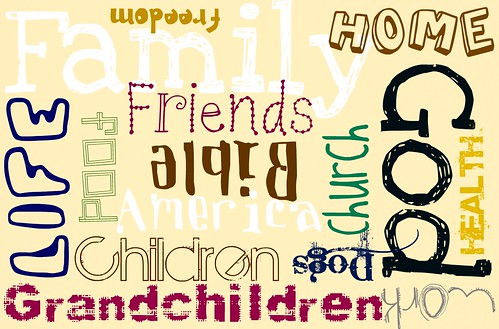
I came up with a printable card--kind of like that cute subway art--that displayed everyone's top things they're most thankful for.

While we're finishing up our meal, I'll hand these out and let everyone guess who is thankful for what.

Even the kids will enjoy it!

Here's how:

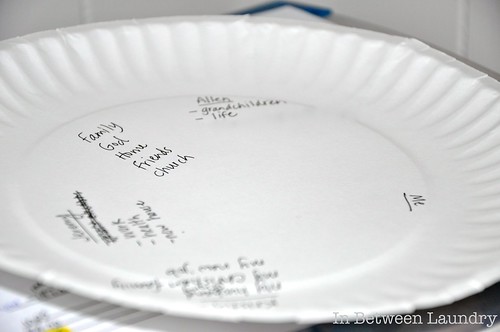
1. Send out an email, or facebook message, or text, or call if you have that kind of time (just kidding, Mom),  and ask your wonderful family members to let you know what three specific things they are the most thankful for this year.

2. Keep a list on a beautiful, monogrammed notepad if you're a highly organized individual like me.
DSC_0024

3. Using picnik.com, upload a picture that has some white in it. I used the sock monkey giveaway picture because there is a lot of white space on the top right.
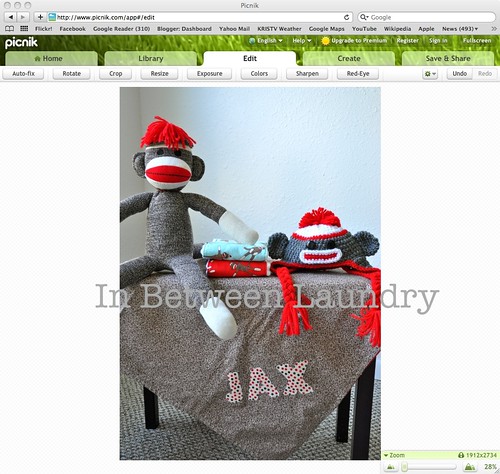
thanksgiving_activity_printable_tutorial_1

4. Select the "Edit" tab, then "Crop." Draw your rectangle around the white space and press OK.
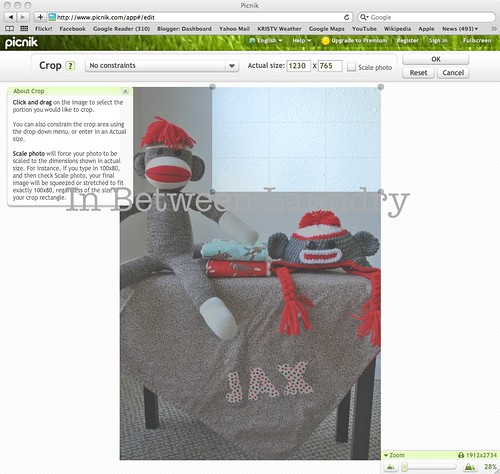
thanksgiving_activity_printable_tutorial_2
5. Now select "Exposure" under the "Edit" tab and drag the exposure bar to the right to give yourself a completely blank picture. This will be the starting point for your design.
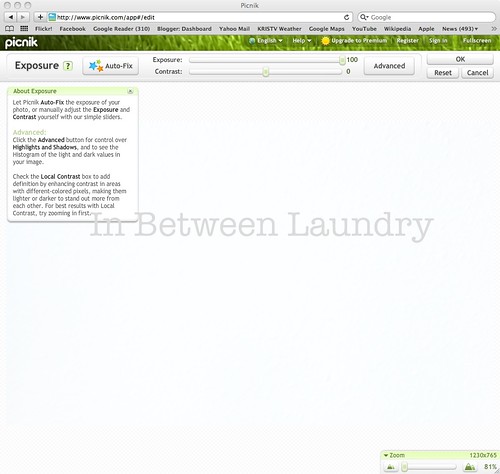
thanksgiving_activity_printable_tutorial_3

6. Under the same "Edit" tab, select "Colors." Adjust the saturation and temperature bars to find a color that you love.
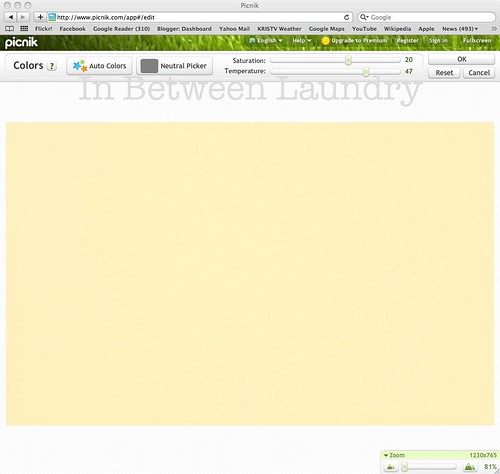
thanksgiving_activity_printable_tutorial_4


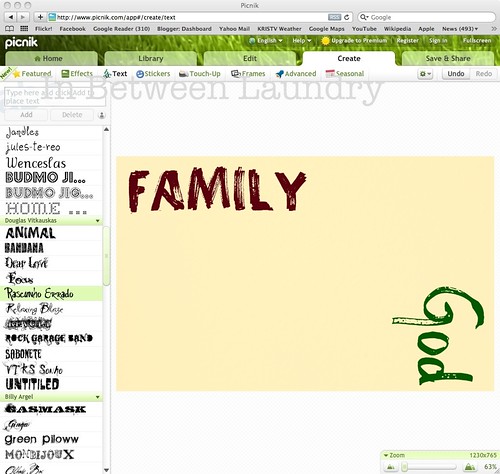
7. Select the "Create" tab and click "Text."
thanksgiving_activity_printable_5

8. You can play around with your colors and fonts here. Have fun creating different-sized words in varying directions. I'm probably going to print mine out at home using our home printer.

Happy Thanksgiving!



All Thingz Related

Monday, November 8, 2010

Sock Monkey Hat WINNER!


This giveaway has been so fun! Thanks to all who participated, and especially to Kay's Bows and More for giving away the adorable sock monkey hat.

I am completely in love with the one I bought for my little guy! My sister really liked hers, too!

And the winner is...

MelindaB, who said,

"Looked at her shop (super cute bows and beanies) but my favorite is in fact the monkey hat!"

MelindaB, send your mailing address to me at in_between_laundry@yahoo.com and we'll get you squared away!

Friday, November 5, 2010

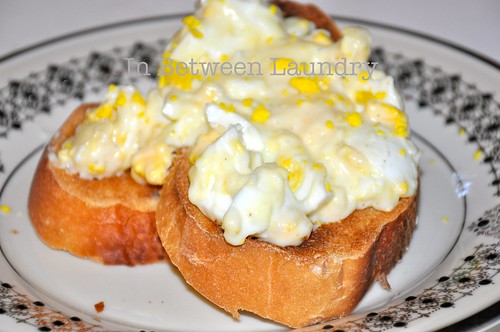
Eggs A La Goldenrod

I don't know what "a la goldenrod" means in the food world, but I do know it must be French.

DSC_0011

It must mean, "Eggs of the Yummy."

Yes. I'm sticking with that.

Growing up, my mom would make this comforting dish--boiled eggs stirred into a white sauce and served on toast-- on special mornings and sometimes on the weekends.

It's warm and delicious, and my husband and son love it just as much as I always did.

Make these eggs over the weekend and your family will thank you. Then you can thank me. And I'll thank my mama.

We'll overlook the weird name together.

Eggs A La Goldenrod
6-8 eggs, boiled and chopped
1/4 c. butter
1/4 c. flour
1-1/2 c. milk
salt and pepper to taste
French bread slices, toasted

In a saucepan over medium heat, melt the butter. Then gradually add the flour, whisking constantly. Stir and cook for 1-2 minutes. Slowly add the milk while constantly whisking. The sauce will thicken up pretty quickly. Salt and pepper to taste and stir in the chopped eggs. Serve hot over warm, toasted French bread.

Serves 4

Wednesday, November 3, 2010

Kitchen Cabinets Makeover--Part 1

**********

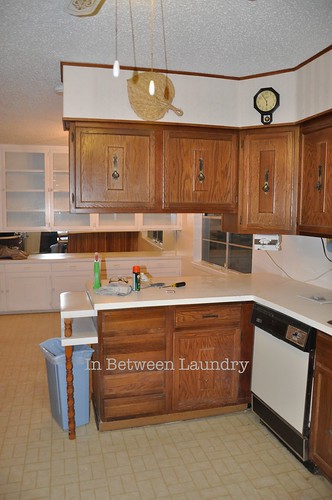
The kitchen cabinets in our new-to-us house used to look like this...

DSC_0030


complete with mildew and rotting shelves. Fabulous.

And they were so elegant in a cheaply-constructed, 1982 sort of way.

Don't you think?

This house is getting an overall makeover, and after new appliances, lighting, floors, countertops and backsplash, buying new cabinets (right now, anyway) just was not in the budget.

DSC_0004

(Retextured ceilings and new appliances--check. Yay!)

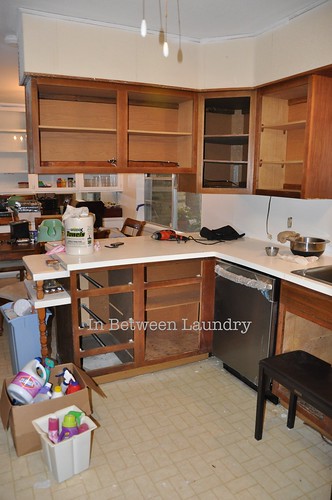
First of all, I scrubbed those puppies down using a mixture of 4 parts water, 1 part bleach and a few squirts of liquid detergent.

Then, I removed the existing hardware.

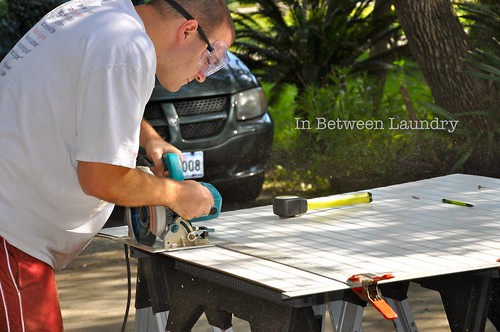
Next, my husband and his dad took down the doors and drawers.

DSC_0006

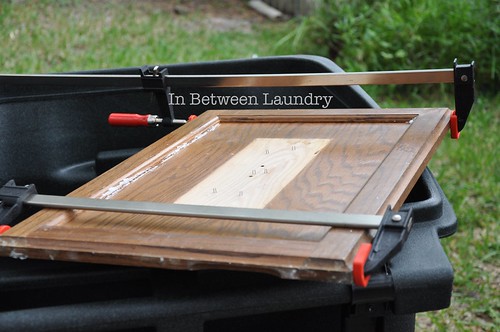
Some of the doors needed to be repaired with wood glue and they will be replacing the shelves that had rotted and were gross beyond repair.

DSC_0007

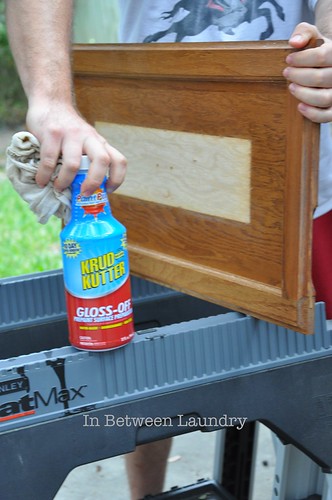
My father-in-law found this amazing stuff, called Krud Kutter (at Sherwin Williams).

They sponged it on the cabinets so they wouldn't have to sand them first.

This product allows you to paint right over it.

DSC_0011

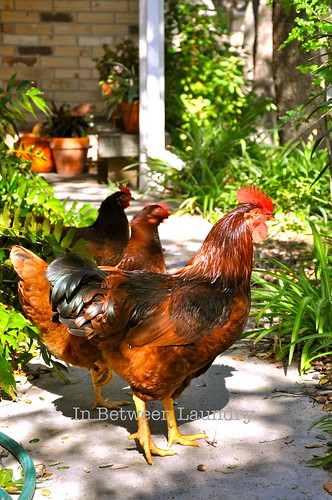
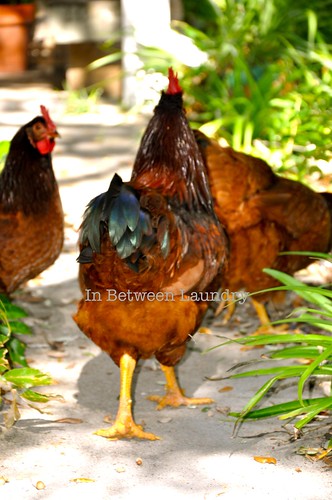
While they were working hard, the neighbor's chickens marched through the driveway and started pecking around the house like they owned the place. 

That was a first for this former city girl.

DSC_0012


Cabinets. Right!

I guess I was a little distracted.

Part 2 is coming up soon, but here's a little sneaky peeky of what we have planned.

DSC_0001

Monday, November 1, 2010

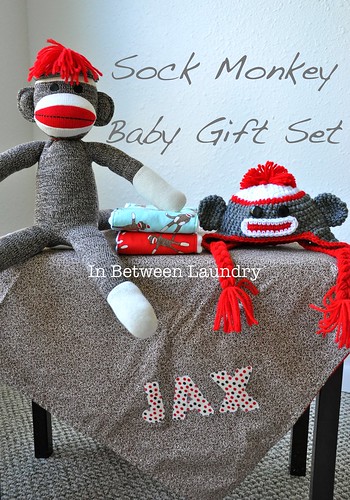
Sock Monkey Baby Gift Set and MY 1ST GIVEAWAY!

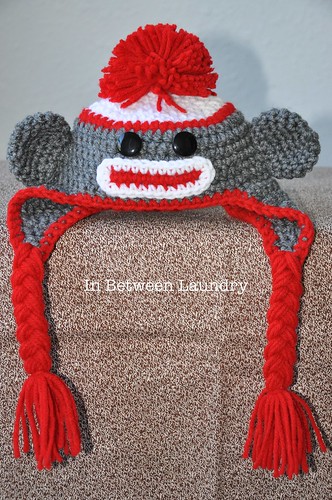
I ran across the most adorable baby hat, made by Kay's Bows and More, on Etsy the other day. 

DSC_0026


Hee Hee

Isn't it fun?

I thought it would be PERFECT for my sister's baby shower present.


DSC_0013


Have you seen the sock monkey fabric by Moda?

I'd been wanting to make something out of it forever and this was the perfect opportunity.


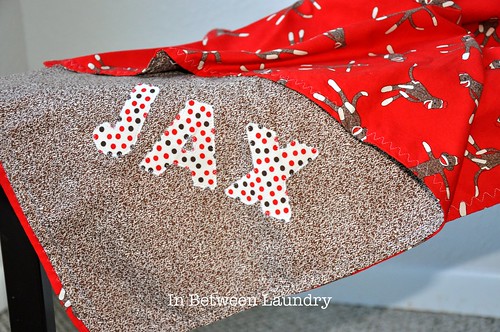
I started with a little blanket and appliqued my nephew's name on it.

DSC_0017

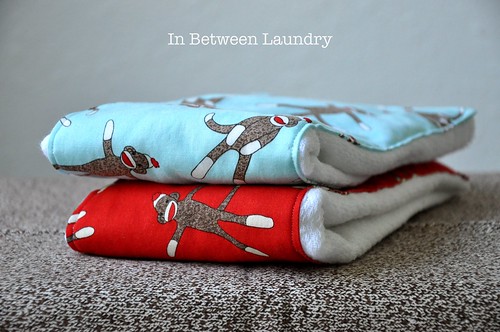
And then I threw in a couple of burp cloths.

In my experience, a mommy can never have too many.

DSC_0018

Then I found this cutie and had to add him to the mix.

DSC_0027

I think Baby Jax will love his new stuff.

I've already ordered one for my own little guy and CANNOT wait to get some pictures of him wearing it!

Hmm. Maybe Santa needs to tuck this monkey hat and a sock monkey into a certain fella's stocking this year.

***** SPECIAL OFFER *****

Don't you want one?

Kay's Bows and More has offered In Between Laundry readers half-price shipping on the sock monkey hat!

Click here to order yours!

***** GIVEAWAY *****


She's also giving away one free hat to a very lucky In Between Laundry reader.

To Win:

BECOME A FOLLOWER AND LEAVE A COMMENT SAYING THAT YOU ARE.
OR 
LINK THE GIVEAWAY TO YOUR BLOG, ETSY OR TWITTER AND LEAVE A COMMENT SAYING THAT YOU DID.

A winner will be picked at random and announced one week from today, on November 8th.

I can't wait! I love giveaways!

Good Luck!

Friday, October 29, 2010

Our Halloween T-Shirts

Today I saw a sign that said,

"If it weren't for the last minute, nothing would ever get done."

I would really get along with whoever came up with that one.

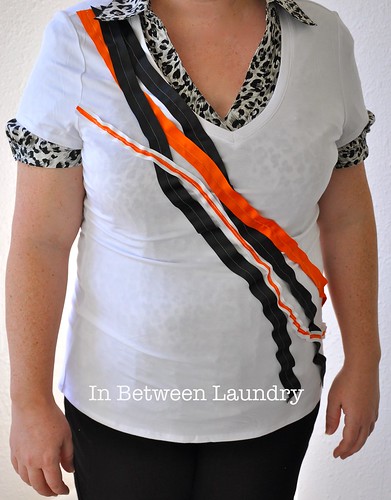
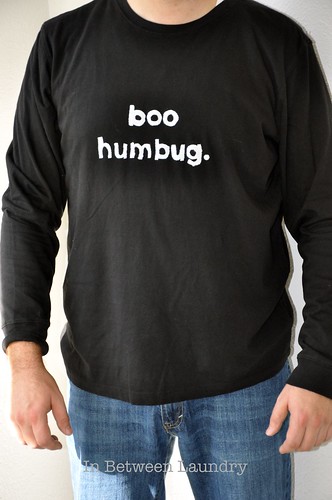
While the kiddos were napping this afternoon, I did a little last-minute crafting so the hubbo and I would have something festive to wear over the Halloween weekend.

Mine:

DSC_0014


So easy--I just sewed ribbons on a tee.

His:

DSC_0017


He actually said this to me at lunch today--and I made him run me over to Wal-Mart while we were out so I could stencil his witty little remark onto a t-shirt.

I think he was wishing he'd kept his big mouth shut. Ha!

MY 1ST GIVEAWAY is coming up on Monday morning.

Be there, baby.

Ooh... I'm so excited!

Thursday, October 28, 2010

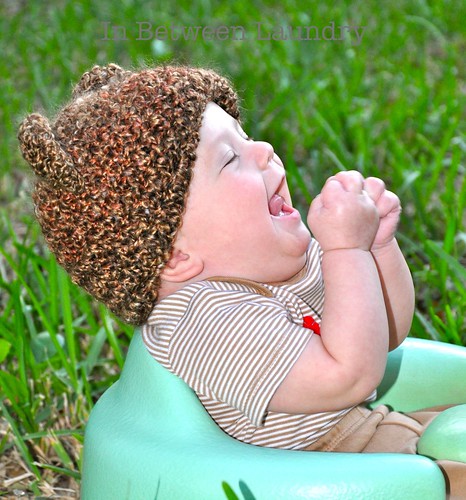
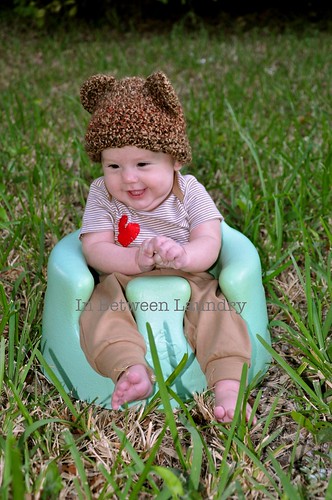
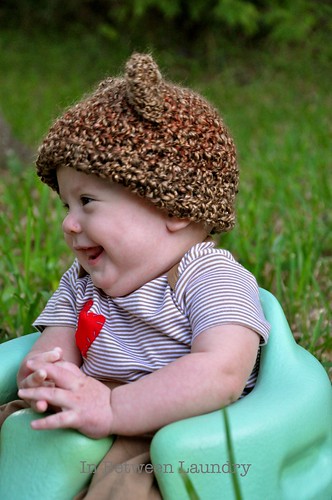
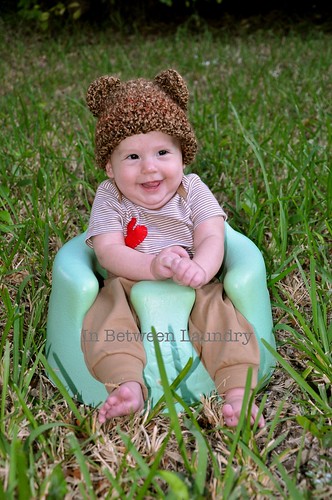
Happy Teddy Bear Costume

He's a ferocious beast...

DSC_0026


ready to pounce on his unsuspecting prey...

DSC_0018


and completely overpower the weaker species with...

DSC_0023


cuddles and drool.

DSC_0017


Happy First Halloween, Baby Boy.

I could just eat you up.

**********

PS: My mom did a beautiful job crocheting his little bear hat using and adjusting this free pattern found at SandyFrogLegs. That's a red felt heart I hand-stitched onto his onesie.

Wednesday, October 27, 2010

How To Remove Your Popcorn Ceiling (and a Zoolander plug)

Can we all agree on something?

Good popcorn:


Bad popcorn:


Good. Very good:


Bad. Very bad:


We recently bought a fixer-upper and those suckers had to go before we moved in--which was yesterday, by the way.

Let me tell you that going from a popcorn to a nice orange peel ceiling made our 1983 house look at least 20 years newer--without doing anything else!

Don't get me wrong, there's PLENTY left to do.

Retexturing is not easy. I won't lie.

It IS worth it.

1. Cover everything! When that junk comes down, it's a nasty mess. For reals.

2. Wear goggles and a mask. You don't want the black lung, Pop.


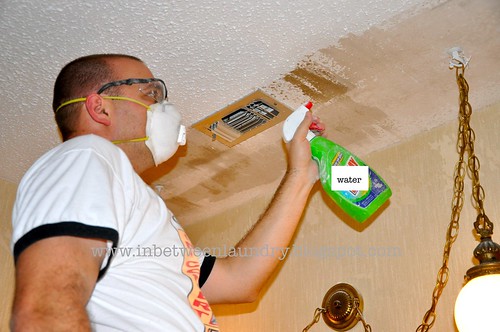
3. Using a spray bottle of water, spray the ceiling in a workable area--for my husband, it was a few feet at a time. If your ceilings are painted, you will need to let the water soak in for a few minutes.

Can we pretend that's a water bottle and not a Spray N Wash bottle he found in the garage and filled with water? 
'kay, thanks.

While we're pretending, can we just say that that chainy light fixture is gone forever? 
'kay, thanks.

DSC_0004


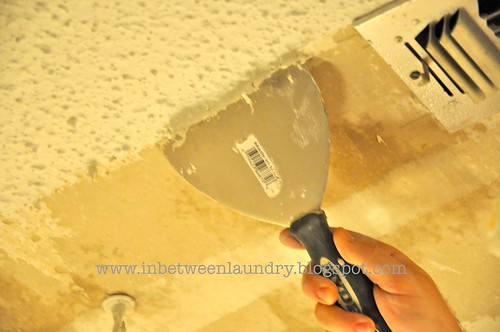
4. Scrape the texture off. My husband used a 6" putty knife and it worked like a champ.

DSC_0001


I told you it was a mess. Those countertops are going, too, my friend.
Oh. Yes. They. Are.

DSC_0007


**You could stop here, brushing off any residue, then paint.**

We're crazy. We believe hard work is its own virtue, so we went ahead and retextured, too, using a friend's hopper gun connected to an air compressor and boxed joint compound.

Next time (there will never be a next time), we'll skip that last part.

All done:

DSC_0012

If you want to keep your chainy light fixtures, feel free to remove them first.

Monday, October 25, 2010

Davy Crockett Treat Bucket


My little guy is going to be Davy Crockett for Halloween this year. 


Well, no self-respecting candy-hunter would even consider trick-or-treating without a fringed, coon-skin treat bucket! 


I have paint buckets-o-plenty lately (updates on our home reno coming soon), so I picked up a little faux suede and hot-glued it on. The fringe was a remnant that I cut myself and the handle was covered with a 2" piece of faux fur.

Are your kids' costumes ready?

I'd love to hear about your creative ideas!


The DIY Show Off


handmade projects