Wednesday, October 13, 2010

Thirty Minute Costume-- Davy Crockett

"King of the wild frontier."


I have a nursing infant, a house to pack because we're moving in two weeks, a house to finish remodeling  because we're moving in two weeks, approximately thirty-seven unwashed or unfolded loads of laundry on any given day, a husband and small child who enjoy eating regularly and, oh yeah, Halloween is this month!

Think. Think. Think.

We happen to have a coonskin cap that I picked up at Bass Pro Shop a while back.

Hmm. I can work with that.

After a fast trip to Wal-Mart at midnight last night where I picked up a tan turtleneck, khaki pants and a little over 3 yards of leather-like fringe, and armed with my never-fail glue gun, my boy is Davy Crockett.

No sewing required.

By the way, have you ever tried to hunt down a Wal-Mart employee to cut fabric for you at midnight?

After getting that accomplished, nothing is beyond my reach!


Watch out, bears, he's comin' for ya!

To turn the turtleneck into a collared shirt, make a cut down the front center to the seam and open it up.

Easy-peasy and done!

Now, what to do for the baby?



Linked:
Entertain Exchange
Sisters' Stuff

Tuesday, October 12, 2010

Storm Shutters, Be Gone!

Before:


And after:


What a difference!

Not only were the old storm shutters unsightly, they made the inside of the house seem much smaller and darker.

But the biggest reason of all that we took them down: they are a major fire hazard.

We still have TONS of work to do, but taking those old dogs off gave our new home an instant face lift.

And, doesn't that wreath just say "home"?


Photobucket

Monday, October 11, 2010

Mommy's Little Pumpkin

We are in the process of remodeling our new home... and we have TWO WEEKS left before move in day! Whoa mama, it's a little crazy around here!

And, why, exactly did we decide to take on this project with a three month old? Hmph.

It is very exciting, though. More to come on our progress--complete with before and after photos.

In the meantime...


Here is said three month old. 

He's nuttin' but trouble. And smiles. And goos. And goodness. And sweetness.

And those cheeks and that gummy grin. Don't get me started on how kissable this one is.

I think I need to go watch him sleep now.

Then back to the moving boxes.

Friday, October 8, 2010

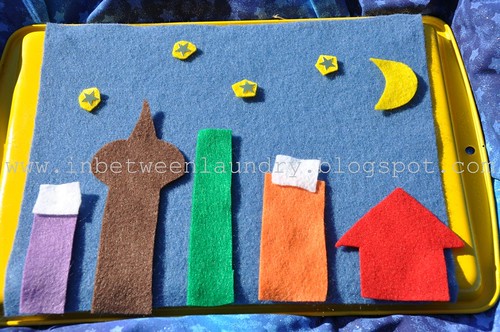
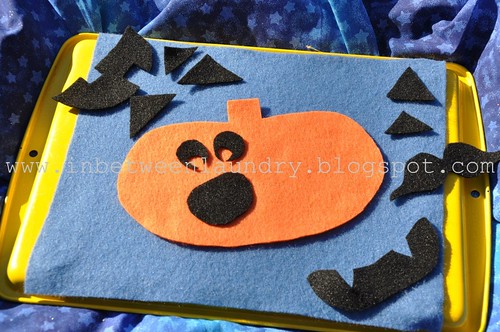
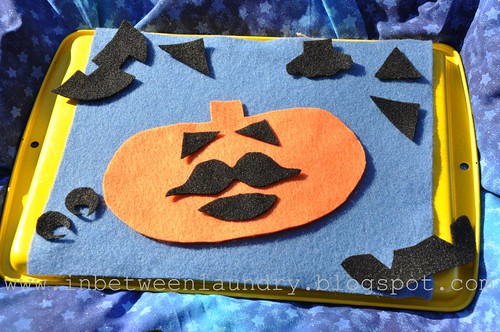
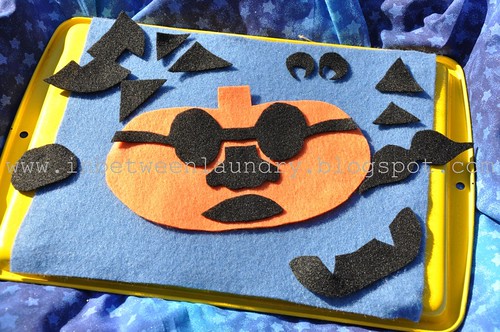
Feltic Games for the Busy Tray--It's A Longie

Heh. Heh. Feltic.
In case you missed 'em, here are directions for the Busy Tray. Here are magnetic games for the Busy Tray.

And here are my beloved feltivities. Heh. Heh.

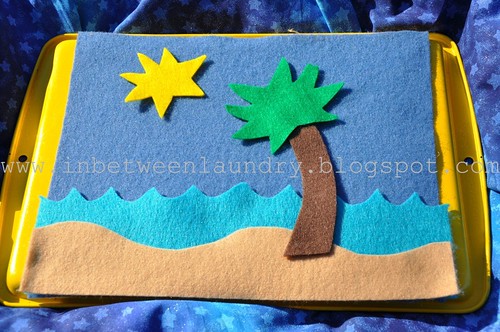
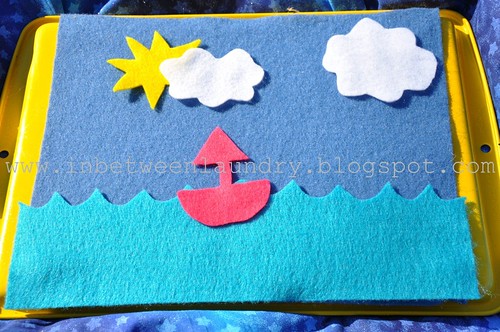
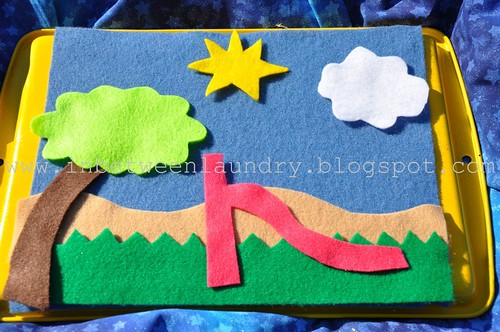
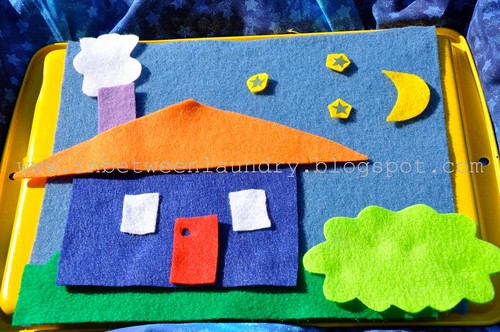
Forget the children, you will have F-U-N cutting out little shapes and figures from your colorful felt.

At least I did...

Perhaps I should have kept that little morsel to myself.

Anyhoo...

1. Feltic Scenes

DSC_0011


DSC_0010


DSC_0012


DSC_0013


DSC_0014


2. Feltic Mr. Pumpkin Head

DSC_0009


DSC_0007


DSC_0008


DSC_0006


Have an absolutely wonderful weekend!

Thursday, October 7, 2010

Magnetic Games for the Busy Tray

If you missed my post about making a Busy Tray, click here. Felt games are here.

We're loving that thing over here in our corner of the world and you will, too.

As promised, here are two games that are fun for the magnetic side of the tray. (Felt activities are coming and, boy oh boy, I cannot wait to share. So exciting!)

1. Learning To Spell Using Familiar Names


Simply print a photo of a special person with his/her name to the side. Leave enough room for your magnetic letters.

We have upper- and lower-case letters in our set so words like "Dad" and "Mom" (with two of the same letter) are fine. If your set is all caps, you might consider printing out letters on card stock and sticking magnetic strips to the back or getting a second set.

2. Tic-Tac-Toe

We are game people, remember?


Using 9 bottle caps, I attached X's and O's to the tops and magnets to the bottoms.

Easy.

I then cut the # shape from paper and stuck magnetic strips to the back.

Easy again.

Confession: I really do try to not use Mod Podge in every single project.

Someone help me; I just can't resist it.

I love that shine.

I did, in fact, Mod Podge my # shape, but you are probably capable of self-restraint and can walk away from any unexplainable impulses you may or may not have.

Busy Tray 
Felt Games

My Little Stinker on Totally Tots!

Our little guy was featured on Totally Tots! That made my week!


I have loved visiting that site for over a year. Go check out the other little cuties and load up on great ideas while you're there!

Wednesday, October 6, 2010

Busy Tray

Yesterday was... hmmm...

My husband said it best when referring to our three-year old. 

"Either he gets a sedative, or I do."

Thus was born the Busy Tray. 

This is an idea that I'd been mentally tweaking for a few months, and yesterday, I made it.

I really wanted something that:

1. would work in the car or a waiting room
2. was magnetic
3. was a hard surface for writing and coloring
4. had a lip so crayons and pencils wouldn't fall to the floor
5. could be used for a snack tray if need be
6. was cheap and easy to make
7. was lightweight-- something my boy could carry himself

    I used an old baking sheet, spray painted it bright yellow (it took several coats), then mod-podged a piece of cute scrapbook paper to the inside.

    But, I also wanted to have the option of bringing along felt games, so...


    I added a detachable felt piece with Velcro. 

    Now he can use the bottom side for a writing surface if he wants, or he can play with some felt games that I made (more on that later).

    Plus, it won't be hot on his lap if it's left in the car.


    Tuesday, October 5, 2010

    Chicken Fajita Chowder

    Last Thanksgiving, my family all packed up and drove to my sister's house out in the country.

    We all arrived the Wednesday before and planned on sharing an easy meal together before the main event the following day.

    This is what we had and, can I just say, I enjoyed it more than the turkey!

    As the weather turns cool and crisp, nothing beats this hearty, healthy, and incredibly tasty meal! It is one of my family's favorites. In fact, my husband cheered when I said I was making it tonight. Ha!

    So, grab a spoon and dig in!


    3 T. flour
    1 T. fajita seasoning
    1 t. chili powder
    1 t. cumin
    4 boneless, skinless chicken breasts, cut into 1" cubes
    3 T. vegetable oil
    1 onion, chopped
    1 t. garlic, minced
    15-1/4 oz. can sweet corn and diced peppers, drained
    15 oz. can black beans, drained and rinsed
    14-1/2 oz. can stewed tomatoes
    4.5 oz. can chopped green chiles
    3 c. water
    1 c. instant brown rice, uncooked
    10-3/4 oz. can nacho cheese soup
    1-1/4 c. water

    Optional toppings: corn chips, cilantro, sour cream, cheese, green onions

    Combine flour and seasonings in a Ziplock bag; add chicken. Seal bag and shake to coat.

    Saute garlic and onion in hot oil in a large Dutch oven over medium heat for 2 minutes. Add chicken and seasonings. Stir until browned, about 5 minutes.

    Add corn and next 5 ingredients; bring to a boil. Reduce heat to medium-low and simmer, covered, for 5 minutes. Add the soup and 1-1/4 c. water. Heat through. Sprinkle with desired toppings.

    Serves 8-10

    Linked with:


    Monday, October 4, 2010

    BOO magnetic frame

    Over the weekend, I decided I wanted to display pictures of my family from Halloweens past.

    We don't have a lot of shelf space for picture frames so I bought a vinyl magnetic photo frame and added a little froof.

    Hey, I live in a house full of boys. I take my ruffles when I can get them.

    Isn't it just stinkin' cute?!?


    My sweet little sweetie was 1-1/2 this year and I dressed him as Elvis.

    For the frame: I hot-glued ribbon and beads along the edges being careful to not glue the top shut. That's where the picture needs to go.

    By the way, to make your ribbon ruffly, simply run it through the sewing machine on a long stitch. My ribbon ruffled automatically, but you may need to pull on it a little.

    Then I started thinking...


    Since I seem to be all about interchangeable things these days...

    Why not make an interchangeable photo frame/candle holder?

    I mentioned that I was short on flat surfaces for displaying things. This is a two-for-one and I am already thinking of the possibilities for other holidays.

    Last, but not least, thanks for reading! I hit the 2,000-views-mark over the weekend! Wow! I hope you enjoy these quick and easy projects I come up with. I'm having fun with this little blog.

    Love,
    Erin

    Friday, October 1, 2010

    Harvest Caramel Corn


    Oh my mercy. This stuff is good. Man, it's good.
    The popcorn is sweet and buttery with the most deliciously spiced caramel and dried fruit, yet salty and crunchy...

    I may need a moment.

    Grab a paper bag of this and sit out on the back porch while the kids play. Or pack it up for the football game this weekend. Or cuddle up on the couch with your sweetie and share a bowl in front of a movie.

    Life doesn't get much better than that.

    Ingredients:

    3 quarts popped popcorn, picked free of unpopped kernels*
    1 cup dried apples, cut into 1/2" pieces
    1/2 cup dried, sweetened cranberries
    1/2 cup almonds, sliced
    3/4 cup packed brown sugar
    1/4 cup butter
    3-1/2 T. corn syrup
    1/4 t. salt
    1-1/2 t. pumpkin pie spice
    1/2 t. ground ginger
    1/4 t. allspice
    1/4 t. baking soda

    Directions:

    Preheat oven to 250 degrees F. Coat bottom and sides of a large roasting pan with cooking spray. Place popped corn in roasting pan and stir in fruit and almonds. Set aside.

    In a heavy 2-quart saucepan, combine brown sugar, butter, corn syrup and salt. Heat to a boiling on medium heat, stirring until sugar is dissolved.

    Continue to boil to the firm ball stage (248 degrees F). Remove from heat; stir in spices and baking soda. Pour hot caramel mixture over popcorn, mixing well.

    Bake 45 minutes, stirring every 15 minutes. Remove from oven; cool completely. Break apart and store in air-tight container.

    Makes about 3 quarts.

    *Note: 3 quarts popped corn = a little under two 3.5 oz. bags of microwave popcorn or 6 T. kernels


    Thursday, September 30, 2010

    Tutorial: Switch-A-Roo Shoes (Part 3)


    I'm jazzing up a simple pair of slippers with interchangeable embellishments.

    Say that three times fast!

    If you missed Part 1 and Part 2, check those out for other fun ideas and a detailed explanation on prepping your shoes.

    This time I decided to go with something a little eclectic.

    1. The bottom layer is a simple loop of ribbon (my ribbon was 6" long). Naturally, I picked an animal print. Tack it in place down the center with a needle and thread.

    2. To make the second layer, use a wired ribbon (mine was 9" long) and fold it in half. Use the fold to gauge where the middle is and create your center pleat.

    3. Then fold two more pleats on either side.


    4. With your needle and thread, tack the layers in place, being careful not to go through your top layer.

    5. Stitch the two different ribbons to each other.

    6. Hot glue a decorative button to the top.

    7. Finally, attach your Velcro to the back and you're done!

    One pair of plain mass-produced shoes became three totally unique and one-of-kind pairs of slippers!

    Wednesday, September 29, 2010

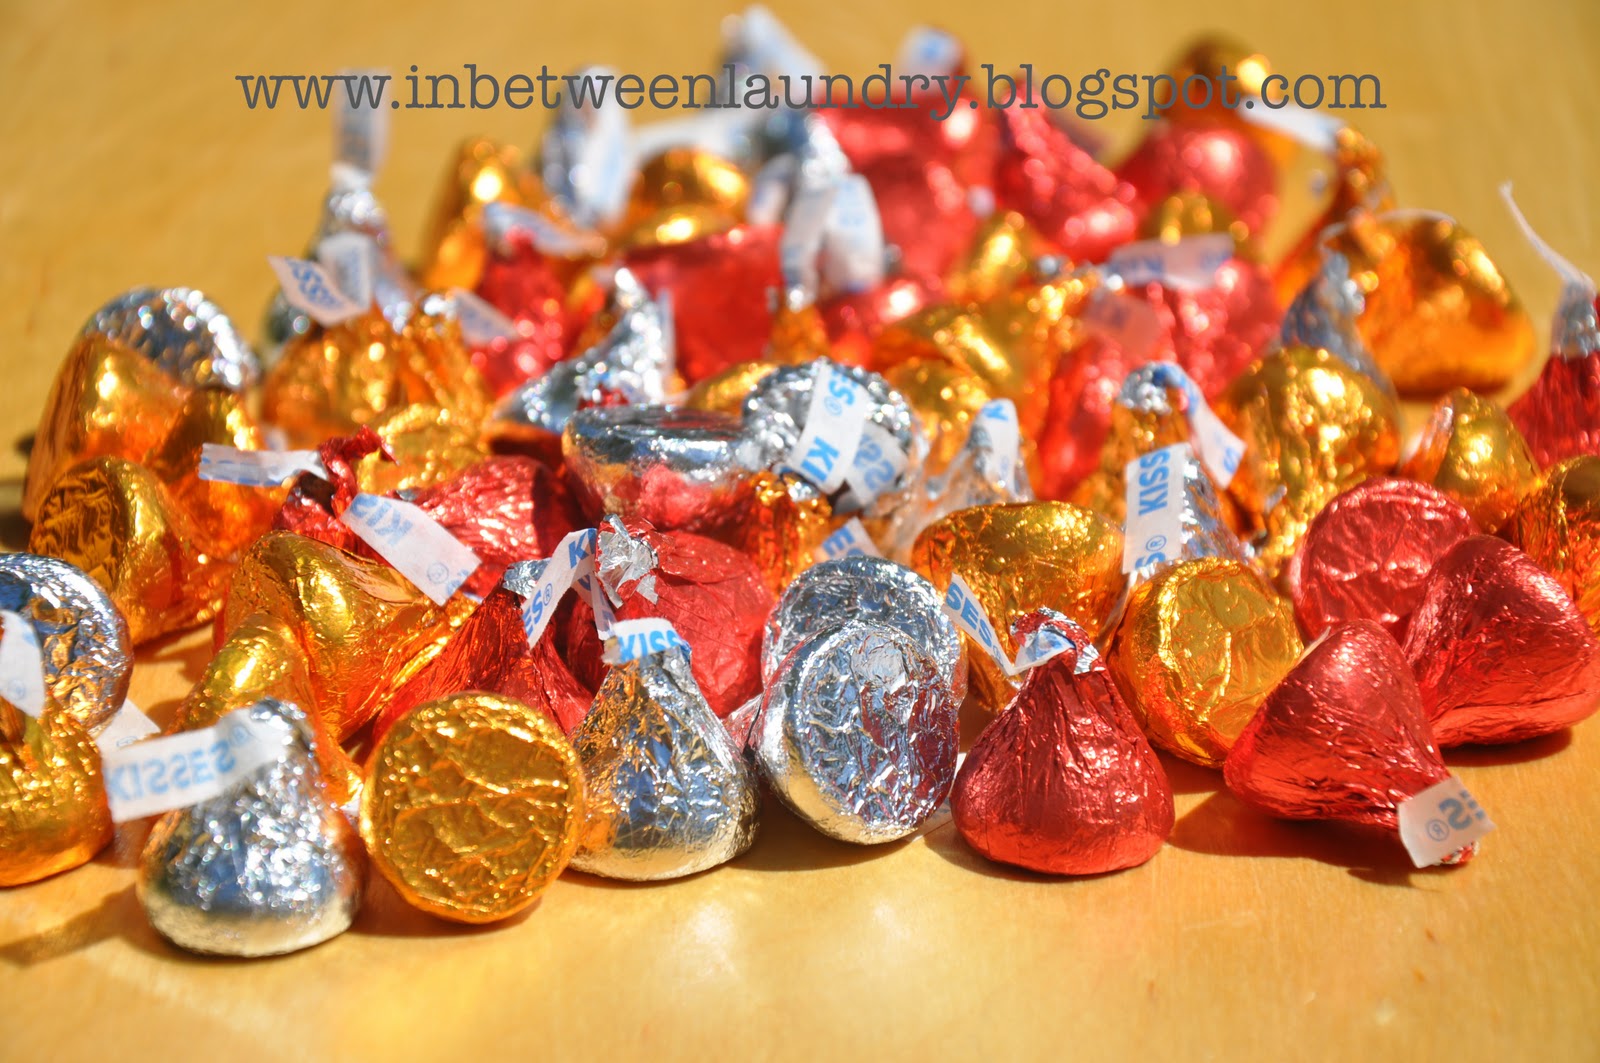
    K is for Kisses


    Do I have your attention? Chocolate does that.

    A couple of months ago, my three year old and I began a Letter of the Week program with a twist: we don't go in alphabetical order.

    He knows his ABCs so I let him pick whatever letter sparks his interest for the upcoming week. Getting to have a little say in his education makes him feel special.

    Then I spend a few minutes jotting down ideas for activities we can do together that relate back to that letter. We practice writing the upper- and lower-case letter, play word games (clap when I say a word that begins with "O"), and look for our letter on businesses and signs while we're in the car.

    The best part, though, is that we sit down together and think of a few people we know who's names start with our letter of choice and brainstorm simple ways we might serve them or brighten their day. We also make sure to include that person or those people during our daily prayers.

    This has been a really nice way to help our little guy meet people at church he doesn't normally interact with and stay in touch with out-of-town relatives and friends.

    Letter K was his pick for this week so we decided to take some Hershey's Kisses to Kristi.


    He filled up the baggie. He may or may not have eaten one or two.

    I may or may not have eaten one or two or three or four.


    I wrote "K IS FOR KISSES" and he searched for the letters out of some foam stickers I had. He then peeled off the backs and stuck them to a piece of paper.


    I quickly folded a piece of green scrapbook paper over the top and stapled it in place.

    Here is what I typed up for the back.


    Who wouldn't love a bag of chocolate delivered by a cute munchkin?


    Tuesday, September 28, 2010

    Tutorial: Switch-A-Roo Shoes (Part 2)

    If you read my earlier post, you know that I'm blingin' my shoes for fall. (Check it out here for detailed instructions on prepping your shoes.)

    Because I wear a lot of turquoise, I wanted to incorporate my fave color into the next Switch-A-Roo project.


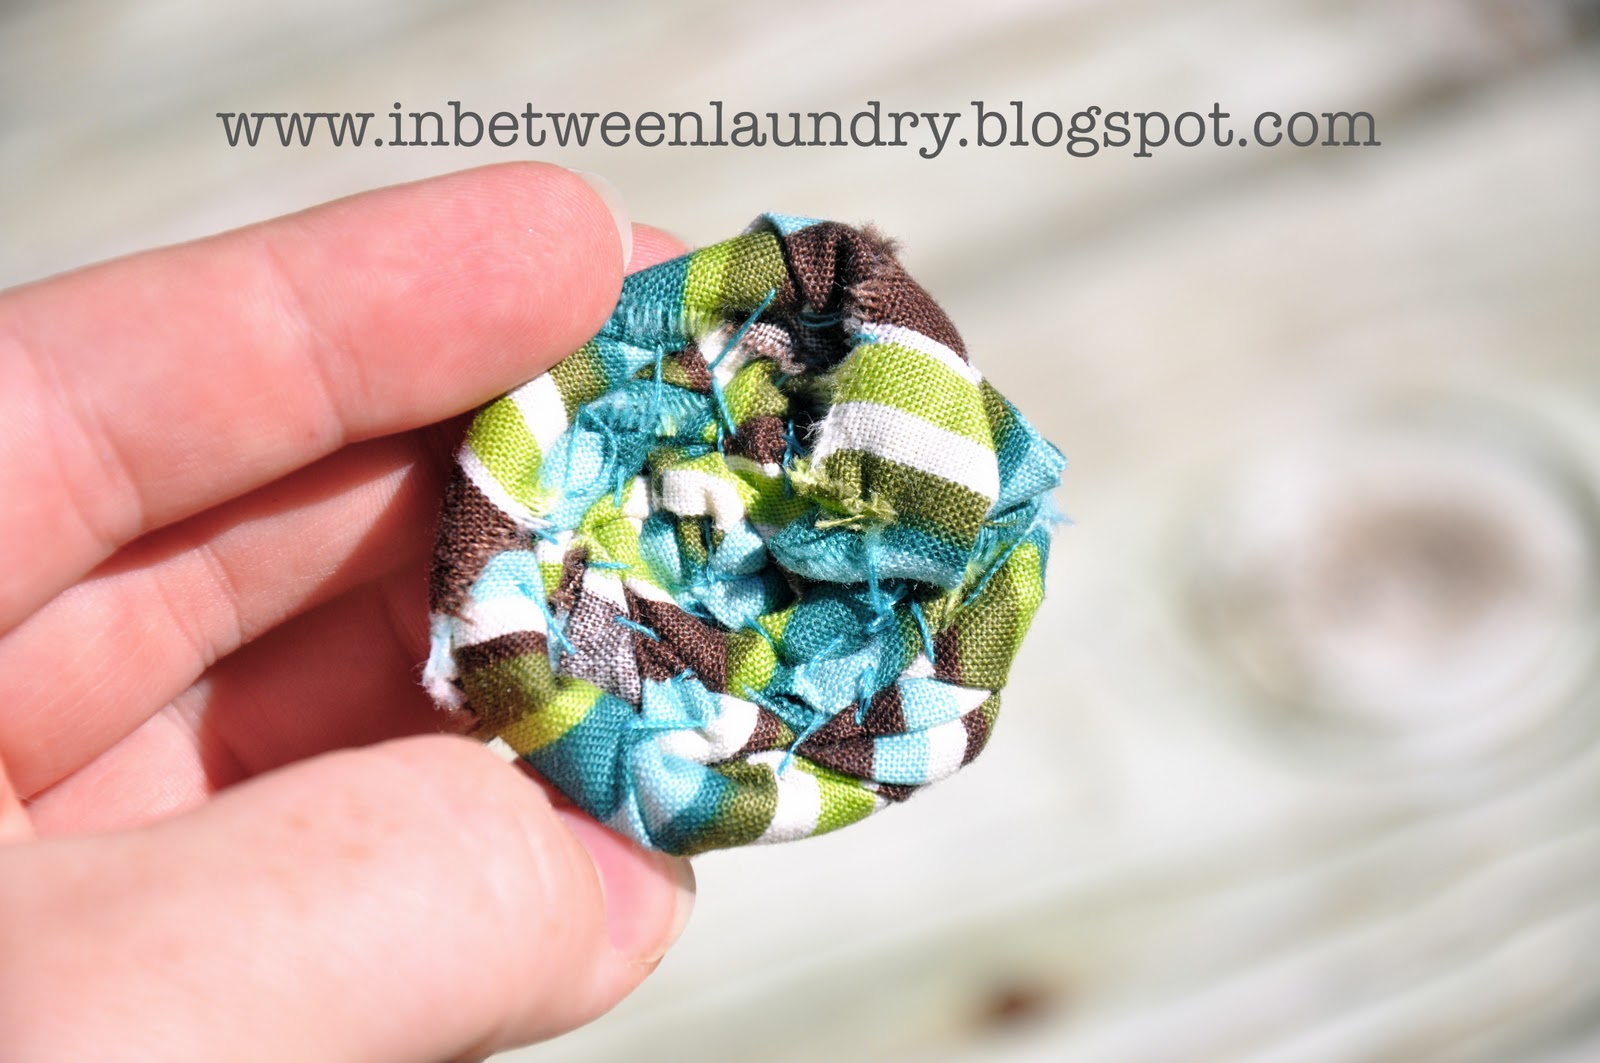
    While many of you already know how to create these perfectly messy fabric rosettes, or cinnamon rolls, as I like to call them, some of you may be interested in learning.

    It's a cinch and takes very little time. Mere minutes, in fact. 

    I'm all about that.


    Start with a strip of fabric for each rosette. My pieces were 3" by 20". 

    Notice how messy it is: unironed, frayed edges. The shabby look is just right for this project.


    Knot one end.


    Twist the fabric as you roll it around the knot. 


    Hand stitch the rolls together with stitches showing on the back only.

    This hand-stitching is horrid. 

    I'm okay with that.

    My mother-in-law once told me that if someone examines your stitching too closely, she's not your real friend. Wise words.


    Attach your Velcro to the back and you have a brand new pair of shoes!


    I still have one more set of sassy embellishments to share with you.

    In the meantime, enjoy your Tuesday afternoon!

    Part 1
    Part 3