Showing posts with label guest blogger. Show all posts

Saturday, September 3, 2011

Let's Welcome Christina

I'm very pleased to have recently met Christina from Christina's Adventures. She is a devoted educator and has a blog that will inspire you. Her thrift-store transformations make my little heart go pitter-patter and I'm so thankful to have her visiting us today! I'm over there today so go check it out.


I'm so excited to be guest posting here today! I think Erin is so cute and sweet, and her family is just adorable!!

I'm Christina, and I have a blog about my life, which includes making many things with very little money :)

I have a small family that I love with all of my heart. My husband just recently graduated from seminary, and I am a K-2 Autism Support teacher. We have a dog, Buckley, who is truly our baby while we don't have babies of our own!
A little over a year ago, I discovered the amazing power of up-cycling. Since then, there's been no turning back! I *LOVE* finding very cheap (often free) items and making them beautiful!

Crafting and re-purposing furniture is much more than a hobby for me. It's a way of relieving my stress after 12-hour work days, as weird as that sounds! Instead of shopping for clothes, you can find me rifling through "junk" at local thrift stores, or making the monthly trip to ReStore for some treasures. I have found an amazing community of women through blogging, and I have truly grown to love my readers/subscribers! I love making connections, and many of their stories will forever stay with me!

OK enough with the sappy stuff...here's some things you'll see on my blog!

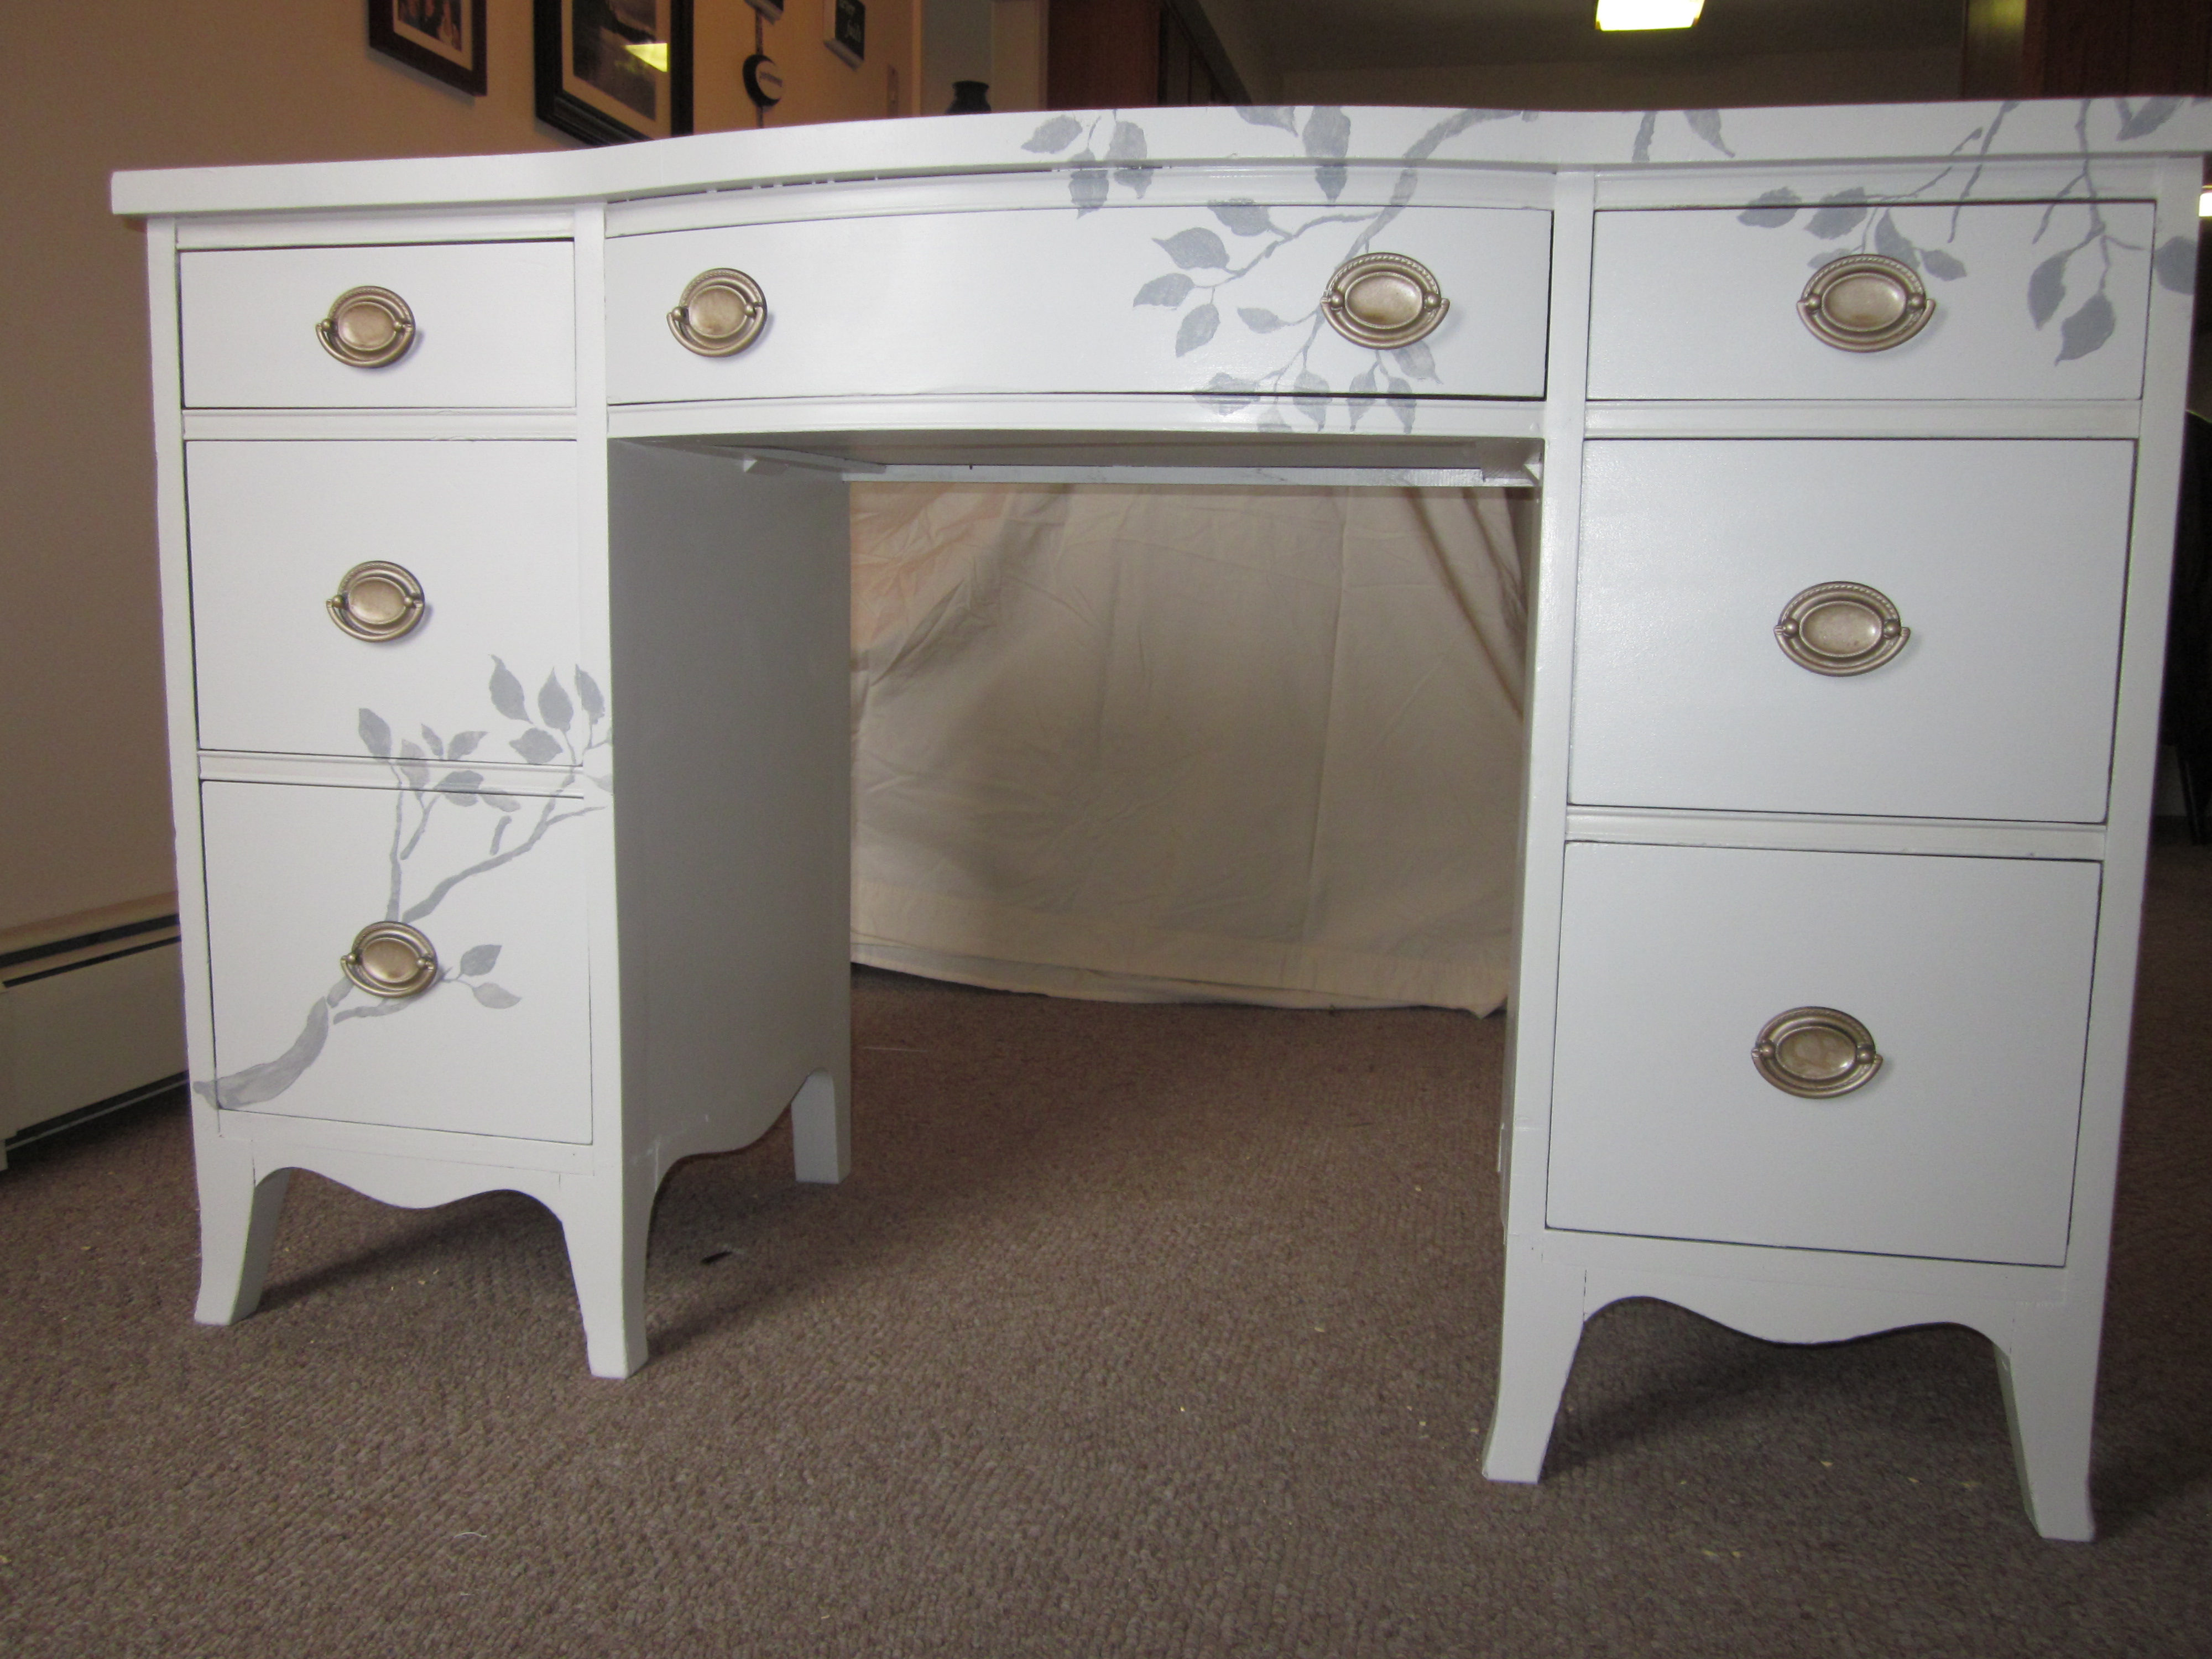
I made over this desk for less than THREE DOLLARS! See...told you I am cheap!


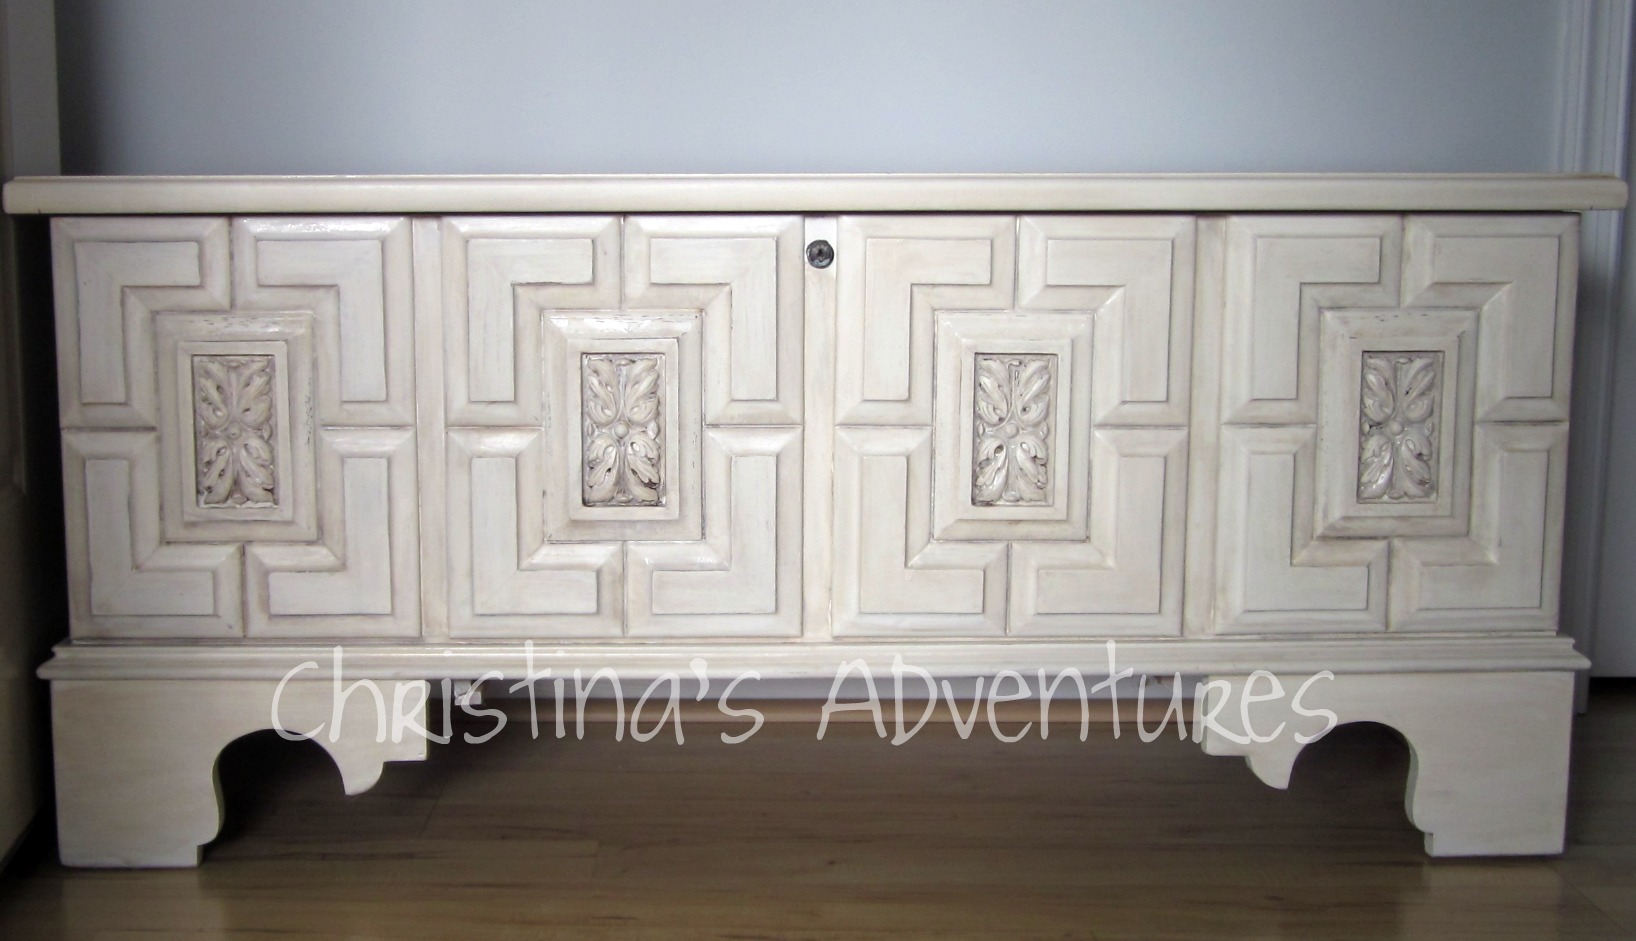
And I recently refinished this cedar chest...which was *free*


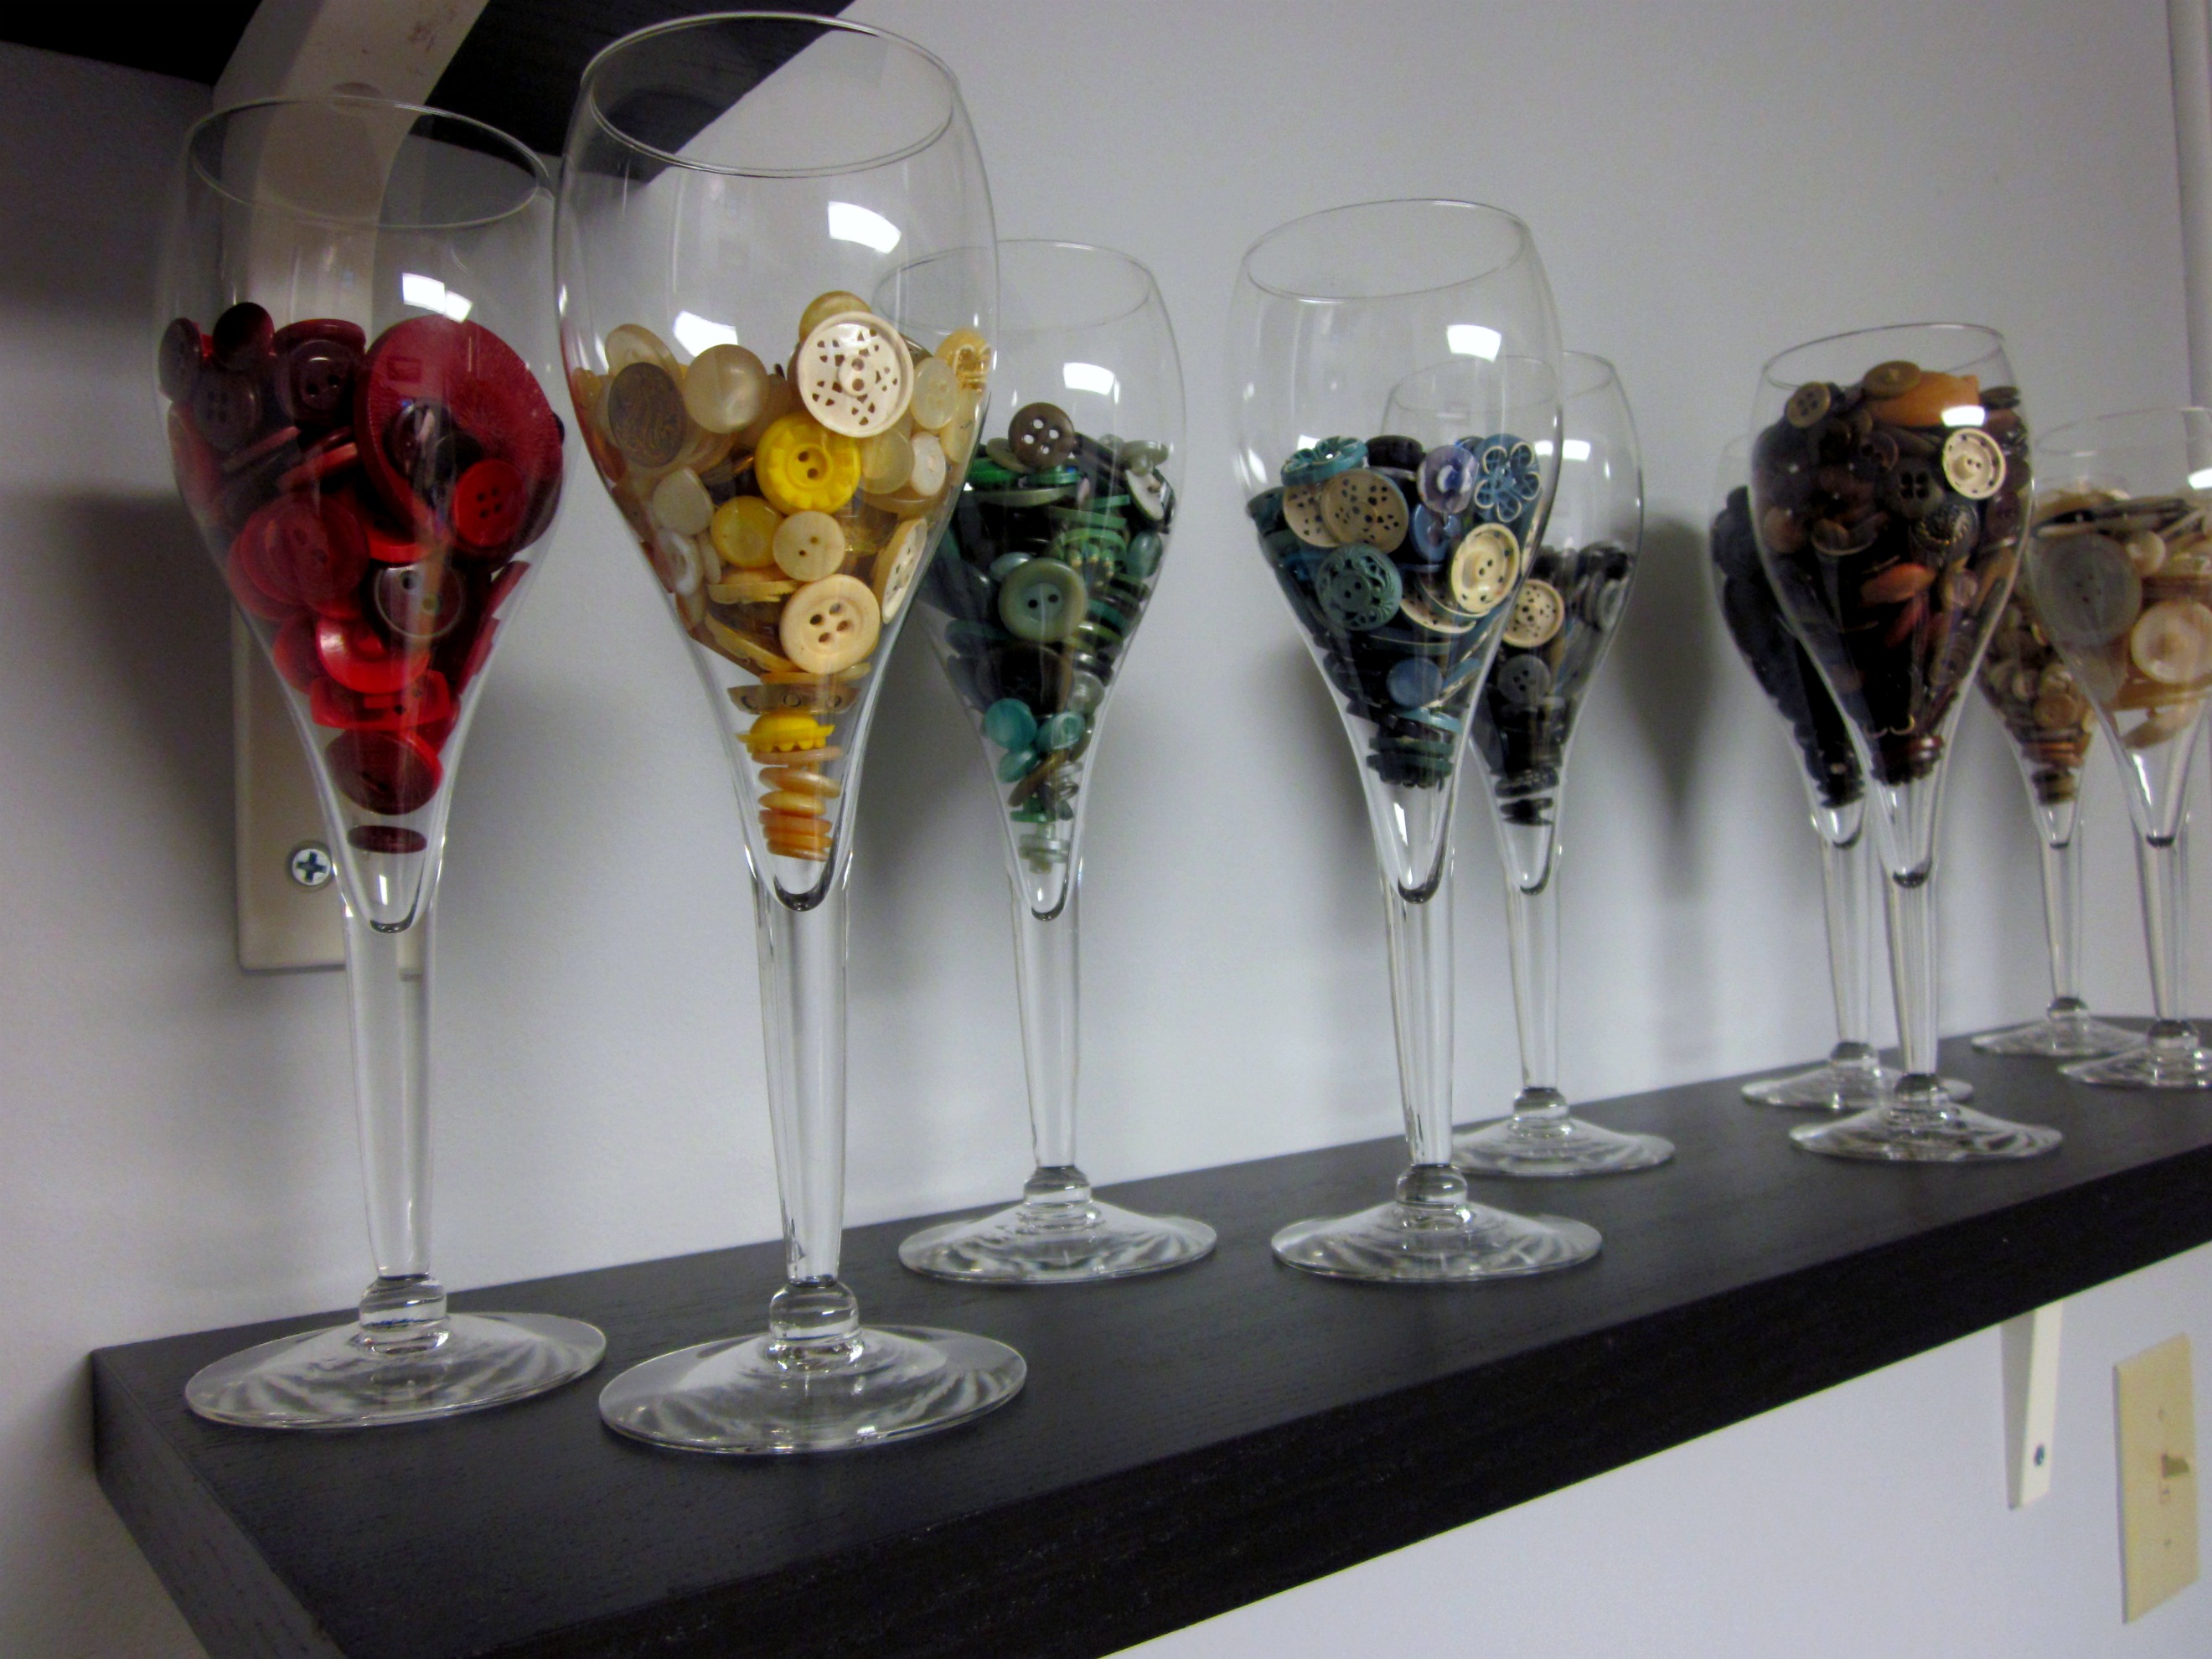
I also have a "thing" for pretty (and functional) organization, like these buttons in my crafting area:
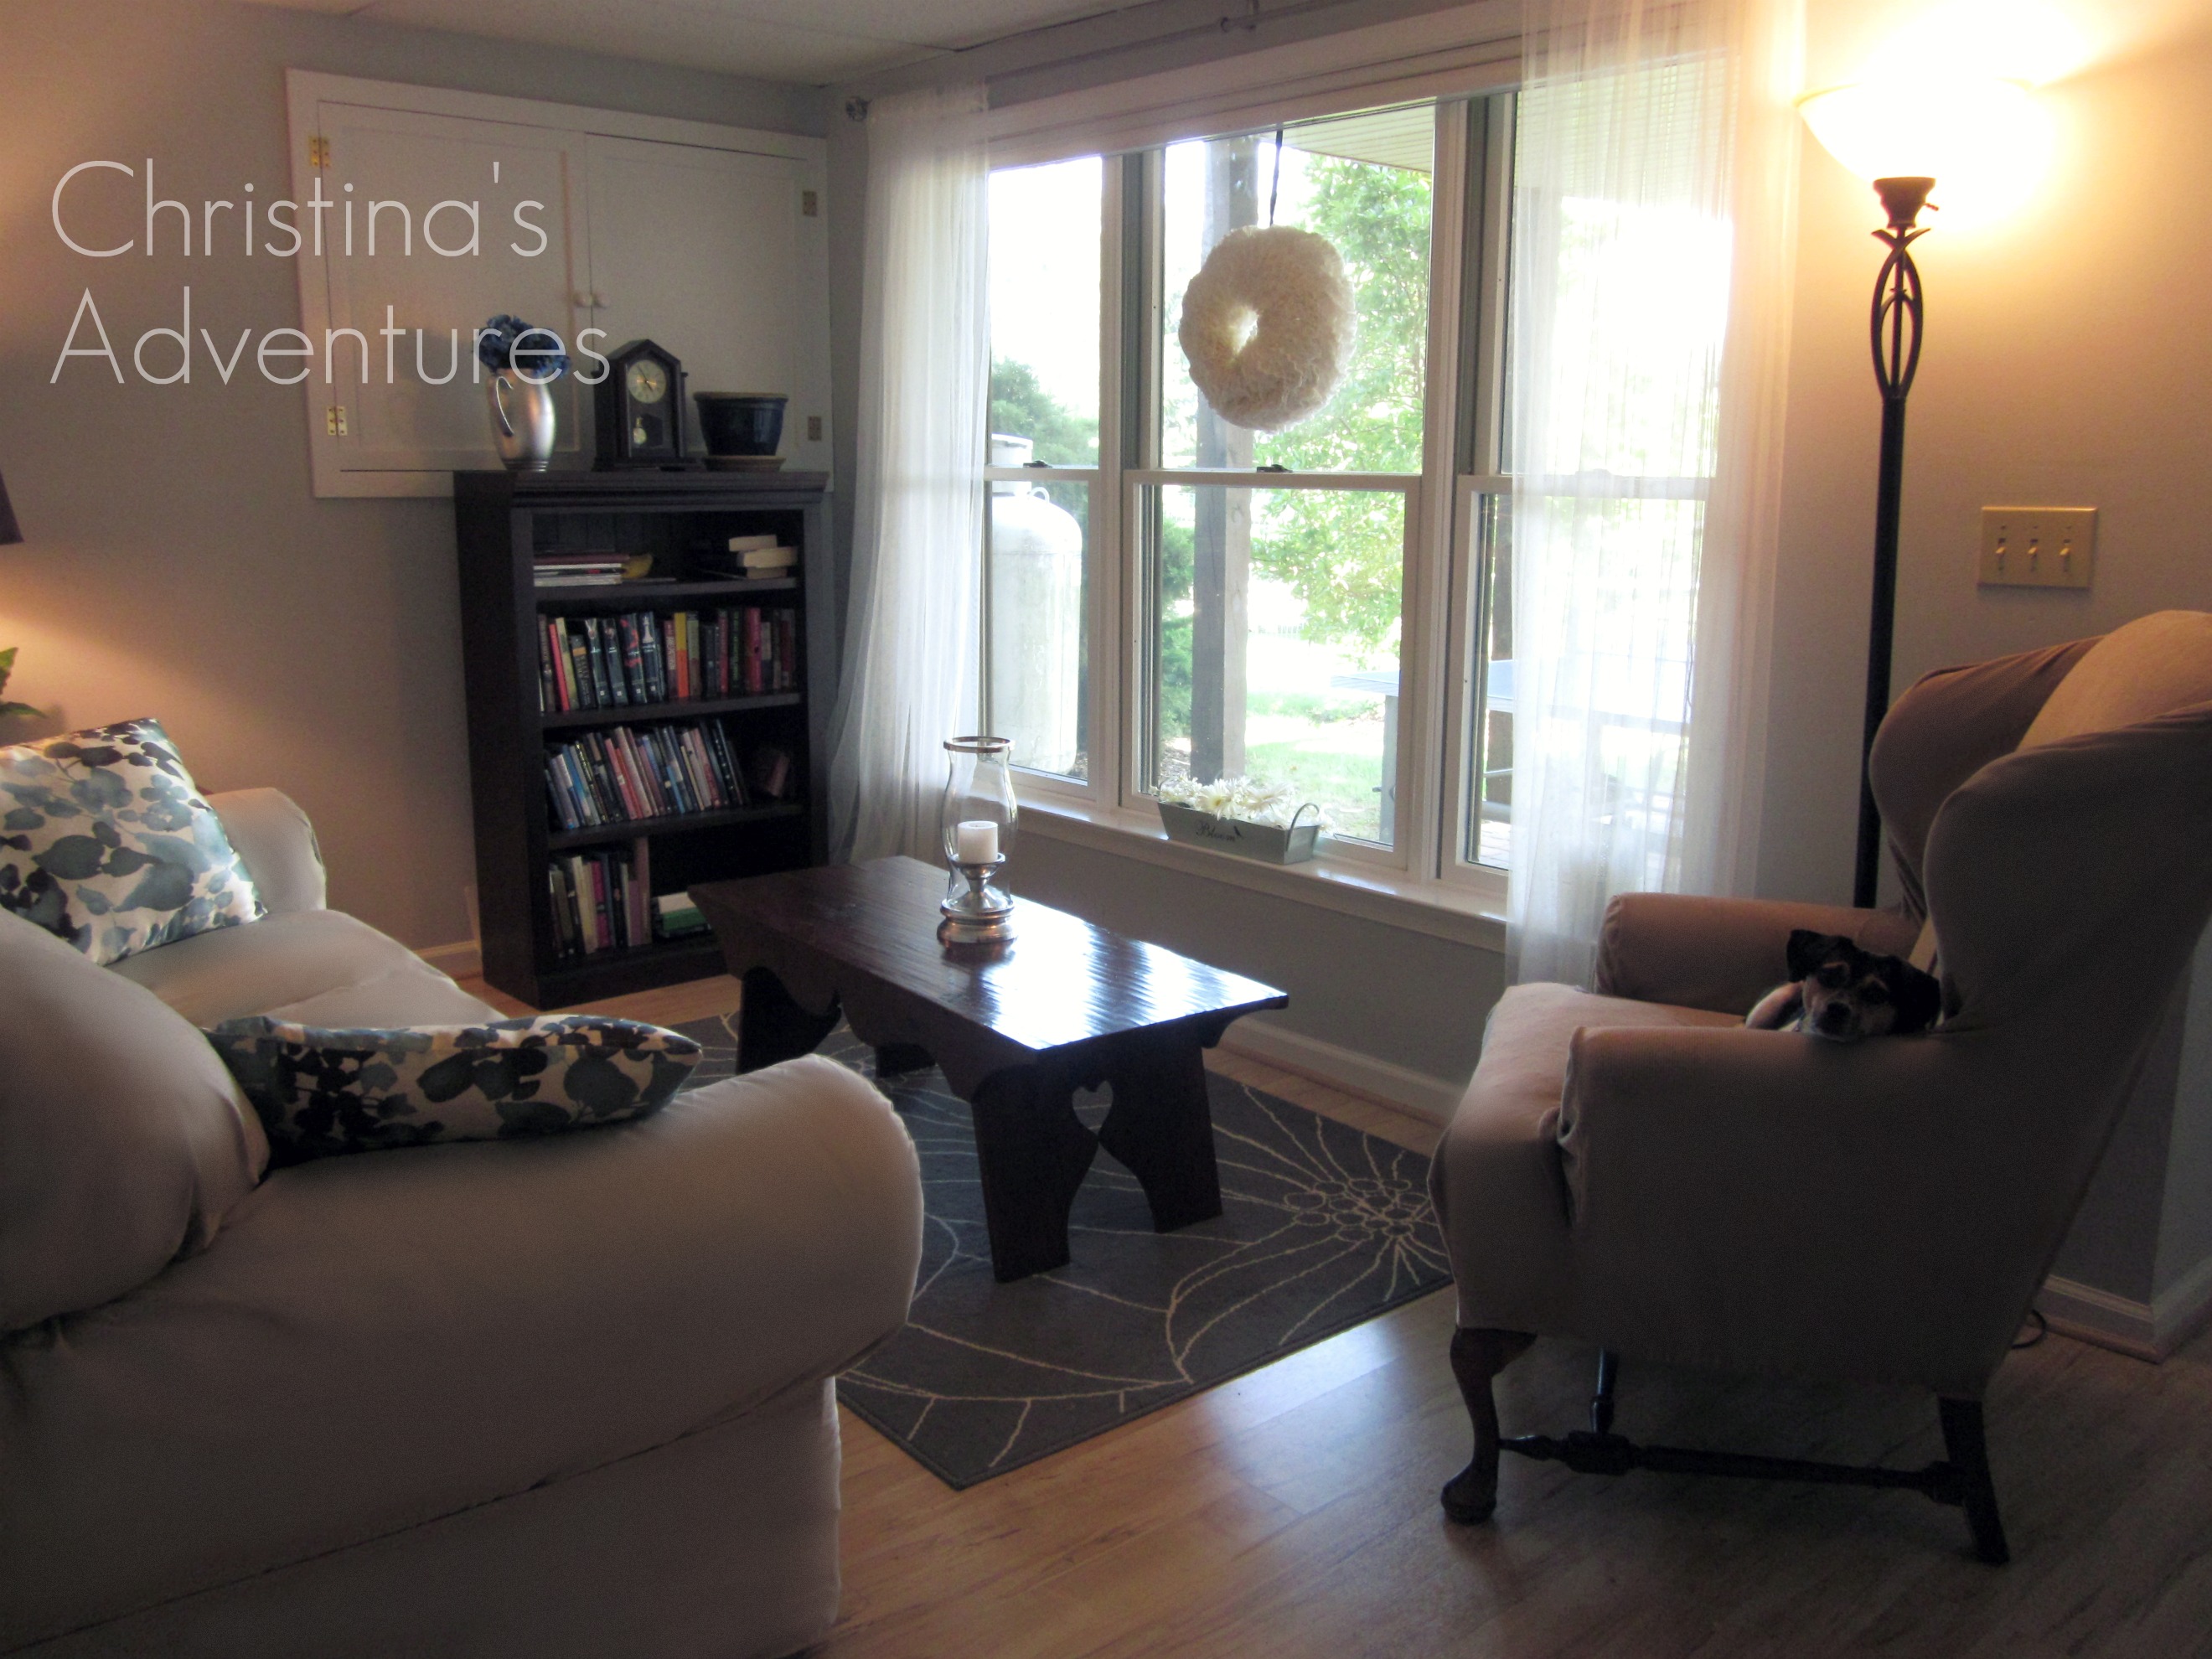

In order to save money so we can start a family and buy a house in the next few years, my husband and I have moved to an apartment my parents built in their basement. You had better believe this is not easy to "broadcast" to the blog world, BUT you'd also better believe that it's a little bit of a DIY blogger's dream!! I just recently gave a photo and video tour of our new space, along with my tips on how to make the most out of such a little space:


I am an Autism Support teacher, and I am working on connecting my life as an AS teacher into my blog by having a series to promote understanding of these amazing children. You can also see my (last year's) classroom in this post...but know that I will be posting an updated post about my room THIS year soon too!


I also host a linky party every Thursday, called "20 Below Thursday", which celebrates all of the cute and thrifty ideas you have for under $20! It's amazing how creative people can get...I'd love it if you could come join the party too!



If you follow my blog, you'll get to see many guest appearances from my beloved baby Buckley too:


I would LOVE it if you could come and follow me at Christina's Adventures! I'm also now on Facebook, Twitter, and Pinterest. I hope you'll laugh with me as I try to navigate my way through trying to make my world beautiful on a very tight budget! :)

erin

Thursday, March 31, 2011

Guest Blogger: Wardrobe Update with "Sew Chatty"

Meet Elizabeth from Sew Chatty! She has a cute, cute blog and Etsy shop, and I am drooling over her spring/summer wardrobe that she's making for herself-- see her post below. I'm much too slow to make one new item a week, but she's definitely motivated me to start sewing some clothing for myself again. 

image
Hi there! My name is Elizabeth and I blog over at Sew Chatty.
Profile Photo_2
I am thrilled to be visiting you all at In Between Laundry today!
A few weeks back I decided to challenge myself to create an item of clothing {for me} every week until I have a closet full of pretties for spring and summer!
It’s been such a blast to make basic, simple clothing items for a very low price tag! Here is a recap of what I’ve made so far…
Item #1…a “Farmers Market Skirt”
 image
My first project was a skirt made with Simplicity Pattern 2609. I’ve had this pretty vintage sheet looking fabric in my stash for a while. Just needed it to tell me what it wanted to be. It wanted to be this pretty skirt. I made view D.
image
Here’s how I wore it on Sunday to church and Disneyland. Funky belt {to conceal the glorious elastic waist}, tshirt, cropped cardi, and cute flats.
image
Item #2…a simple spring top.
image
This was my second attempt at this top and I have to say things went much smoother this time!
image
Here is how I wore it…Brown Cardi-Target. Mustard Flower Pin-Made by Me and available in the shop. Rust Tank under top-Target. Skinny Jeans-Target. Flats-Target…I like Target :)
image
Item #3…Anthro Skirt Knock Off!
I like to browse Anthropologie’s website for inspiration and came across this cute little skirt and I thought to myself…pretty sure I could make that and avoid spending $88! I spent about $6.
image
image
How I wore it…Cardi…Forever 21. Mushroom Tank…Old Navy. Belt…Forever 21. Skirt…Made by me :) Tights…Vera Wang at Kohl’s. Boots…Christmas gift from the Hubbs. Necklace and bracelet…Forever 21.
Thanks for letting me pop in and share about my Wardrobe Challenge! Feel free to stop by Sew Chatty today to see the reveal of Project #4…another springy top!
Have a happy day!

signature

Tuesday, March 29, 2011

Guest Recipe and GIVEAWAY with Joseph's Grainery

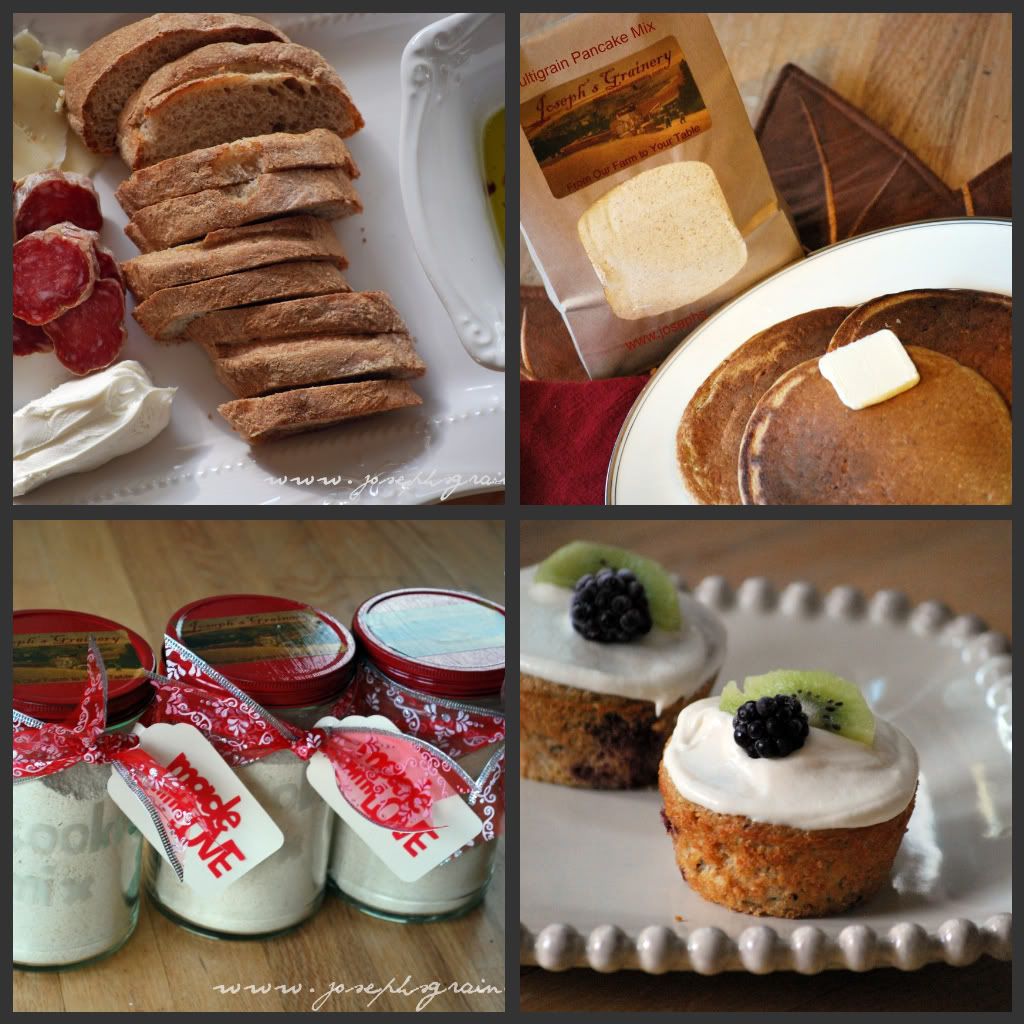
My family and I have been moving toward eating more whole grains lately, so I was especially pleased to open up my mailbox and get two wonderful mixes from Kelli and her family at Joseph's Grainery-- a multi-grain pancake mix and a whole grain cookie mix!

You absolutely would not believe the quality and made-from-scratch taste of their mixes. Wonderful! My mom, sister and I tried them out and were really impressed with how fresh and delicious (and easy) they were. The kids gobbled them down, too!

Make sure you check out Kelli's recipe below and enter the giveaway at the bottom of the post.

Then go order some wonderful, nutritious products from these nice folks--who wouldn't feel good about eating well and supporting a family-owned business?

* * * * * * * * * *

Hi there!  It's Kelli (aka "MaMa" to Lil' Joe) from Joseph's Grainery and I'm excited (and honored) to share one of my all time favorite soup recipes with you today.
Me, Lil' Joe and My Dad - Joseph's Grainery

Over at Joseph's Grainery, I'm the cook and computer geek, my dad's the farmer and Lil' Joe is the "blogger".  ;)  I love coming up with family friendly, yet healthy whole grain recipes made with the grains from our family's farm.

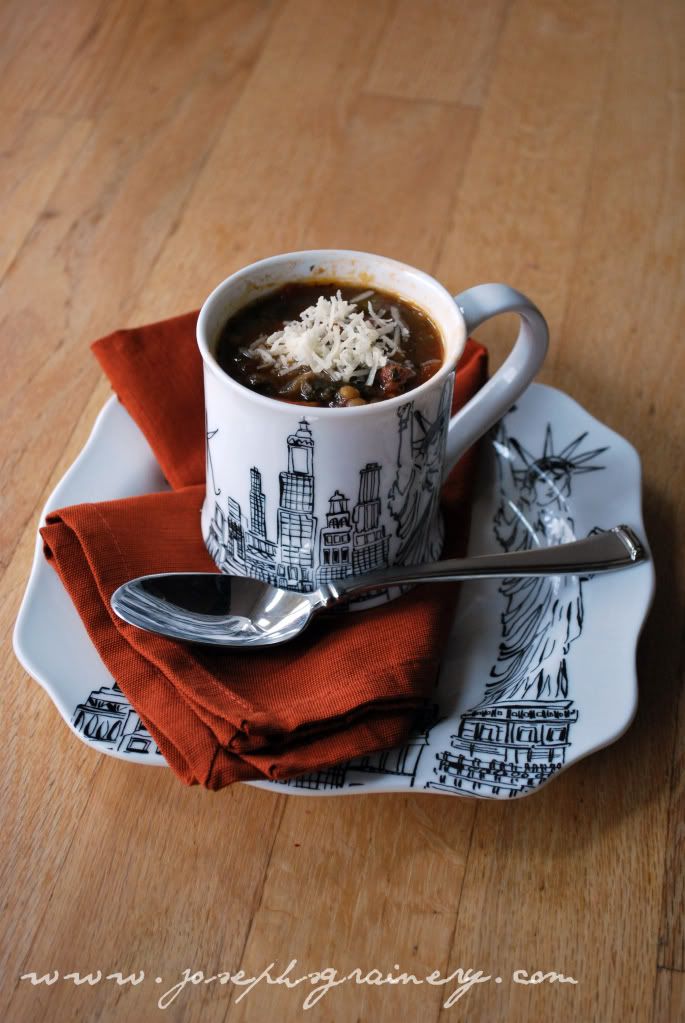
So here's a recipe that you'll definitely want to file away for those times when you have to feed a crowd or want some left overs, and soup will fit the bill.  This is a kid-tested-and-approved yummy soup, perfect for a rainy spring evening!
Sausage and Lentil Soup

Get ready, cause this is like no Lentil Soup you've ever tasted before!

Sausage and Lentil Soup Ingredients:

2 Tbs olive oil
1 red onion, diced
4+ cloves garlic, minced
1/2 lb mild Italian pork sausage (or more if you want)
2 large carrots, peeled and chopped
8 to 10 c beef broth
1 28 oz can diced tomatoes with juice
2 Tbs tomato paste 
1 c fresh spinach 
2 tsp rosemary, chopped
1 tsp oregano
salt and pepper to taste

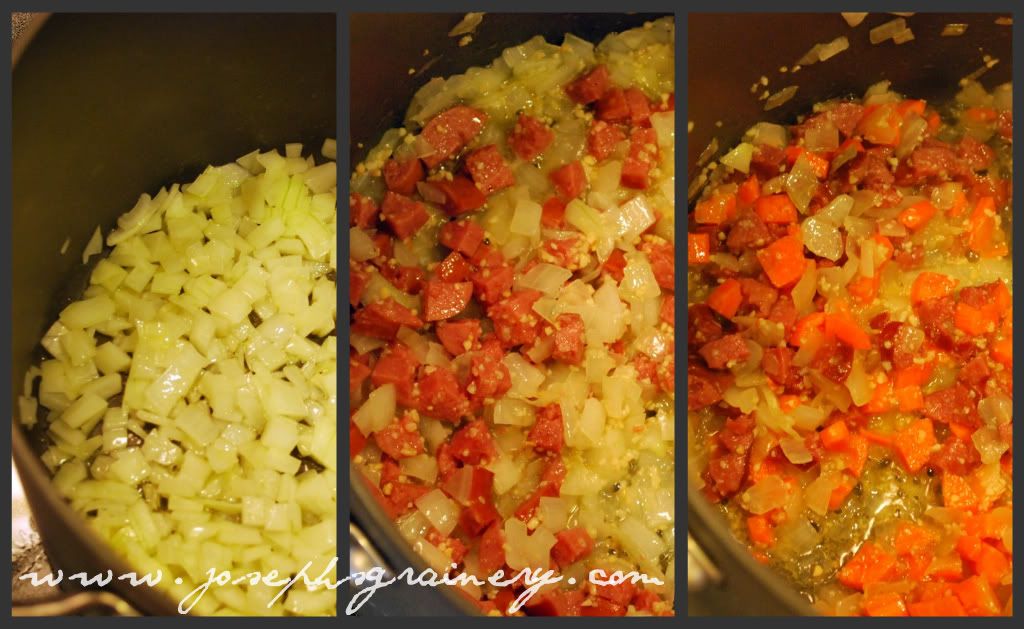
Directions:  Saute onion in olive oil for several minutes in a big soup pot. 
Add sausage and garlic and saute until sausage is browned.
Add carrots and saute for several more minutes.  Then add lenils and saute briefly.


Add broth, tomatoes, paste and seasoning and bring to a boil, then reduce to a simmer for 45 minutes.  When about 10 minutes remain, add the spinach and continue to simmer for the remainder of the time.  If it becomes to thick, add more broth or water.


Serve with grated parmesan cheese and enjoy every bite!  We know you will!

* * * * * * * * * *
{{ GIVEAWAY! }}
Joseph's Grainery Gift Pack ($30 value)

 Joseph's Grainery Gift Pack let's you send the gift of whole grain goodness to your special someone.  This Gift Pack is the perfect sampler of our favorite and best selling whole grain products.  Included in the festively packed gift are the Joseph's Grainery Multigrain Pancake Mix, Whole Grain Cookie Mix, Cracked Wheat Breakfast Cereal, Hard Red Wheat Berries, Hard Red Whole Wheat Bread Flour, Lentils and Recipe Cards with some of our favorite whole grain recipes.  Everything your loved one will need to start cooking and baking with Joseph's Grainery!

To Win (1 entry for each):
1. Check out  Joseph's Grainery online and leave a comment here, telling us about your favorite product.
2. Become a follower of Joseph's Grainery and leave a comment here saying you did (or are).
3. Become a follower, subscriber or facebook fan of In Between Laundry and leave a comment here saying that you are.
4. Share this on facebook, twitter or your blog and leave a comment here saying that you did.
5. Place an order and leave a comment here saying what you purchased.

Giveaway ends promptly at 11:59 pm central-time, April 5th.
Winner will be announced on April 6th.
signature

Thursday, March 24, 2011

Guest Tutorial: Closet Tags with "She Wears Flowers"

My friend, Tammy, from She Wears Flowers is here today! Her blog is amazing--filled with beautiful pictures and wonderful crafts. She is even writing a how-to-sew series that you don't want to miss! 
So hurry over to her blog and get to know Tammy!

Hi! I’m Tammy from she wears flowers
and I’m thrilled to be at In Between Laundry today!
I blog to avoid the laundry—forget about in between! {haha!} I started blogging to document and share my crafting experiences. I like a whole lotta crafty stuff especially sewing. With three girls of my own, I keep pretty busy!
Here are some of my favorite projects. 
shoes2Shopping Food 23
Valentine's Truffles 8Felt Cake 2
I hope you’ll stop by and see what I have going on!
I’m going to share a little organizing idea with you today.
It is super easy and quick—two things I love with crafts!
I have one darling daughter who is a little nUtTy in the mornings before school. One way to minimize the craziness is for her to have her clothes picked out the night before. That works until…she gets upset because she already wore something she actually wanted to wear later in the week. I only do laundry one day a week which created a problem.
So I created closet tags—a handy way to quickly sort and choose her clothes so she can plan it all out ahead of time!  Tags 1
Whether you have a child (or you!) who needs a little organization each week or you want to sort clothes within your closet, these little tags can help in all kinds of ways. I wish I had made them when my twins were tiny (but not the same tiny size) and I had to keep sorting and resorting their clothes!
Let’s make these tags!
Tags Tutorial

Materials
fabric – variety of colors
Heat N Bond Ultra (no sew)
ribbon – 9 inches per tag
pinking shears (optional)
scissors
iron
tag template
Tags 4
Instructions
Make a template for your tags. I actually traced around my phone and then made my tag a little bigger. My tags are about 3 inches wide x  4 1/2 inches tall. I rounded the corners, but it really wasn’t necessary since you can do it at the end with pinking shears.
Cut your Heat N Bond into rectangles that are a little wider than your template and as long as (or tall as for this picture) twice the height of your template. (My rectangles are roughly 3 1/4 wide x 9 1/2 inches tall, but I cut it a little close as you will see later—give yourself enough room to work.)Tags 3
Adhere Heat N Bond to each fabric section following the instructions on the package. Tags 5
Cut the rectangle away from your fabric so you don’t have any bulk.Tags 6
Trace your template directly onto the Heat N Bond two times. Cut out. Peel off paper backing from Heat N Bond.Tags 7
Fold one tag down the length to find the center.
Place the ribbon along the center on the side with the Heat N Bond with about 2 inches on the tag.
 The Heat N Bond will be just a little tacky and will hold the ribbon if you don’t move it around.Tags 8
Place the matching tag on top of this with the Heat N Bond sides together. Iron both sides.Tags 9
Repeat for the other tags, pink the edges with your pinking shears and you’re done!Tags 13
The ribbon easily loops over the hangerTags 12
We have to deal with shirts or dresses, mainly, so it only takes one hanger, but if you need to loop over a few that works, too!Tags 11
There is no day designated on the tag (although you could do that, too!) but at least I know there are 6 or 7 days’ worth of outfits planned for the week. I don’t press the issue on Sundays although she wears TWO outfits that day—church and play clothes! Since Monday is my laundry day, she usually has limited choices so it all works out!
I hope you find these closet tags useful, too!
 Tags 10
Be sure to stop by she wears flowers and tell me what you think!
Thanks, Erin, for letting me share a project on your wonderful blog! It’s always so fun here!


signature

Wednesday, March 23, 2011

Guest Tutorial: DIY Wire Baskets with Attempting Aloha

I adore these wire baskets-- they are officially added to my to-do-sies. Thanks so much, Charlie!

Aloha, In Between Laundry friends!!
My name is Charlie (pink, not blue), and I write a little blog called Attempting Aloha.
Today I'm going to share a tutorial on making your own wire baskets! Everyone loves a great knock-off, right?  Well, good old PB and Ballard have some lovely wire baskets I've been coveting but can't part with my cheap-o side and fork out $30 a pop for them.
Pottery Barn
Ballard Design
So I went ahead and made a few of my own!

Here's what you'll need:
1) Hardware cloth (wire mesh thingie stuff). I bought mine at a small local hardware store. It's 2' x 10' and cost just under $8.
 2) Wire cutter thingies. I found these in my husband's tool stash. If yours doesn't have one, just ask your local hardware store for wire cutter thingies, and they'll send you to the right section. ;)
 3) Floral wire. I used both 20 gauge and 26. The 26 was cheaper and worked better. Sweet. ;)
Be aware that the edges can be very sharp, so use gloves if you aren't comfortable working with the wire mesh, and you'll want to cut right up close to one of the verticle wires in order to keep from having sharp edges. :)
First, you will need to decide what size you want your baskets to be, and draw up a little sketch, so you can measure and cut one piece out. I used sizes close to the Ballard and PB hanging baskets, but I also created a few smaller ones for our hair supplies that are 5" wide x 4" tall x 11" deep.
The wall ones I made measured 12" wide x 4" deep x 10" tall. I calculated that to wrap a piece around the 10" tall back and 4" deep bottom and 10" tall front, I would need 24". PERFECT since the "cloth" is 24" wide.  I cut across one side 20" (12" wide front plus two 4" "wings" that will be the sides).
Side note: I chose to cut them this way in order to reduce the amount wasted. This way, the next one could be flipped on the opposide side, and I only "wasted" a small patch.
Here's what it looked like after being cut out (Step 1 for anyone who's counting):
HERE'S A PIC WITH THE MEASUREMENTS FOR ANYONE WHO WANTS IT REALLY SPELLED OUT.

 Step 2: Make your creases/folds along the "wings" and then around the bottom and up the back.
Step 3: Unfold and give it a little bit of shape. Don't stress too much about the form, though, until after we "sew" the sides together.
Step 4: Cut your floral wire about 1.5x the size of the side you're going to sew up. So for your 4" sides, cut it about 6". For the 12" side, cut it about 18".
Start at one end, and pull the wire almost all the way through. Leave about 1" hanging out, and wrap through that first square a couple times, then weave it up the side. I hit every square because I preferred the look, but every other also gets a good effect and saves on time...totally up to you.
Step 5: Trim the ends of your wire, and shape your basket out! Easy as that. So for less than $3, and in under 1 hour, I saved $75-90 (depending on the catalog we're hacking here)!
 And here they are all prettied up in my mom cave. I created a few labels and printed them out on photo paper, cut them out and then cut out a piece of fabric and sandwiched the mesh and some hot glue between the label and the fabric. Easy to swap out, looks like funky chalkboard paint, but no dust. :)
 Curious how I hooked them to the walls??  I researched extensively, tried numerous hooks and nails, and eventually I came up with an innovative idea...wait for it... STAPLES!  Yep. Good ol' staple gun across the top. Leaves tiny holes, so they're super easy to hide and/or paint over without patching when the time comes. I'm sure there are a million other ways to hang them, but this is what I had on hand, and it got the job done.
Check out what else I decided to craft up for some of them:
Ahhh... Lovin' the pleated ruffles and contrast of the drop cloth and wire mesh. I'm actually jealous of my magazines. :)
Here are the smaller ones for our hair accessories:


So with the one $8 hardware cloth, I made 3 large baskets, 3 small baskets, and I also used a couple feet for another project I'll be showing later.
Total cost per large basket with pleated liner is approximately $1.50. The small baskets are about $.75 WITH liners. Pretty awesome, right?
Comparison: 
My three baskets:  $4.50
Three PB Baskets: $72
Three Ballard Baskets: $87
(And mine have liners...)
PLUS...you can customize mine for any space! Pretty stinking awesome!!

Thanks again, Erin!!
Aloha,
charlie


signature