Showing posts with label spring. Show all posts

Monday, May 23, 2011

Decoupaged Child's Chair

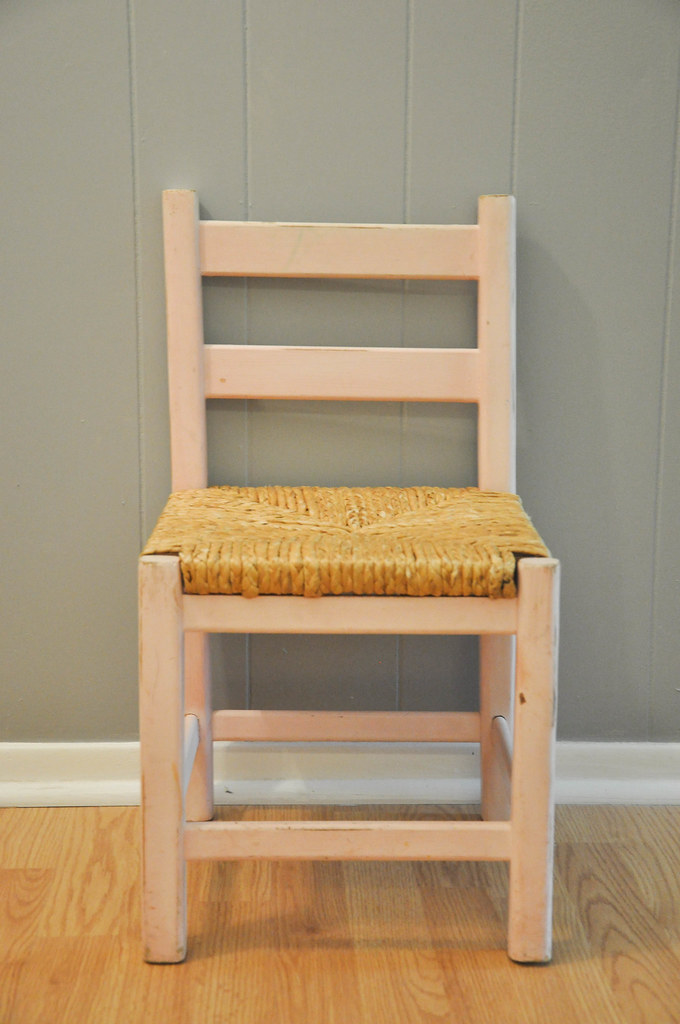
Before:

DSC_0059.jpg

This little chair was picked up from the local Goodwill for $4 a few months ago.

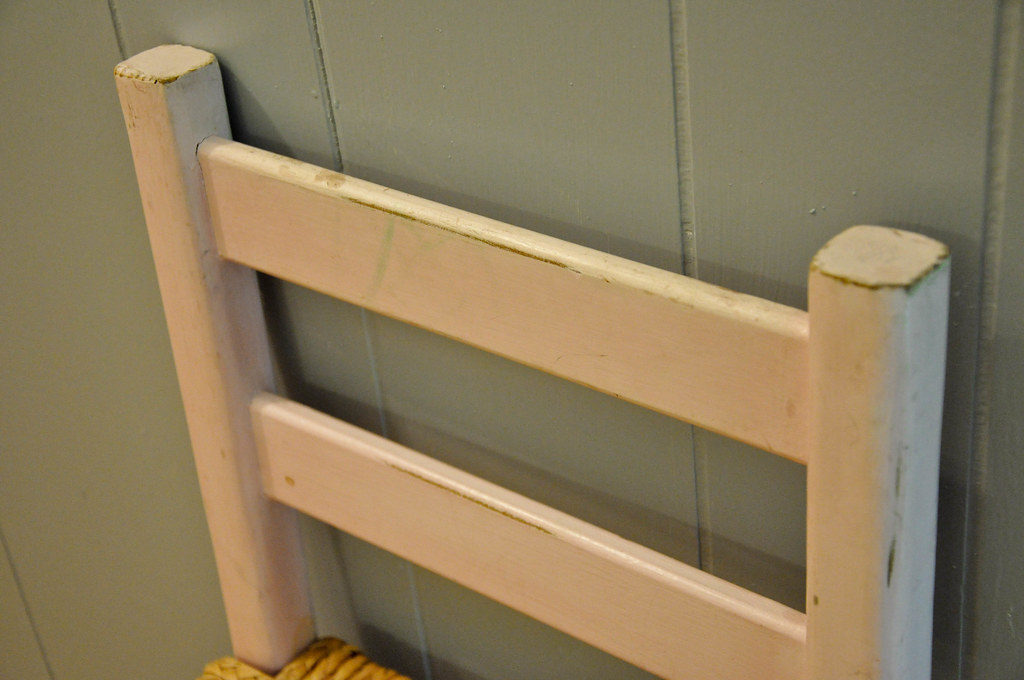
DSC_0060.jpg

Isn't she sweet? I could tell that her former owner must have really loved her.

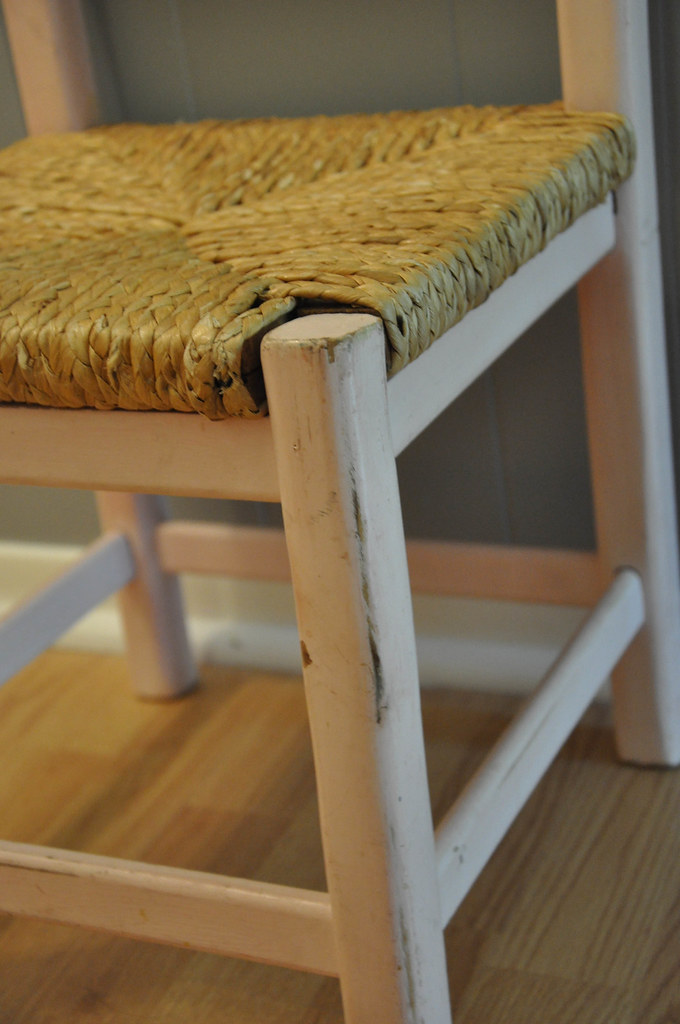
DSC_0061.jpg

Unfortunately, the dingy paint and crayon marks were a little too shabby
but not enough chic for me.


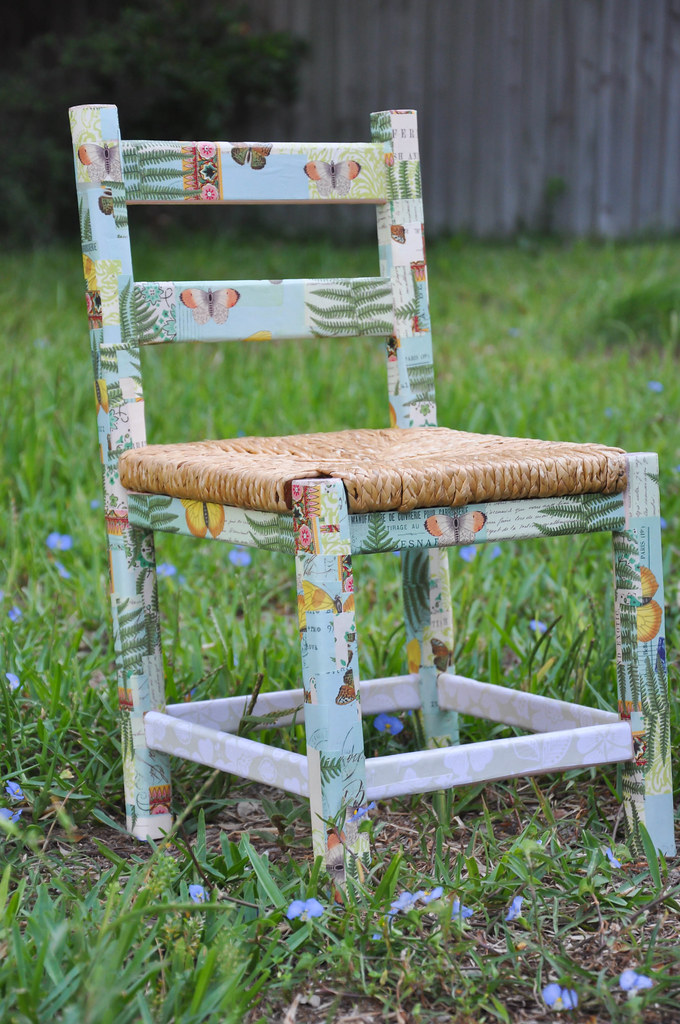
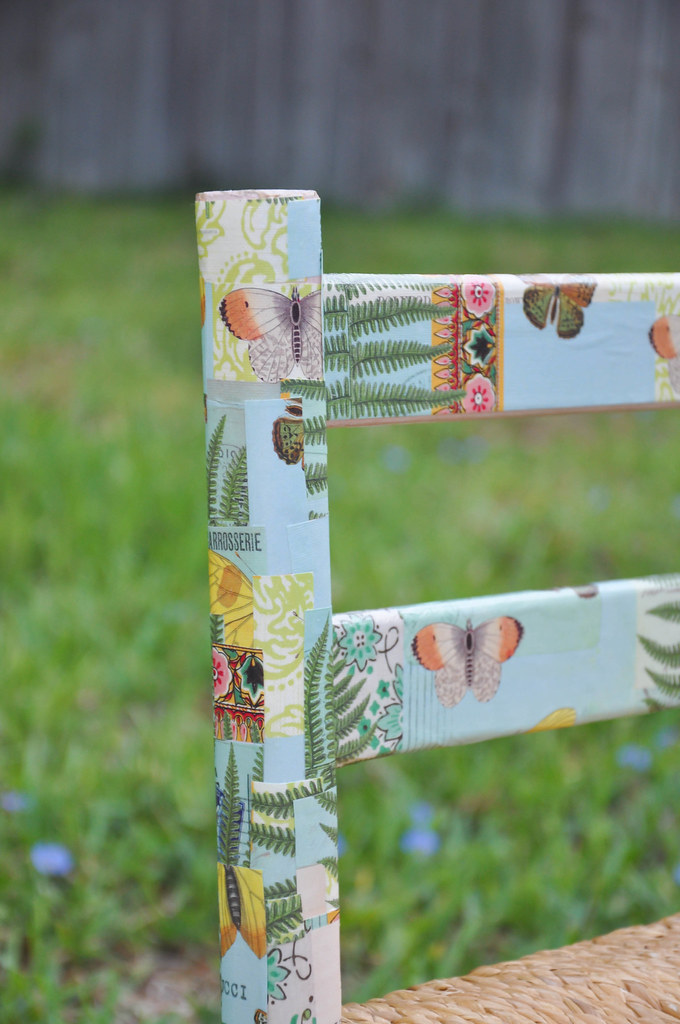
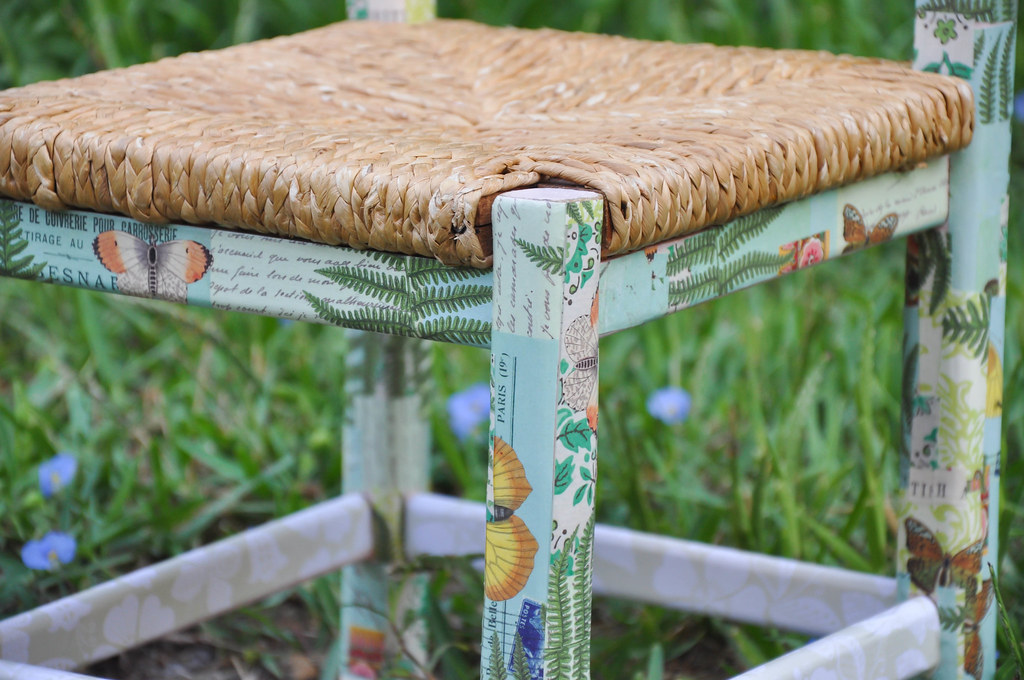
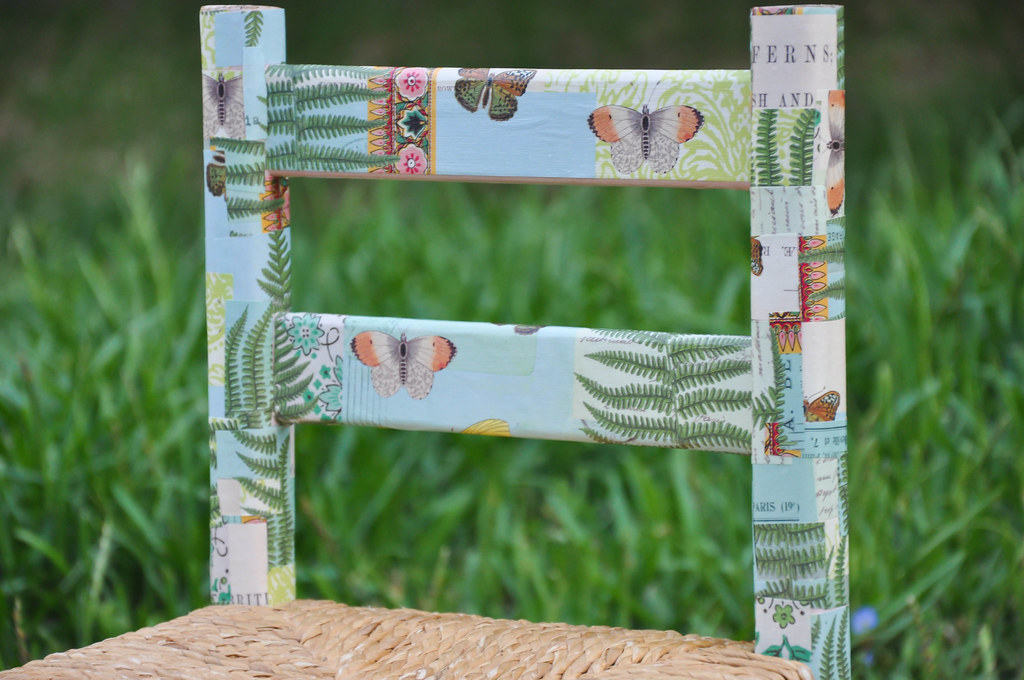
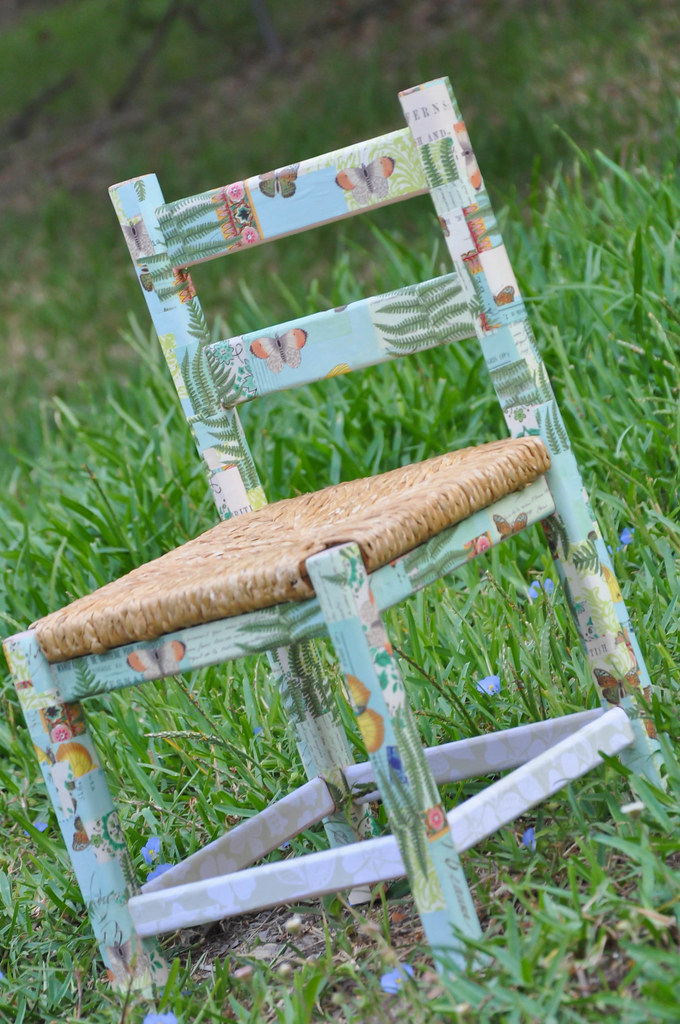
Using Mod Podge and decorative paper (cut into strips), I created a unique, one of a kind piece.

(Recognize this picture, facebook fans? Did you guess I was redoing furniture?)

After:

DSC_0091.jpg

I'm going to coat it again with polyurethane for durability. 

DSC_0092.jpg

But with a house full of boys,

DSC_0093.jpg

the next question is...

DSC_0094.jpg

What am I going to do with a pretty little butterfly chair? Hmmm.

DSC_0095.jpg

She might just have to find another little girl who will love her like before.

signature

Visit thecsiproject.com

Friday, April 22, 2011

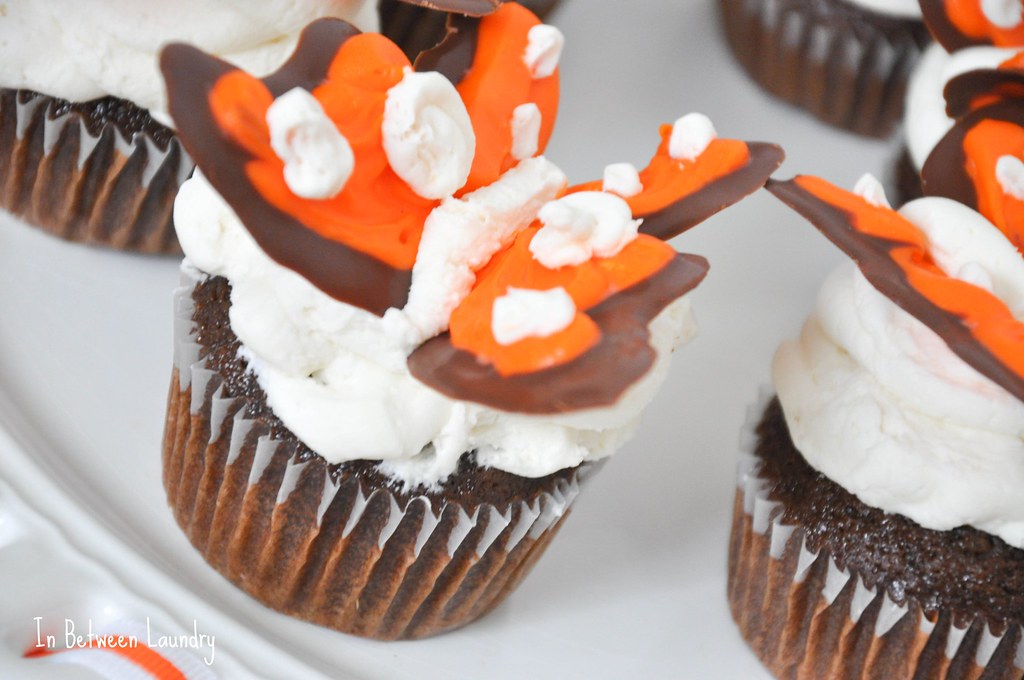
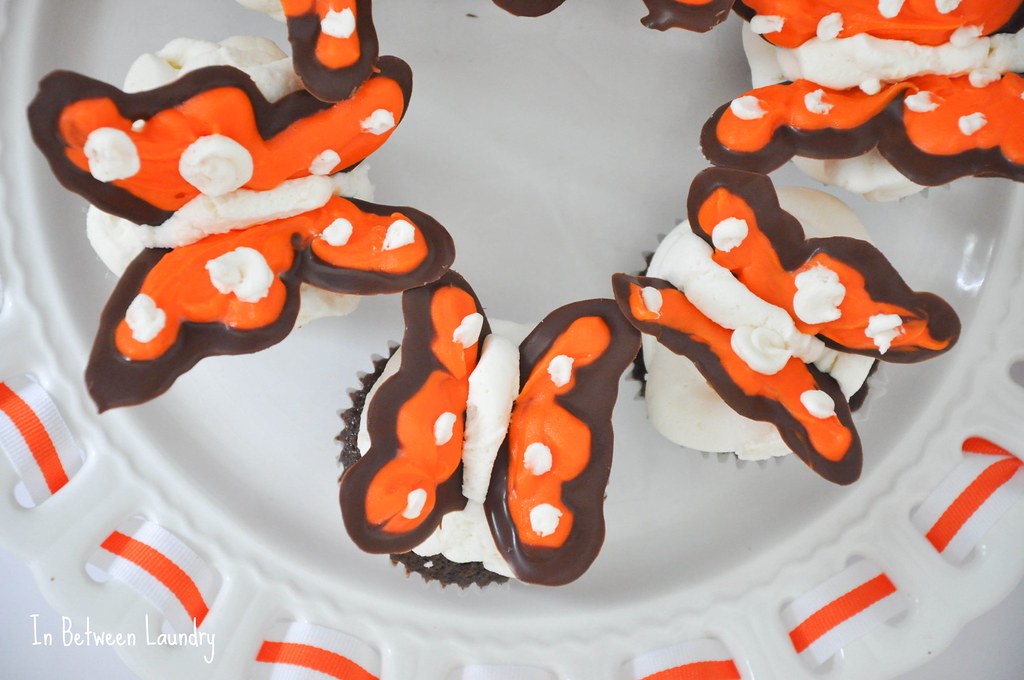
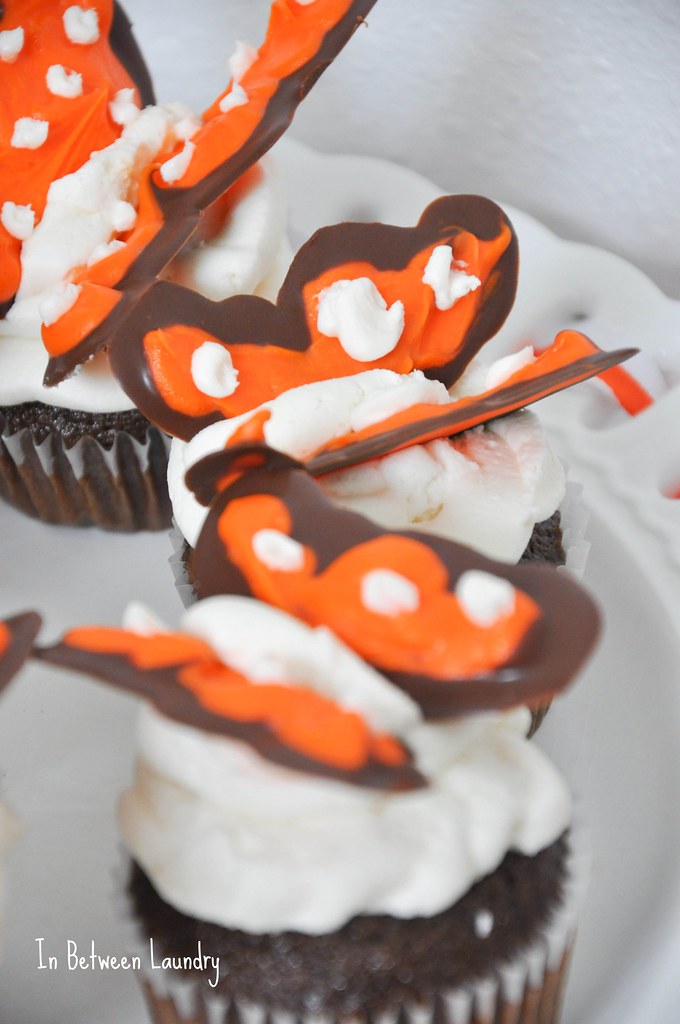
Butterfly Cupcakes

spring Easter cupakes

Are you going to an Easter gathering this weekend? 

monarch butterfly decorate cupcakes party

I made these fun 3-D butterfly cupcakes for my mother-in-law's birthday in March, but I thought they'd be fun for any spring or summer party.

3-D butterfly cupckakes

I should start by saying that I am NOT a fan of cake decorating. 

I almost always order my kids' birthday cakes, unless we do something super-easy like these.

chocolate butterfly cupcakes

So forgive the messiness of these. They were really fun, though, and not difficult at all for a cake-novice like myself.

Here's how I decorated my butterfly cupcakes:

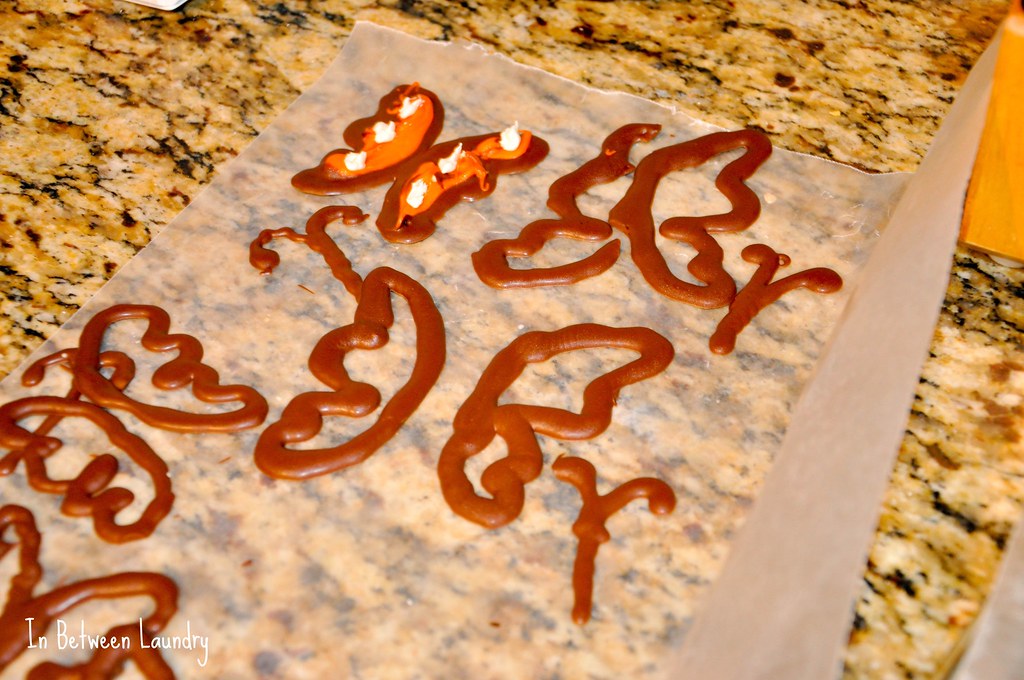
1. Melt a package of chocolate-flavored melting pieces and transfer to a plastic baggie with the corner snipped or piping bag.

2. On wax paper, pipe disconnected butterfly wings like the picture above. It would probably be helpful to trace your wings on a piece of paper and place under the wax paper for a uniform guide. (You'll notice that I also piped antennae, but didn't end up using them.)

3. Refrigerate. Meanwhile, melt a package of orange melting pieces (or use white with orange food coloring-- I used the gel for a rich color). Transfer to a plastic baggie or piping bag.

4. Fill in the middles of your wings with the melted orange candy.

5. Refrigerate. Meanwhile, pipe frosting on your cupcakes.

6. After the wings are chilled, pipe white dots on top. Then, push the wings into the frosting at 45 degree angles, creating the "body" of the butterfly with the frosting in between the wings.
signature

Linked to: Tatertots and Jello, I Heart Naptime

Wednesday, April 20, 2011

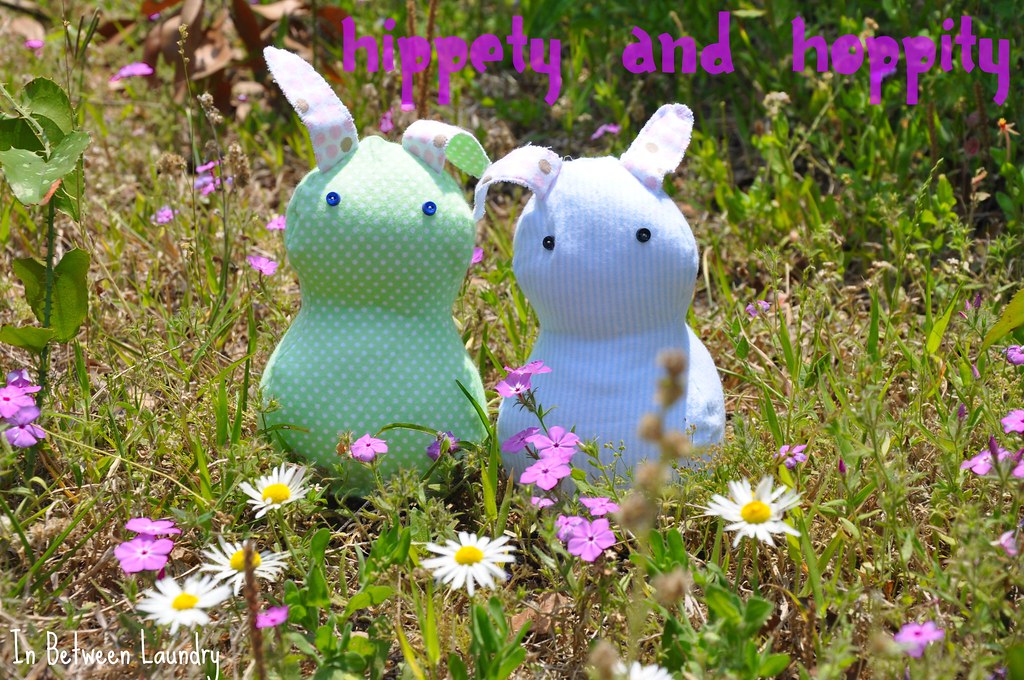
Cuddly Easter Bunny Softies

My boys will each get a little baby bunny 
in their Easter baskets on Sunday morning.

No, not real, live rabbits! Are you crazy, girl?!

I have enough mouths to feed and bottoms to clean around here.

But I couldn't resist these simple little bunnies. I found the free pattern here at Wee Wonderfuls.

easter bunny stuffed toy softie


I used soft flannels and miniature buttons for eyes.

The cutting took only a couple of minutes and the stitching took a couple of minutes more. 

You still have time-- whip some up for Easter morning and your kids will have a keepsake to cherish.

Thursday, April 7, 2011

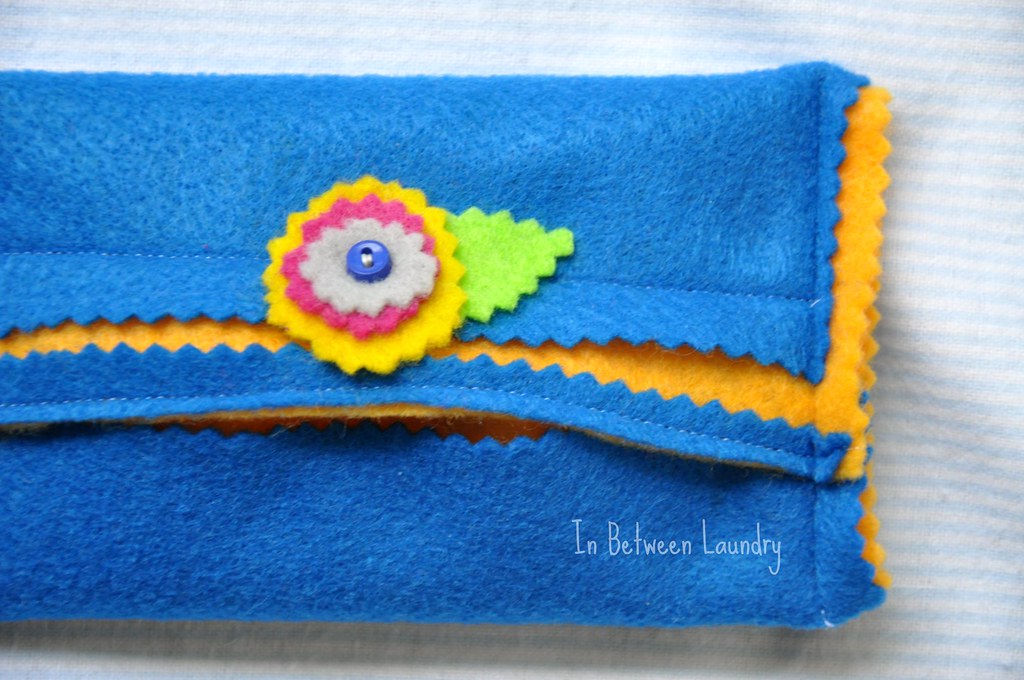
Tutorial: Pretty Pocket Tissue Holders


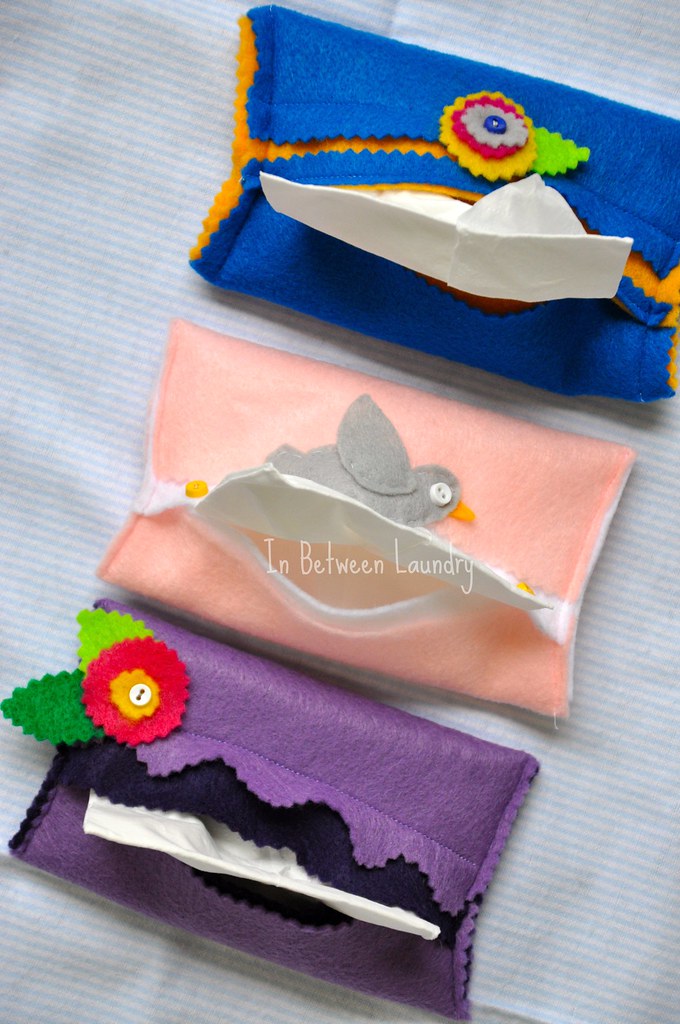
felt tissue holders


I created this pattern, thinking that I'd make one 
pretty pocket tissue holder to give to my mom on her birthday.

**a little something extra to go along with our pedicures and lunch out**

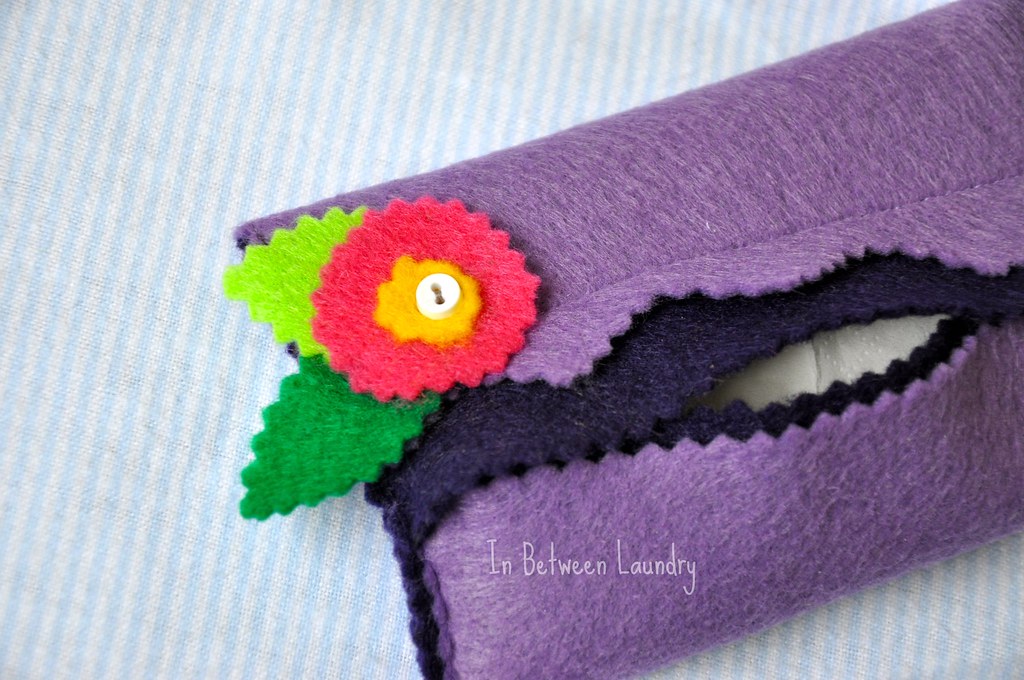
felt flower tissue holder

--And here we are, three pretty pocket tissue holders later.--

They're just so fun to make.

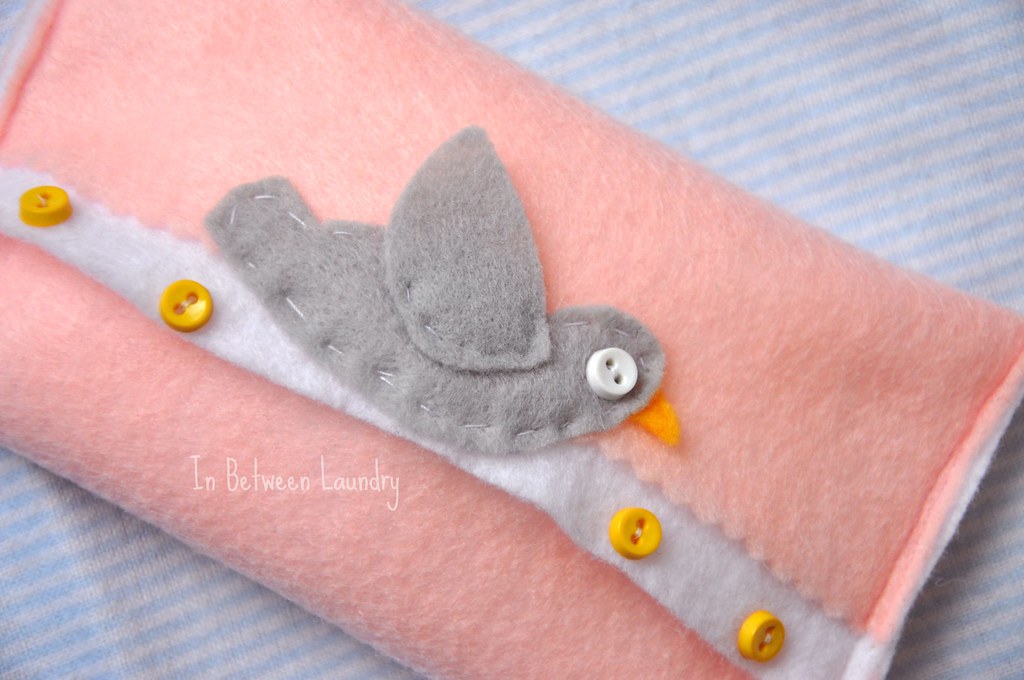
felt bird tissue holder

my little heart pitter- patter

felt pocket tissue holder

Make a stack and give them out for Easter or just because. 

Materials:
2 pieces of felt
sewing machine
miscellaneous scraps of fabric and buttons for embellishing
scissors (pinking shears optional)
needle and thread for hand-sewing embellishments


1. Cut each piece of felt into a rectangle 6-1/4" x 7-1/4".

2. Optional: Trim your edges with pinking shears by cutting right along the edge. I trimmed mine slightly shorter on the top piece.


3. Lay your felt rectangles on top of each other and place a travel pack of tissues (with plastic removed) in the center.

4. Fold the left side on top, then the right side. Hold in place with your finger.


5. Pin the top layers together on both sides. You don't need to pin to the bottom layers.

6. Remove your tissues and sew the sides together (top and bottom layers) with 1/2" seams.

7. Embellish however you like. You might want to embellish the top layer before sewing the sides together. I did both ways-- it's a personal-preference thing.

For personal use only, please.


If you liked this tutorial, it would make my day if you'd become a follower or subscriber.
{Hugs to you!}

signature

Linked to: Fingerprints on the Fridge, Tatertots and Jello, The Creative Crate, Under the Table and Dreaming, I Heart Naptime

Tuesday, April 5, 2011

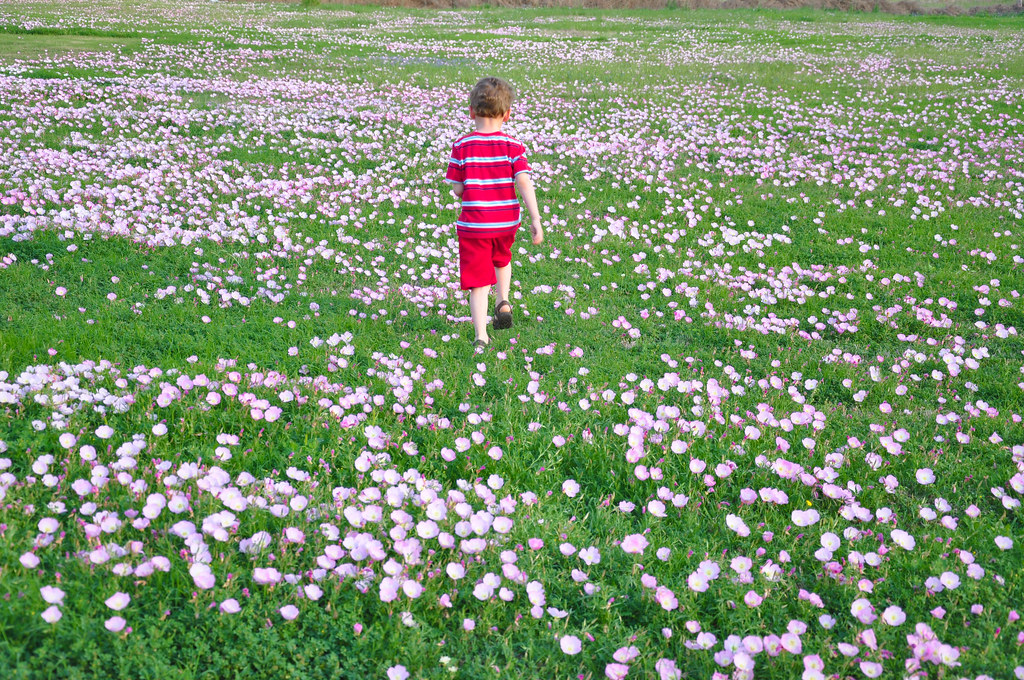
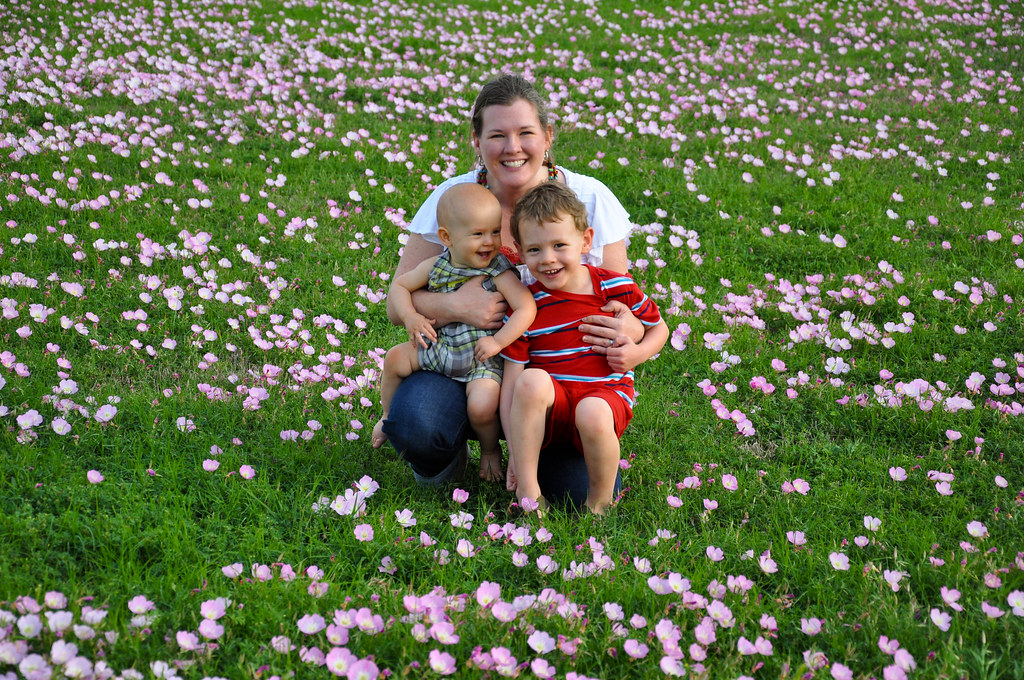
Our Texas Wildflowers

{reckless abandon}

DSC_0249.jpg

{pure joy}

DSC_0251.jpg

{laughter and memories}

DSC_0262.jpg

{Every time I step outside this time of year, our primroses, Indian paintbrush, bluebonnets and Indian blankets remind me how great our God is.}


signature