{Our Entryway}
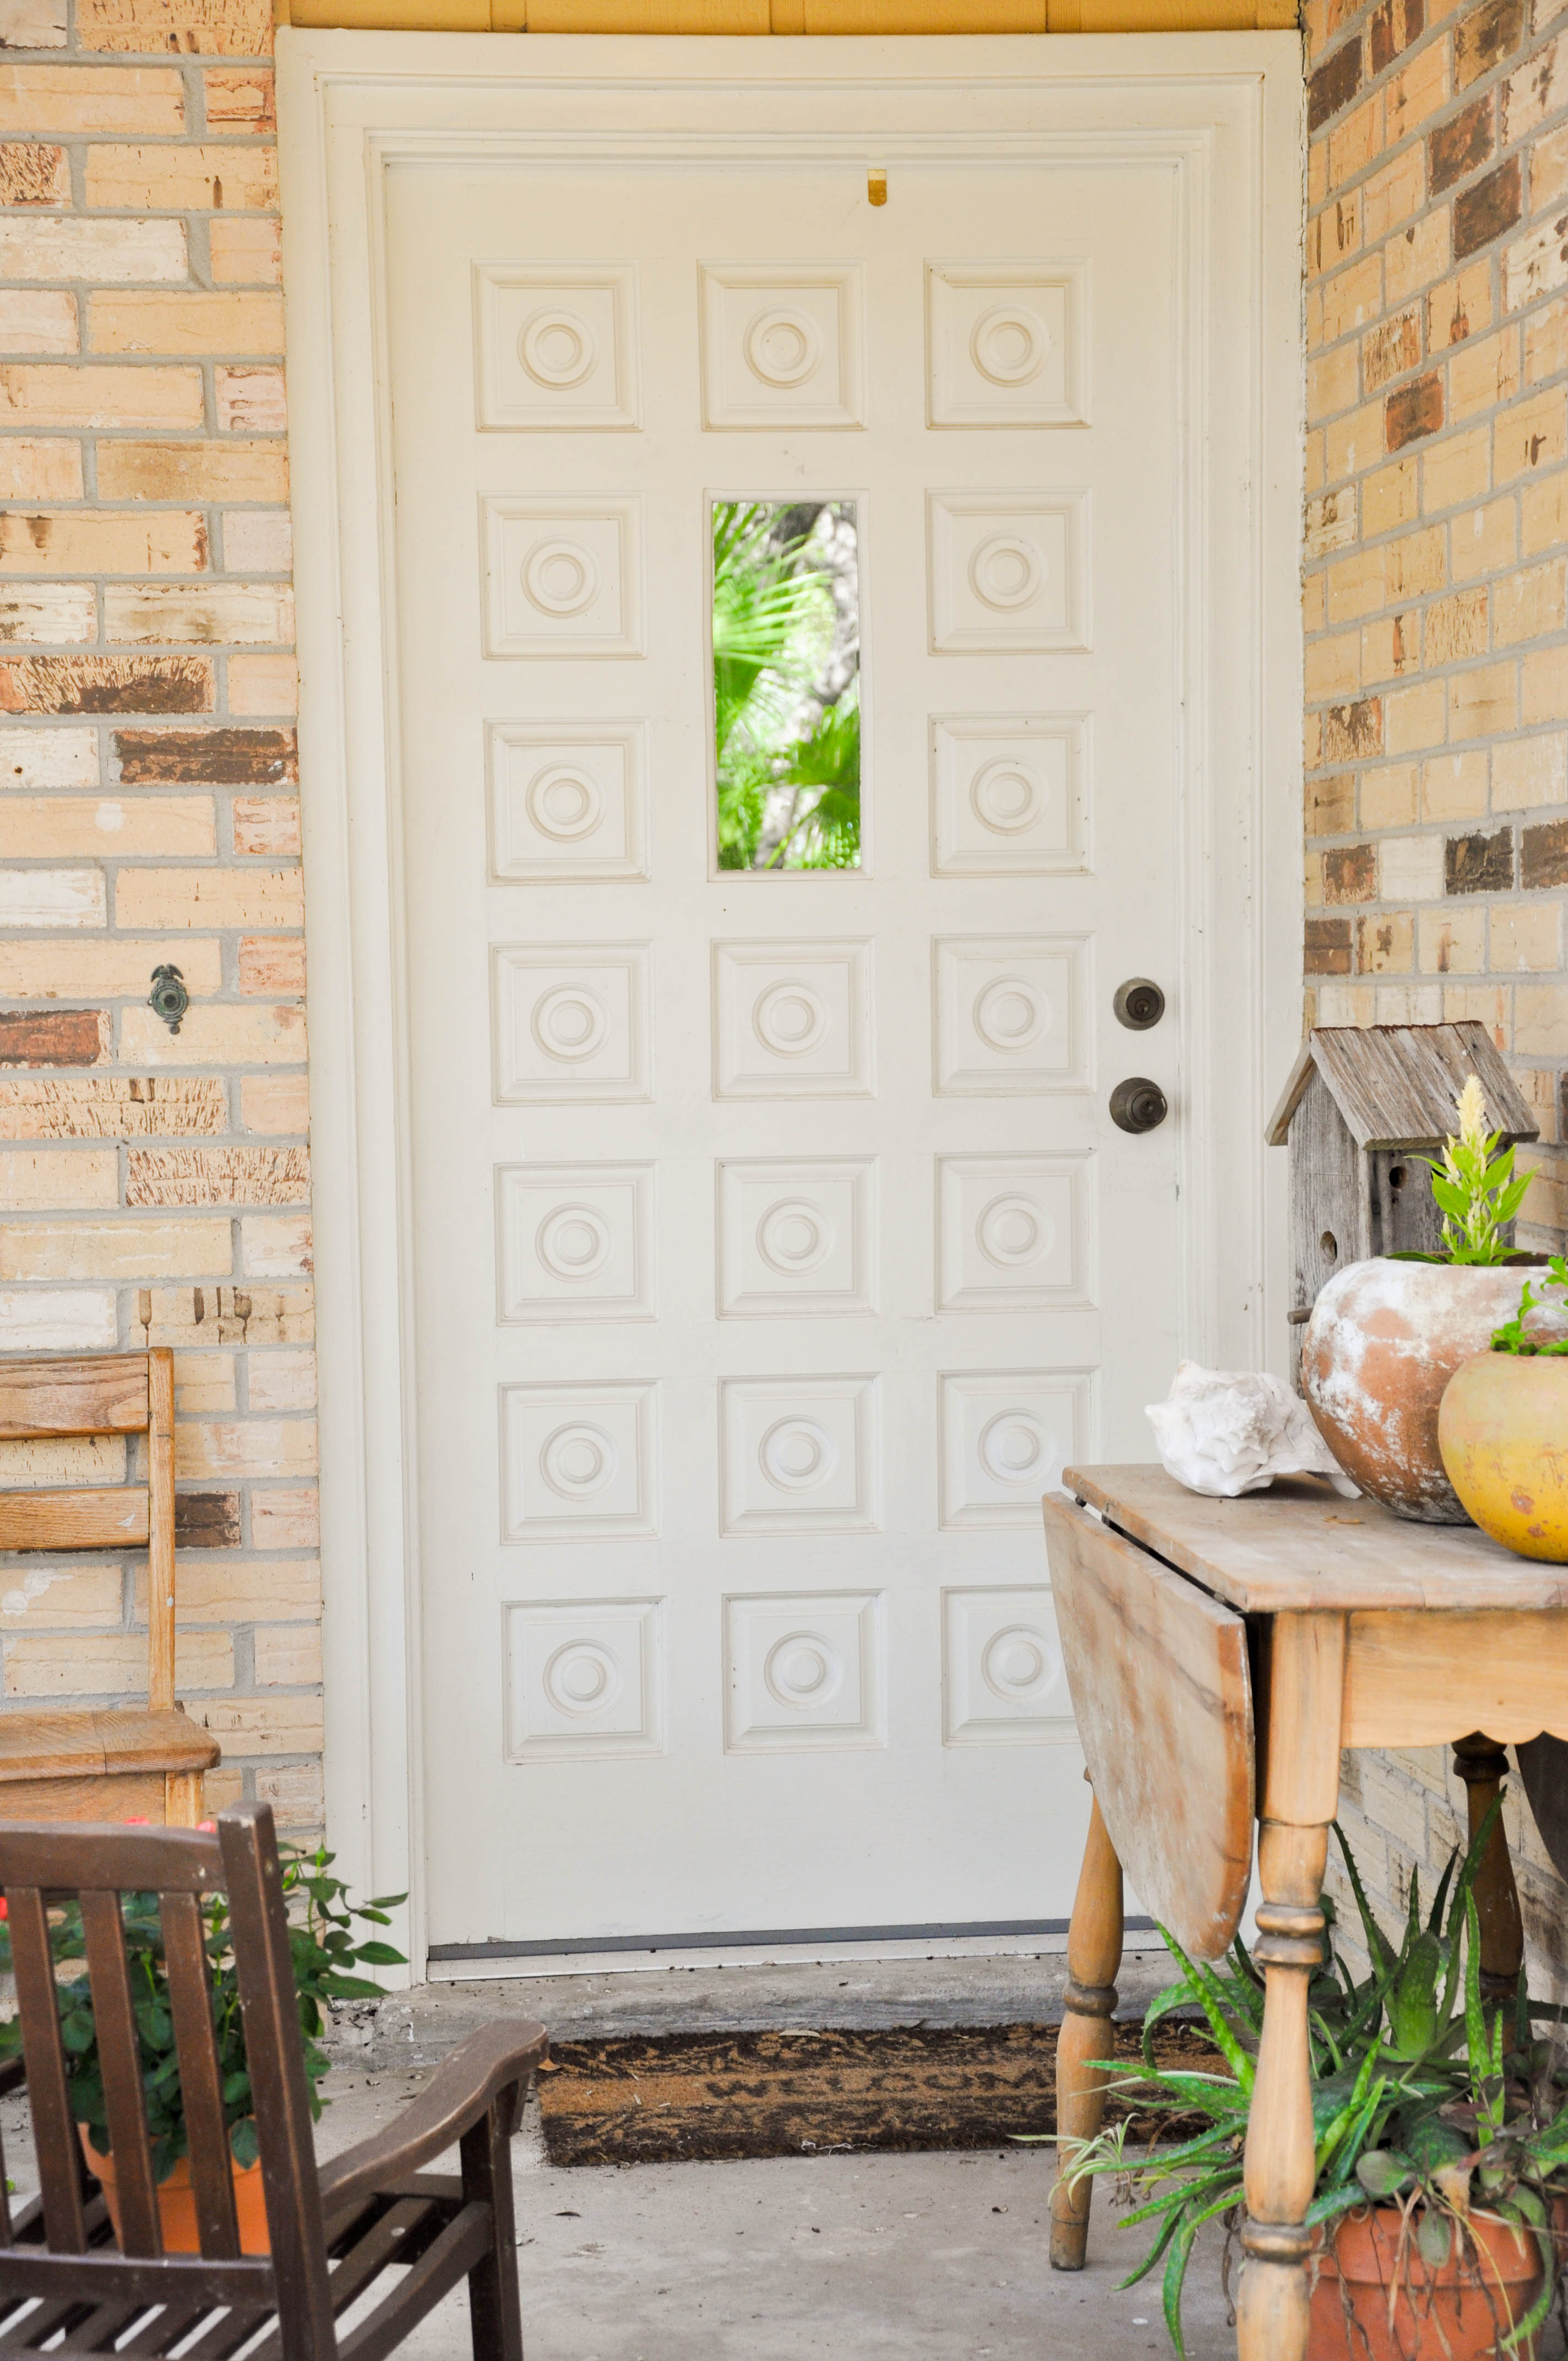
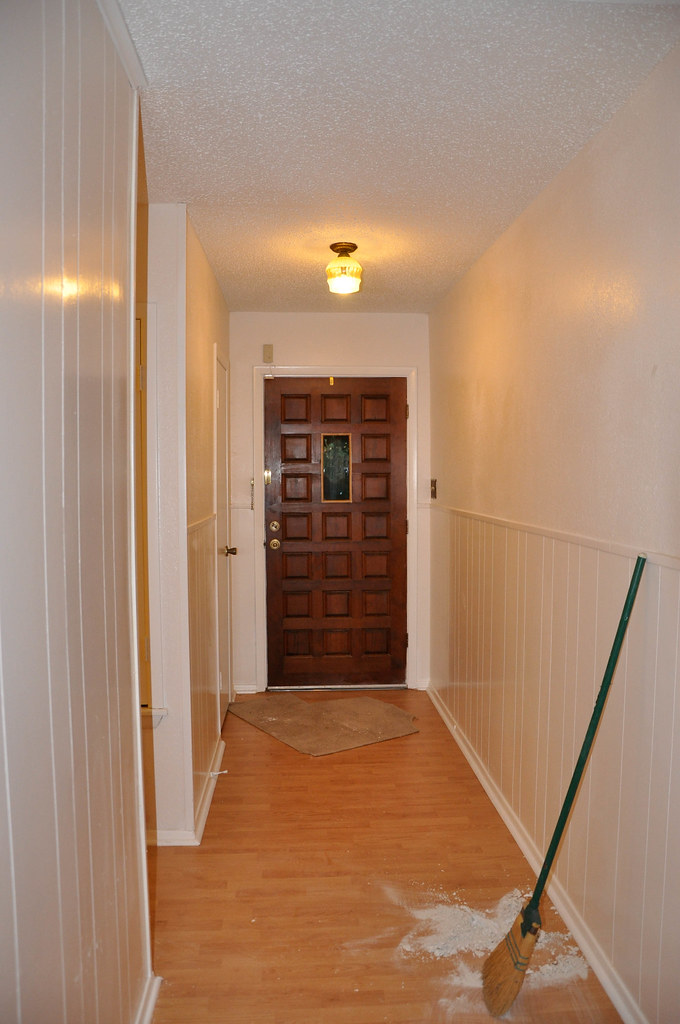
Before:
When we bought our home in September, we knew we had a LOT of work ahead of us.
And we're slowly making some progress, taking it one room at a time.
(More like: we'll do a little in here, then a little in there, and maybe one day we'll have this house done!)
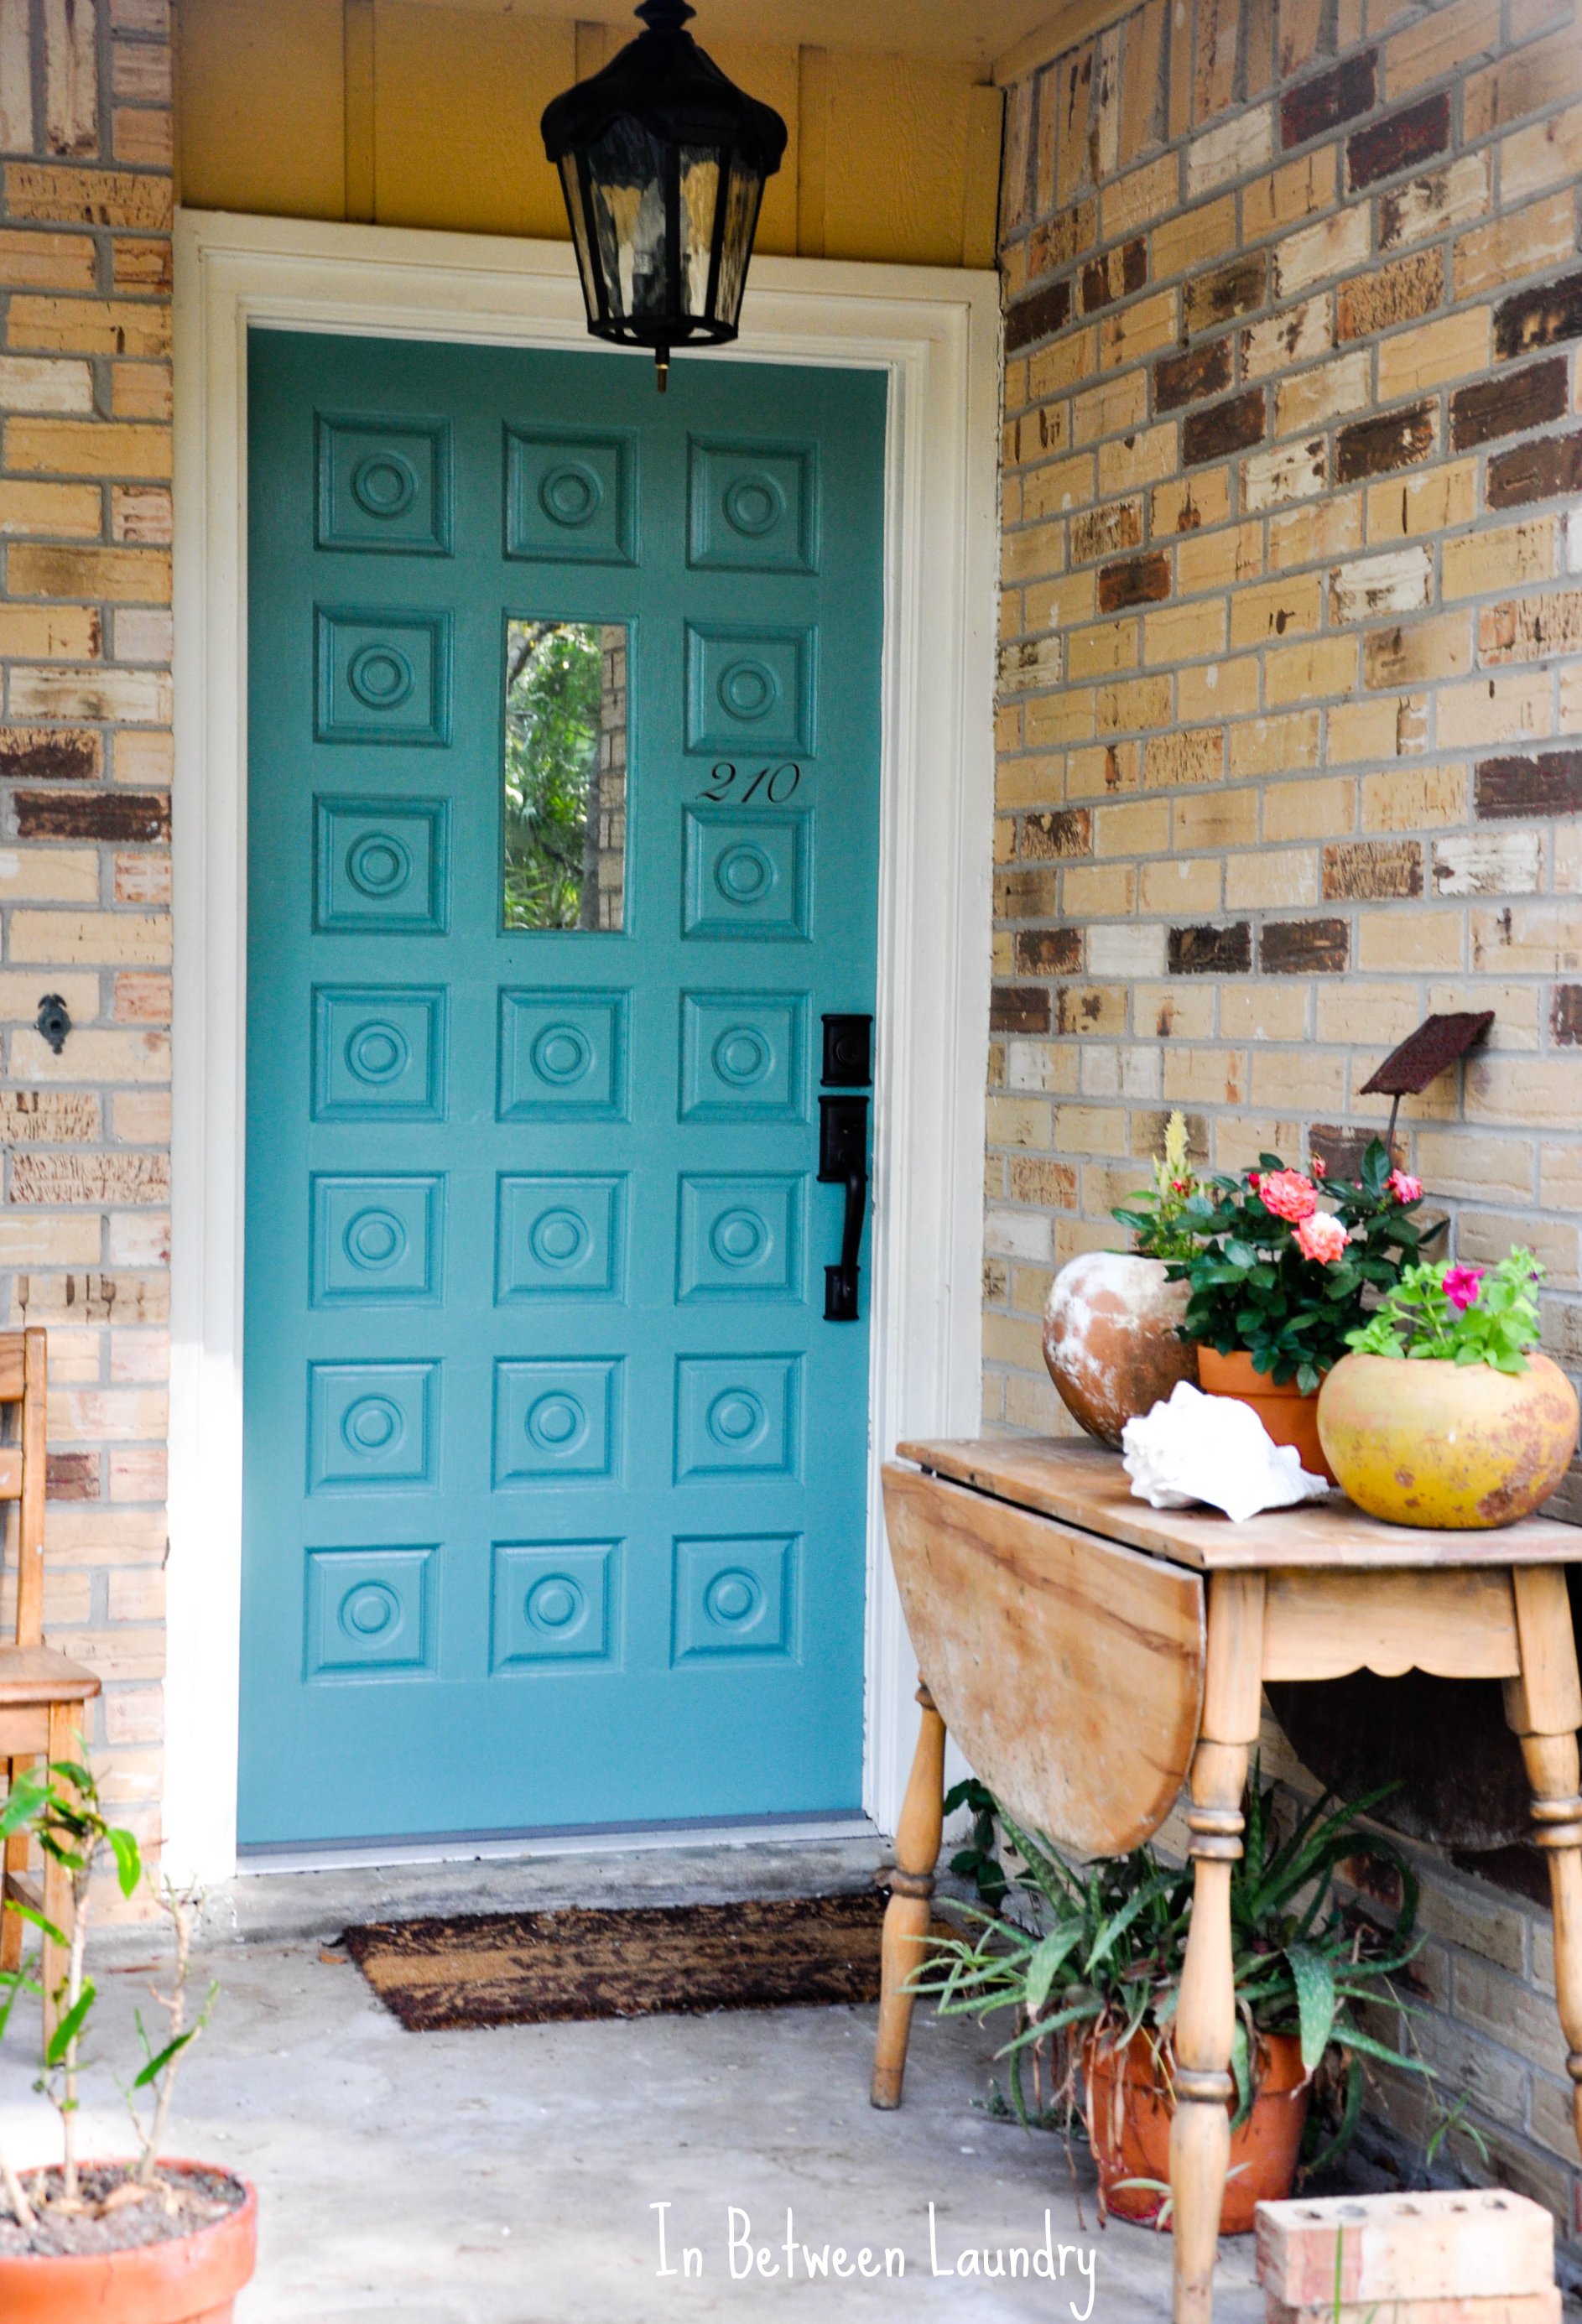
Since I recently posted about our front door makeover (you can read about that here), I wanted to show you the other side of that door...
our very narrow and blah, blah, bland entryway.
The very first thing we did (and by "we" I mean Jeremy) was scrape the popcorn ceilings (you can read all about that messy mess here and see a bit of the dust pile in that top photo).
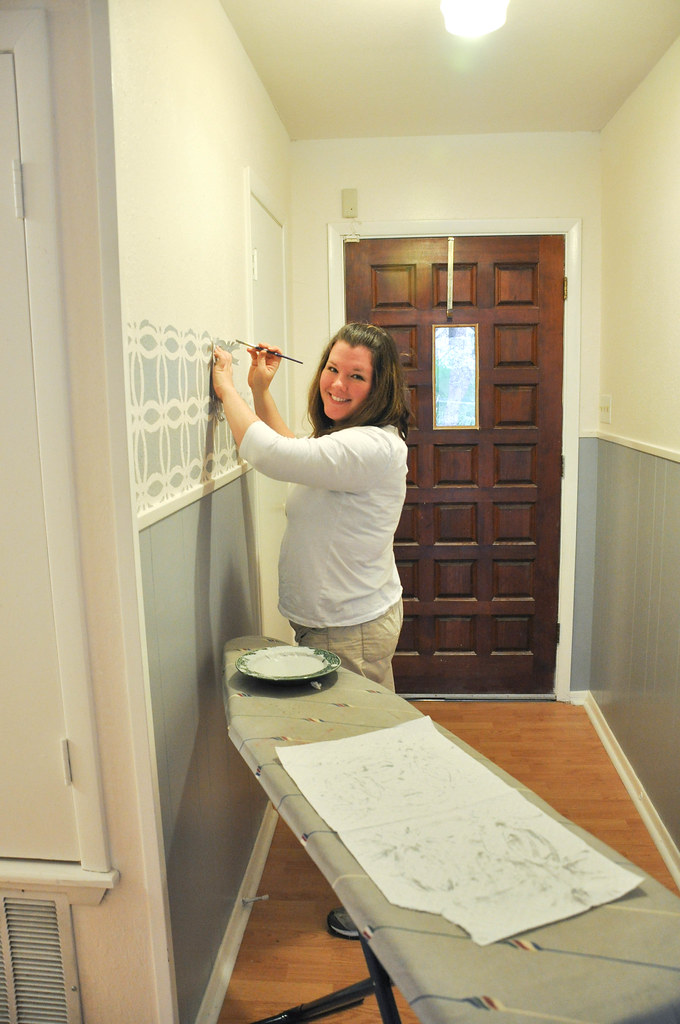
Then I got to work.
I created my own stencil with my Silhouette machine and cardstock but you could easily find a pattern you like and cut it with an exacto knife. My stencil was definitely not a complicated design.
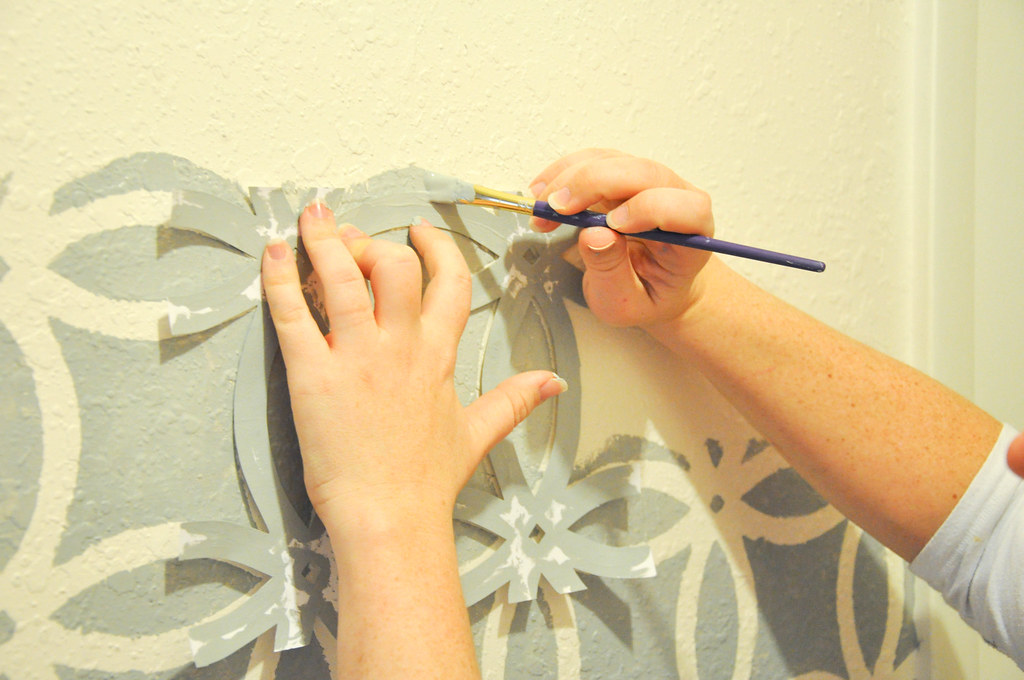
Okay. So there is PLENTY of DIY stenciling advice out there, but here's what worked for me and I'm pretty sure I tried just about everything else:
My main method:
1. I used a small paintbrush with lots of paint on it.
2. I held the stencil in place with one hand while I painted the outline of the stencil with the other hand.
3. Then I removed the stencil to paper towels and blotted it.
4. Next I filled in my lines I had outlined.
Another method I liked:
I used the same small paintbrush with very little paint on it and stippled the stencil on the wall. In other words, I didn't paint and fill in lines. This technique was a lot faster, but the lines weren't as clean. It worked very well for the small dots that needed to be filled.
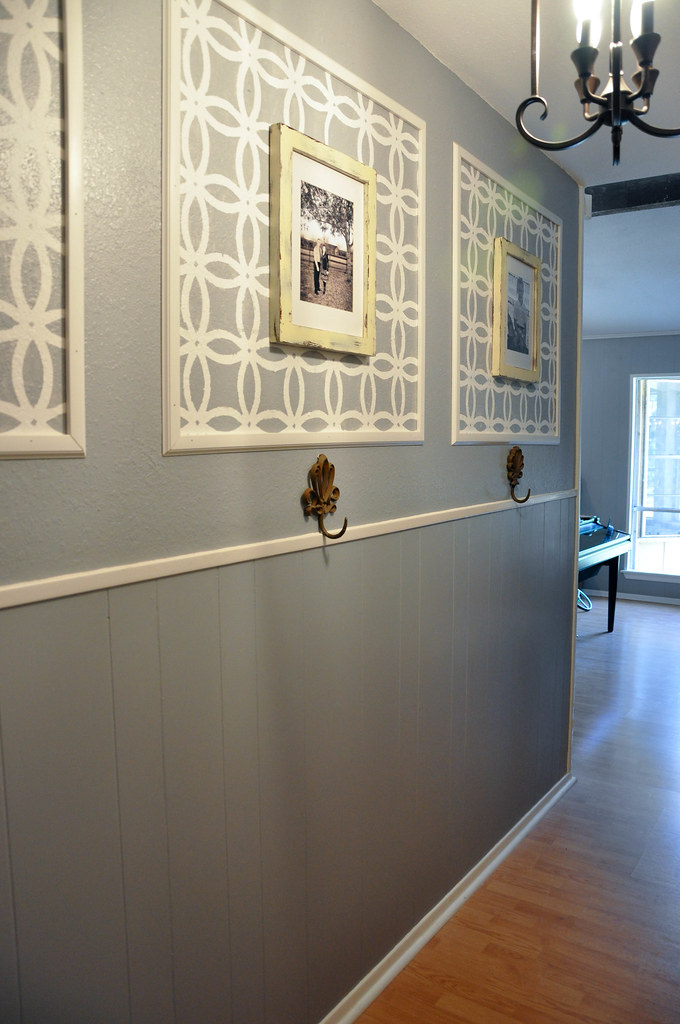
So... I changed my design horse mid-stream and opted for frames with stenciling inside, instead of stenciling the entire wall.
I'm so glad I did! It was a lot faster and adds more visual interest.
Jer and I measured the squares that I had envisioned in my mind's eye and I did all the painting and stenciling (he did help with the top and corners).
Then Jeremy used molding to frame out the edges.
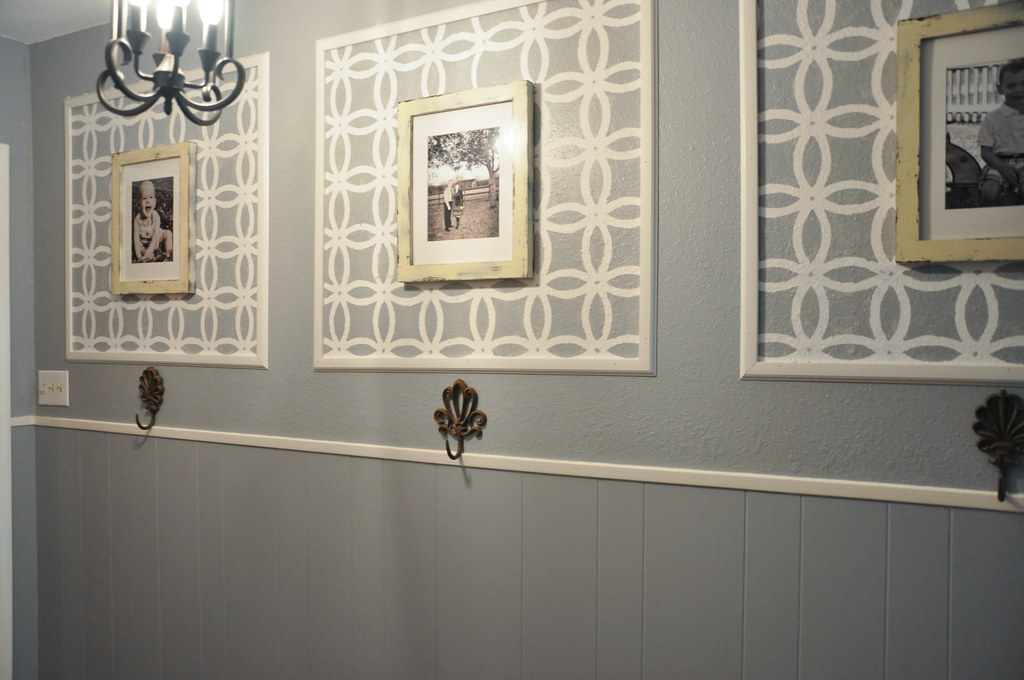
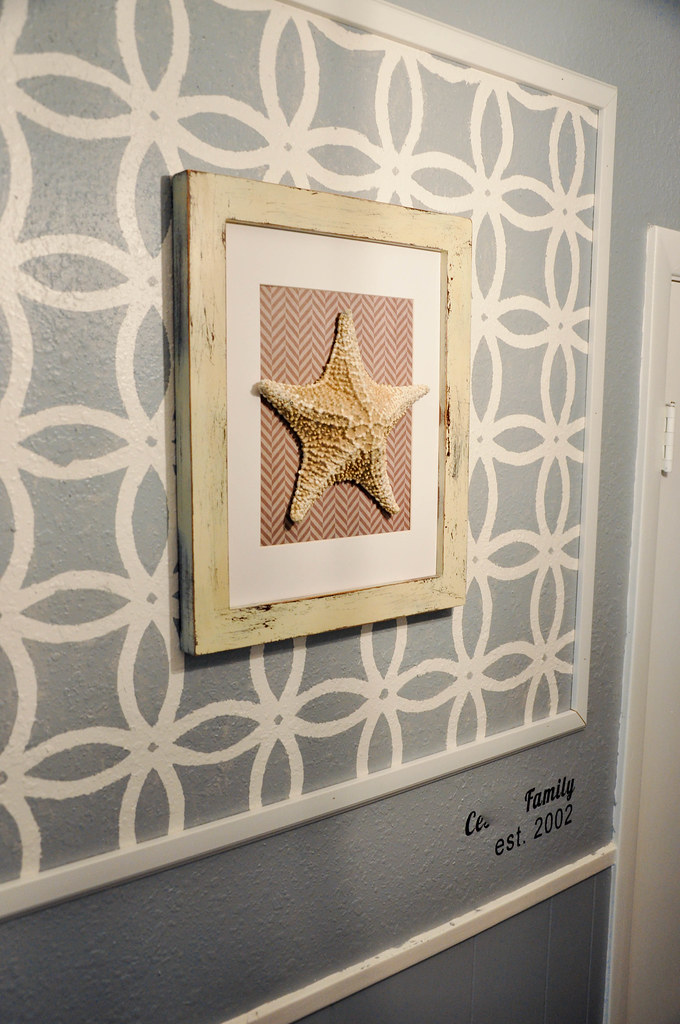
I created some simple, custom art using spray painted Wal-Mart frames that I scraped with steel wool.
I also added our family name in brown vinyl to make it a little more personal and finished the space off with a new lighting fixture and rug.
Before
After

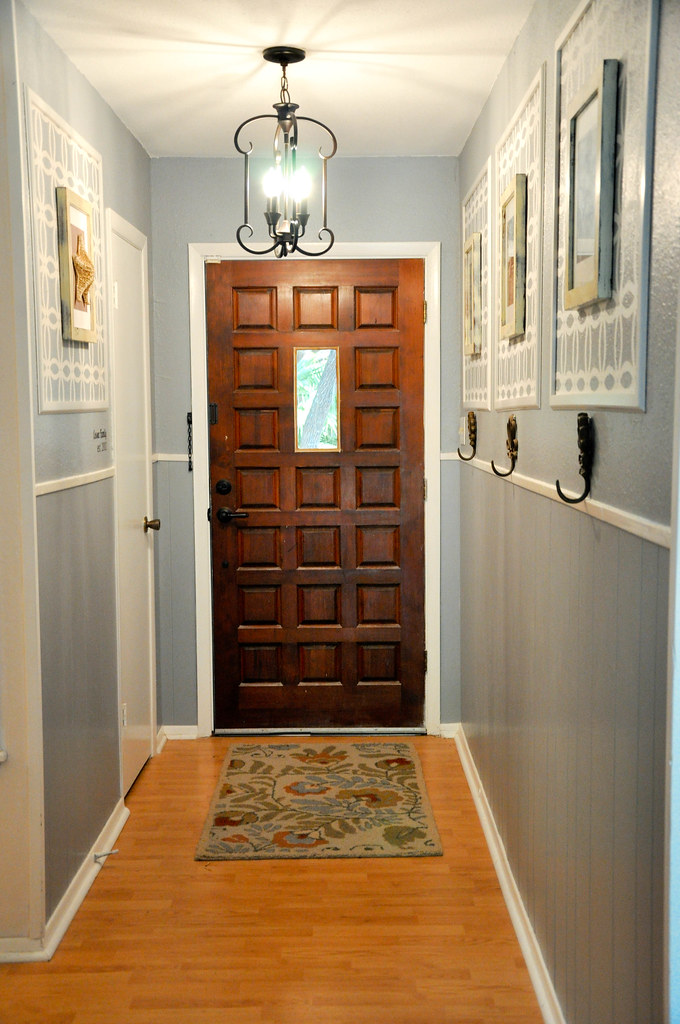
The paint I used was Valspar "Metropolis."

Linked to: Take a Look Tuesday, Today's Creative Blog, Tatertots and Jello, The Creative Crate, The CSI Project