
I am in love with pom-poms.
I'm even more in love with big, fat pom-poms.
This little habit all began with the baby mobile I whipped up a few weeks ago.
This little habit all began with the baby mobile I whipped up a few weeks ago.

They're so festive and fun to make.
Want to learn how?
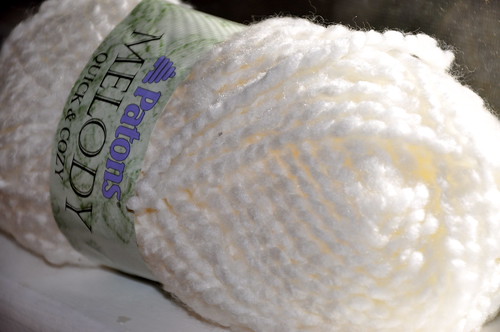
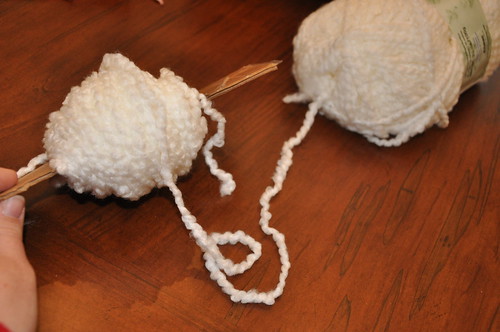
1. Start off with some chunky yarn. The thicker the yarn, the fuller the pom-pom.
2. Cut a strip of cardboard around 2" x 9".

3. Now cut a piece of yarn a little longer than your cardboard strip and lay in on top.
This will become your tie.
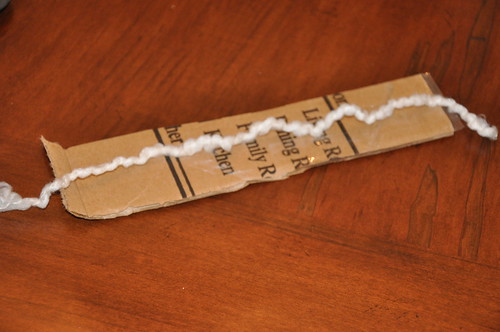
4. Now start wrapping the yarn around the middle, over the tie.
1. Start off with some chunky yarn. The thicker the yarn, the fuller the pom-pom.
2. Cut a strip of cardboard around 2" x 9".
3. Now cut a piece of yarn a little longer than your cardboard strip and lay in on top.
This will become your tie.
4. Now start wrapping the yarn around the middle, over the tie.

5. I wrapped mine 125 times. For really thick yarn, you can do less. For thinner yarn, wrap more.
6. Using your tie string, make a knot to secure all the loops.

7. Holding your tie strings, pull the cardboard strip out.
8. Start cutting the loops.
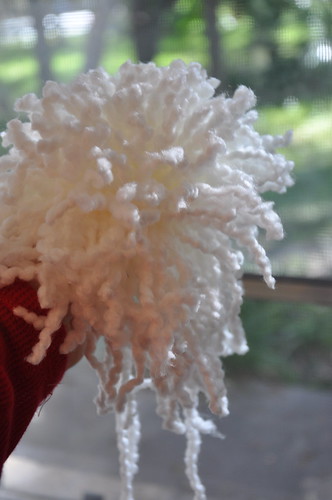
9. Trim to make it fluffy and even. The shorter you trim it, the fluffier it will become.
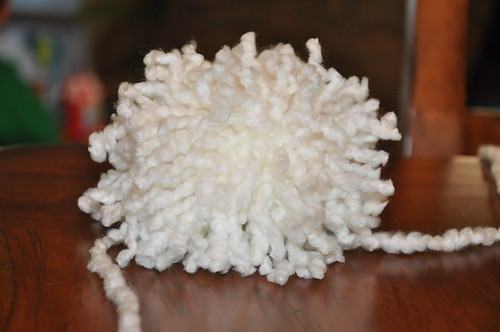
Of course, if you're making giant pom-poms for the wreath, you don't want to trim them too short.
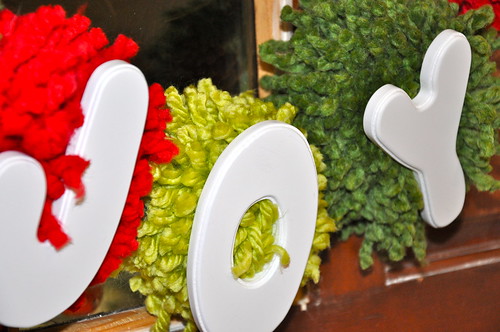
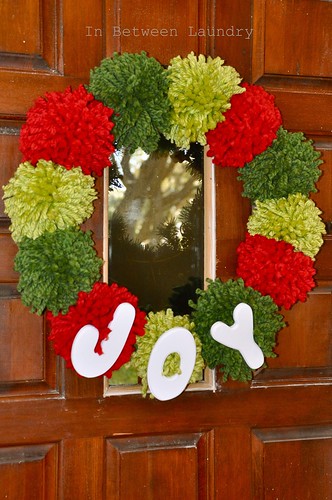
To make the pom-pom wreath:
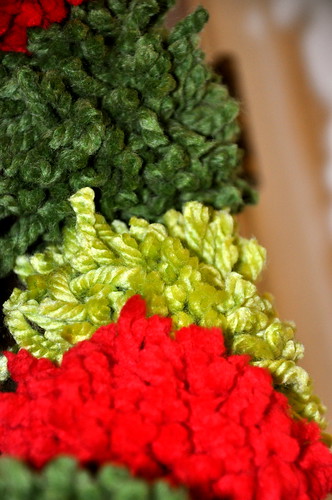
Make 12 giant pom-poms using three different yarns.
Tie them around a wire wreath form.
Glue on pre-finished wooden letters.

Linked To: Tatertots and Jell-O, Keeping It Simple, The Girl Creative, Craft-O-Maniac, The DIY Show-off, Sugar Bee, seven thirty-three, Fingerprints on the Fridge, Sisters Stuff
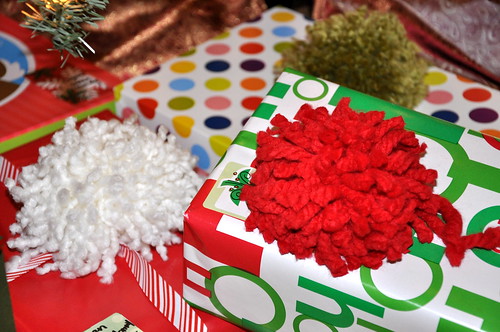
Super Cute!!! I like how you used them on the presents too.
ReplyDeleteI love this! So fun!
ReplyDeleteSue
xo
Looks fab! I'm pom-pom making with my daughter this Saturday morning. She has an idea to make pom-poms to hang all over her mosquito net. Will be interesting...
ReplyDeleteBTW, I've added your blog to my blog roll as I find myself wanting to come over as often as I can. x
So cute and simple! I love it.
ReplyDeleteI love pom poms! that wreath is so cute & I want to make that mobile for myself ;)
ReplyDeletePopping by from the Girl Creative :)
How cute is that!?! Love it!
ReplyDeleteI love the pom pom mobile!
ReplyDeleteLove this! I'm going to make a "winter themed" wreath for after Christmas decor. Thanks for the tute.
ReplyDeleteAbsolutely darling!!!!
ReplyDeleteI must have missed this one. What a cute idea, and I love that wreath!
ReplyDelete