It was wonderful for all of us!
I was able to put the baby in bed for a long nap and check a project off my list.
Understand that I am a completely self-taught, short-cut-taking novice when it comes to my sewing machine. But even I was able to finish this puppy in under two hours (with plenty of interruptions and overlock stitching all the edges).
This skirt would probably take a more advanced seamstress less than an hour. You know, it would probably even take me less than an hour the next time around.
I love it! I even wore it to see Harry Potter with my mom and mother-in-law (who saw two movies that day) the same night.
Okay, so here's how I did it.
Materials:
2 yards of fabric
a skirt that fit me perfectly (more on that later)
thread to match fabric
fabric scissors
straight pins
pencil for marking fabric
zipper
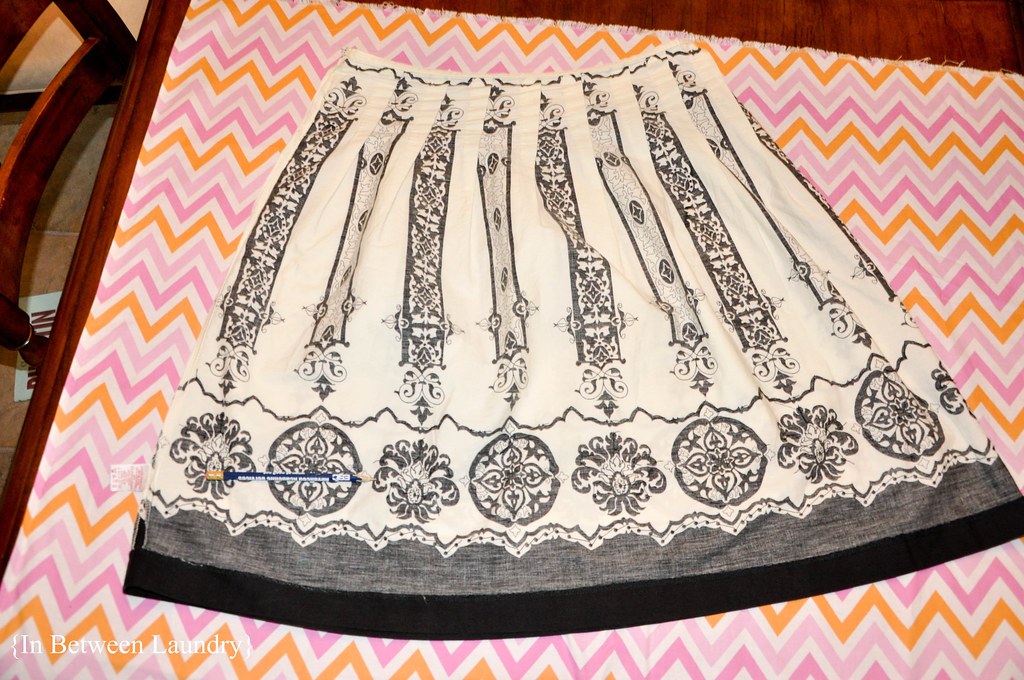
1. Wash and dry your fabric, then iron it out. Lay it flat, right side up. Place a skirt (inside out) on top. If you don't have a skirt to use, measure your waist and divide that number in half), then take the measurement from waist to knee, or however long you want it to be. Using the picture above as a guide, sketch a skirt shape that is slightly bowed at both the waist and hem with an A-line shape. It might help to do this on newspaper first, to give yourself a pattern.
2. Pin the skirt (or paper pattern) in place. Before cutting the fabric, measure and mark an extra 1" allowance for the waist, 2" for the hem and 1/2" for the sides.
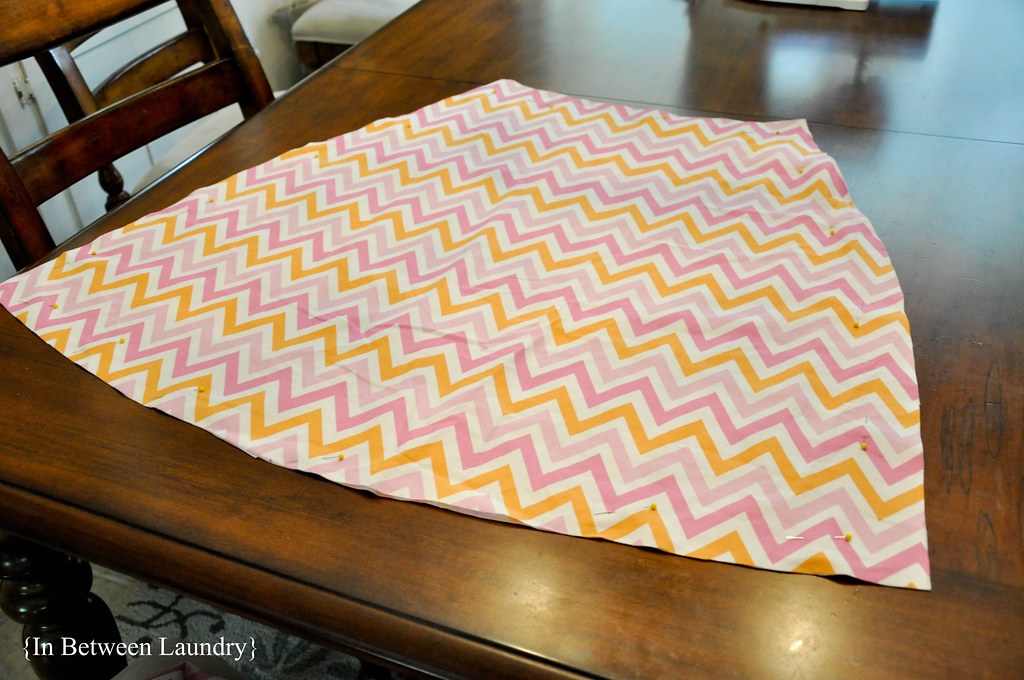
3. Fold the fabric so you can cut both pieces at once and cut it out. You can cut them out separately if you prefer. That would probably be best for patterns and stripes so everything will line up from back to front (I didn't and mine somehow worked out. Shortcut-taker right here.)
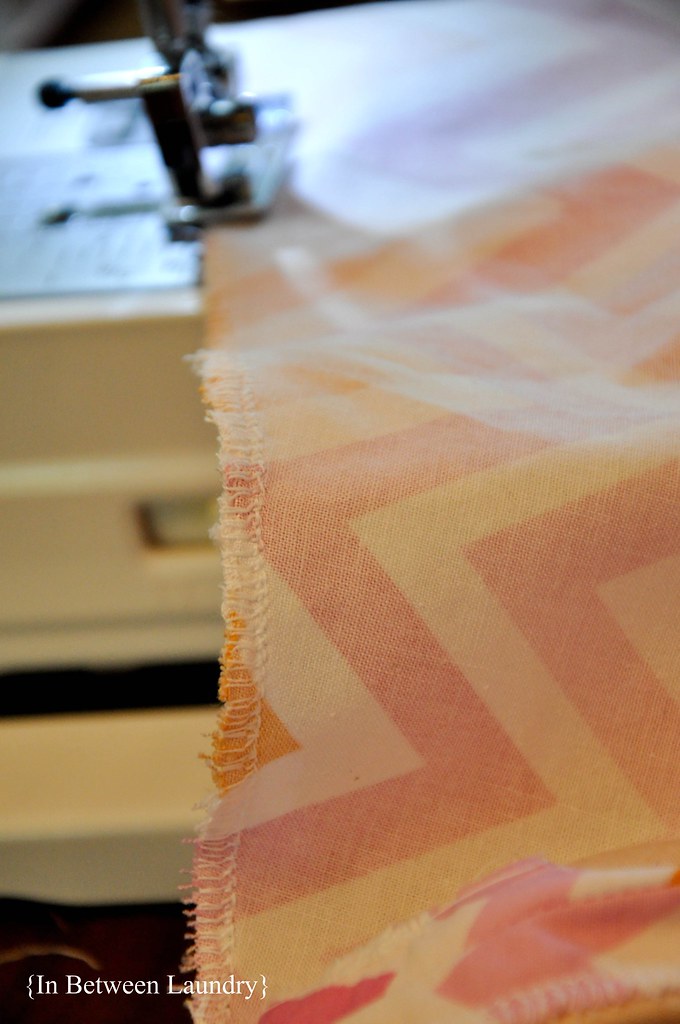
4. Now would be the best time to use an overlock stitch for those raw edges to prevent fraying.
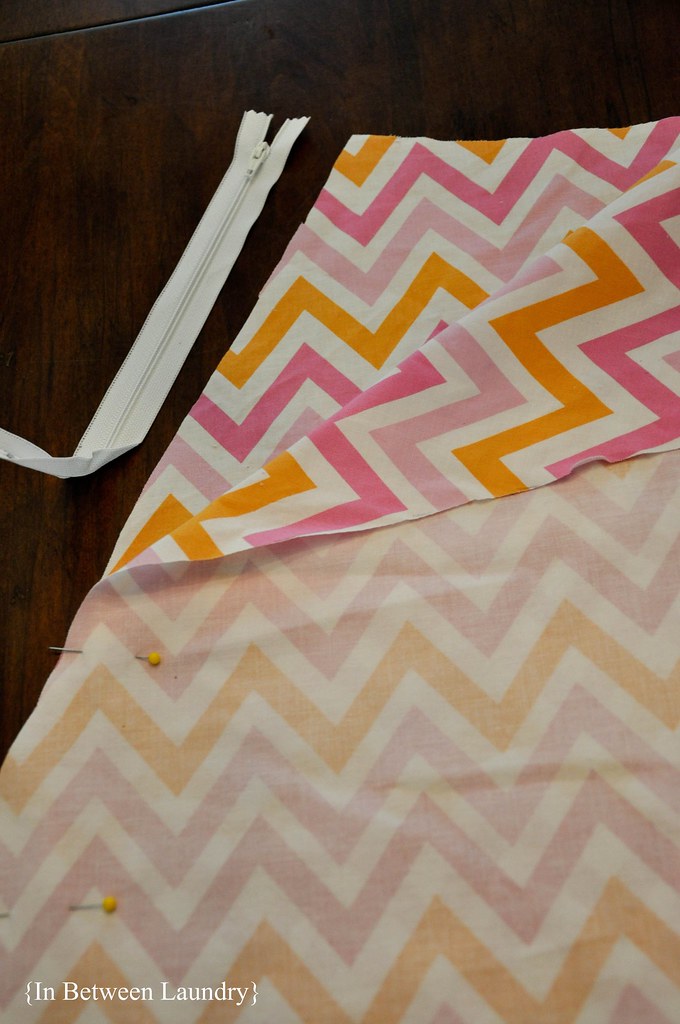
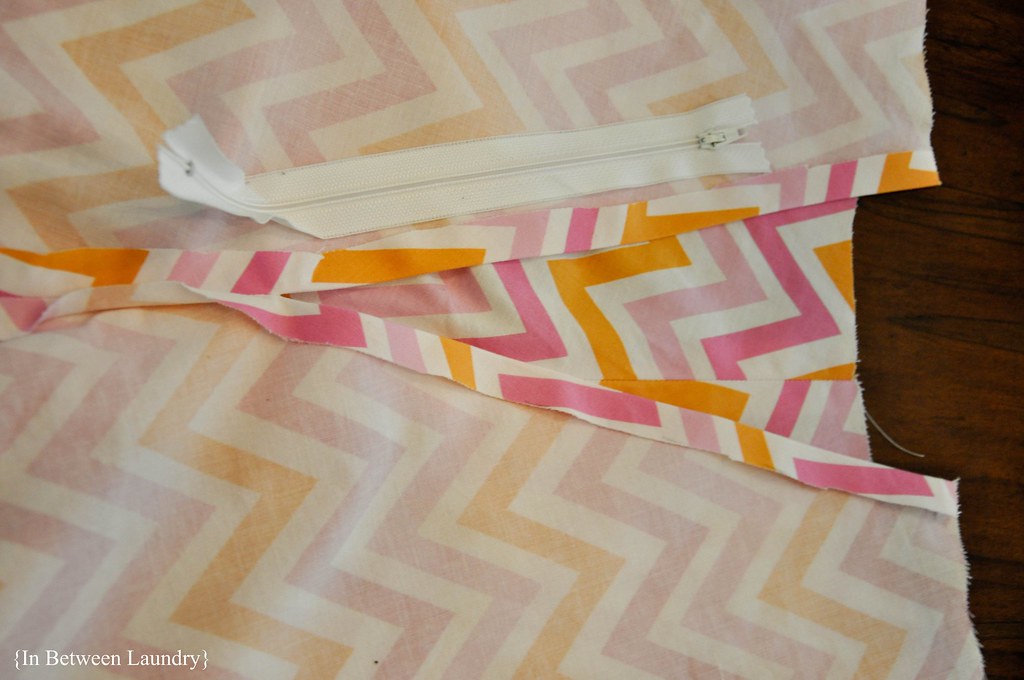
5. Right sides together, place both pieces on top of each other and pin in place. Leave an opening for the zipper.
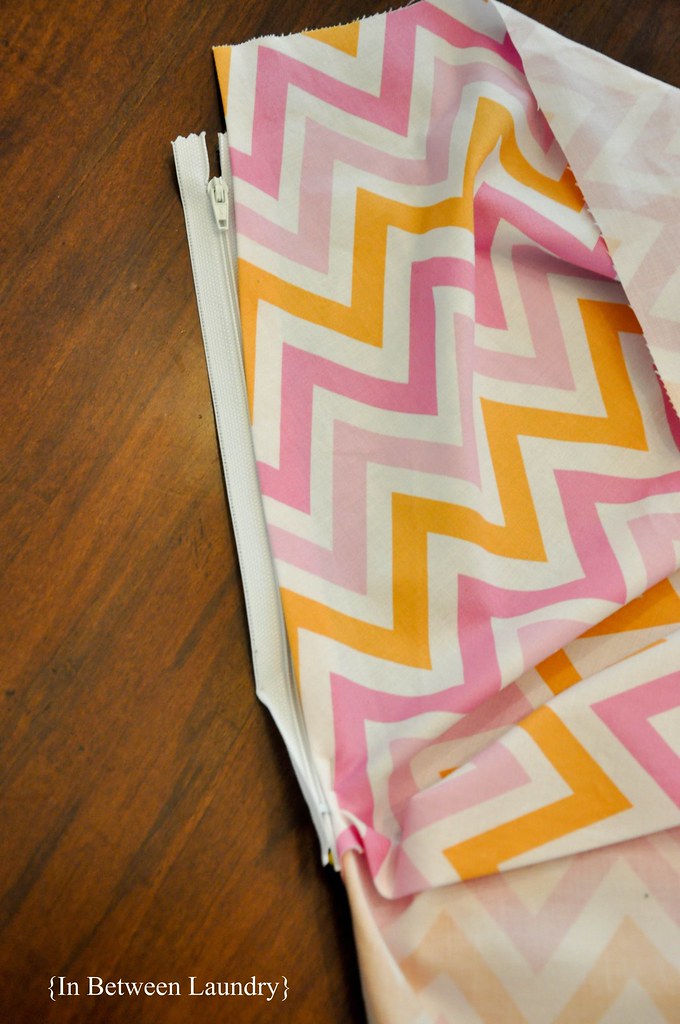
5. Stitch up the sides with 1/2" seams (except where the zipper will need to go).
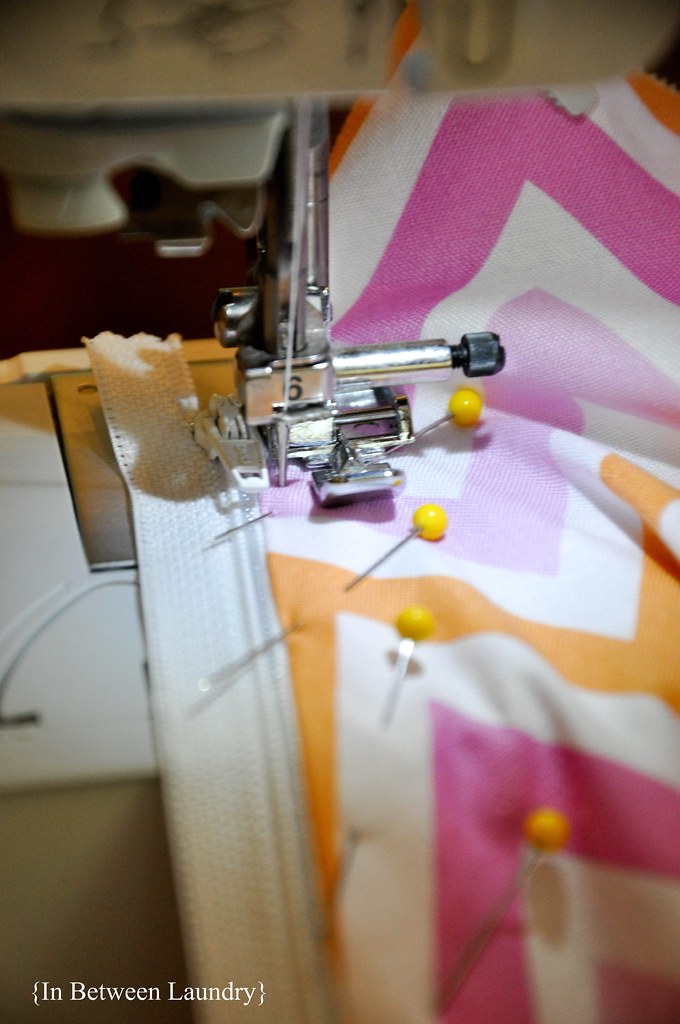
6. Pin the zipper in place and use your zipper foot to sew it in.
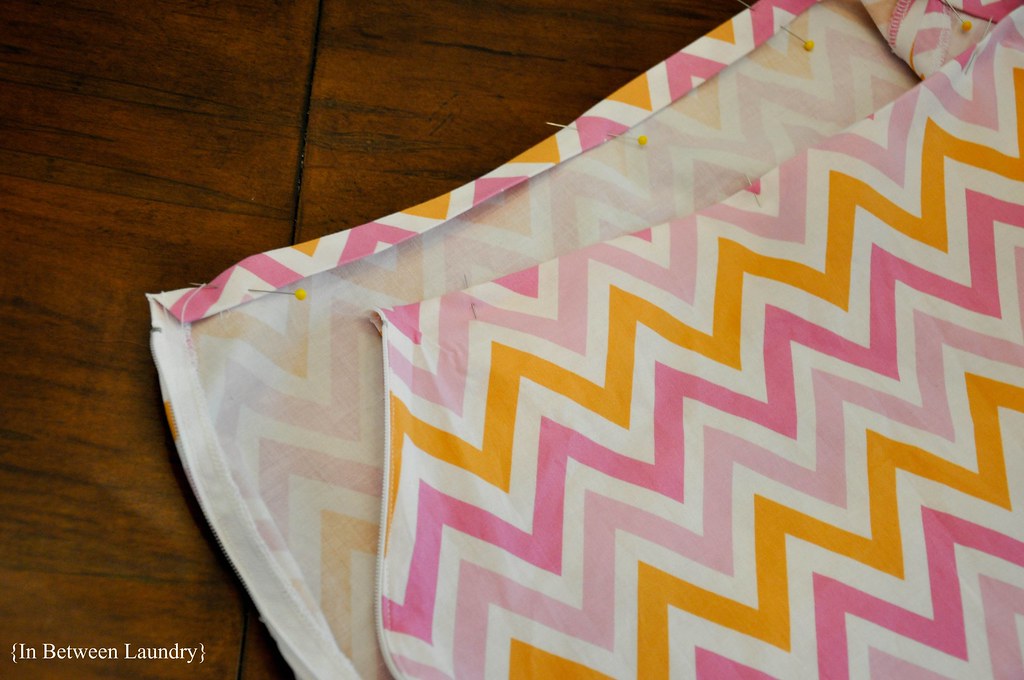
7. Iron the waist down by 1/2". Fold it once more, iron and pin it in place.
8. Stitch the waist in place.
9. Iron the bottom hem up by 2". Pin it in place.
10. Use a blind stitch to sew it in place, close to the open edge. You're done!
If you want to create a tie like I did, cut another piece of fabric that is 4-1/2" x 8-1/2 feet (you can make it however long and wide you like). I pieced mine together using what I had left over from the skirt. Iron it in half, width-wise, right sides together and stitch it along the long open edge and one short end. Turn it inside out, press it flat, fold the open edges under on the short end and stitch them down.

Shared with: I Heart Naptime, Under the Table and Dreaming, Sew Chatty, Today's Creative Blog, Finding Fabulous, Tatertots and Jello



Really cute skirt and picture of you! :)
ReplyDeleteFun skirt, you look great!
ReplyDeleteSo cute! Love the fabric, is it cotton?
ReplyDeleteThanks! It is cotton, yes.
ReplyDeleteI saw this on "Get Your Craft On" and had to check it out b/c it looks so much like one I just made myself a couple of weeks ago, so funny! Take a look... http://cody-simplyhomemade.blogspot.com/2011/07/skirts.html
ReplyDeleteI am visiting via Today's Creative Blog.
ReplyDeleteThis is a fantastic project! Thank you so much for sharing.
Happy Tuesday!
Love it! Thanks so much for linking up to Made With Love! I'm featuring this on my FB today! Feel free to grab the featured button from my sidebar. http://www.facebook.com/SewChatty
ReplyDelete